Jump to content

15 Screenshots

  • Like 21
  • Voron FTW! 14
  • Thanks 2

Recommended Comments


42 minutes ago, Buurman said:

I understand you dont have all hotends, extruders, etc lying around, or your name is @mvdveer 😛 

My spare hotends are a little 'dated' but my stepper motor collection is respectable 😉

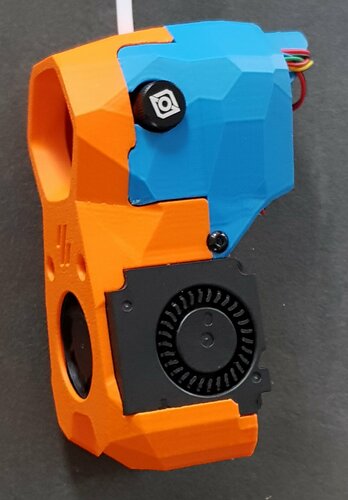
20221031_170833.thumb.jpg.b40006d50c70f9373a1c9d6ca63314ee.jpg

Link to comment
Share on other sites
4 hours ago, atrushing said:

I appreciate the feedback. If I can improve the design I will.

My intent with the Dragon is to install it with the heater cartridge installed in the back and further away from the LEDs. I didn't find any collision issues this way. I even adjusted the Trident/V2.4 x_frame pieces to move the probe further back to make this work.

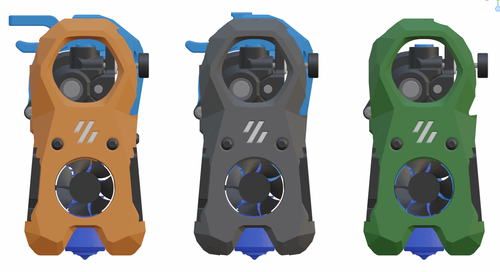
2022-10-31-164314_1920x1054_scrot.png.f55ac51d61d2116927467830f37a45ad.png

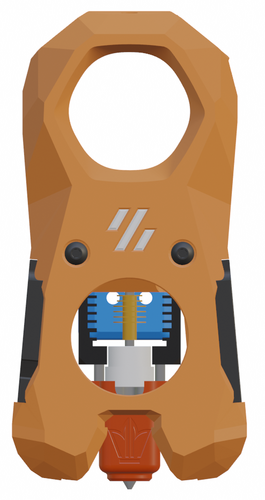
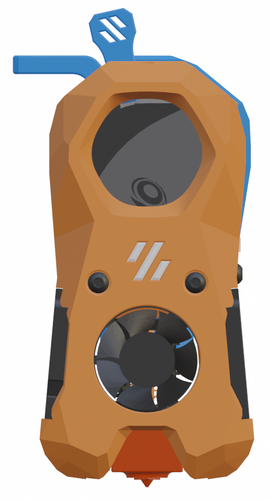
Makes sense! just felt wrong, but yes, good reasons. And I like the logo on the front. 

To mount a klicky on this design, anything special needed?

Link to comment
Share on other sites
1 hour ago, Buurman said:

And I like the logo on the front.

That is the important part!

1 hour ago, Buurman said:

To mount a klicky on this design?

I haven't looked into the klicky much but it looks like I would need to modify the shroud to accept the v01_integrated_mount from the github page. It might even require modding the integrated_mount.

I have a few things in the works already so I don't know how soon I could look into this. Maybe there are some Blender gurus that could pitch in.

Link to comment
Share on other sites
1 hour ago, Buurman said:

To mount a klicky on this design, anything special needed?

Looking back through mvdveer's mod list it looks like he used the ZeroClick mod. I'm not sure how he mounted it but it looks easier to adapt.

Link to comment
Share on other sites
8 minutes ago, atrushing said:

Looking back through mvdveer's mod list it looks like he used the ZeroClick mod. I'm not sure how he mounted it but it looks easier to adapt.

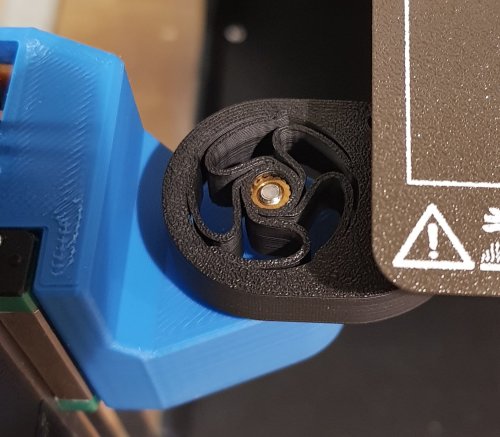
Will send you a photo when I get back home later. Basically filed away that corner of the fan (lower left corner), then modified the zeroclick probe attachment and secured the probe with a crew and some superglue. Not the most elegant, but it works - so far

Link to comment
Share on other sites
8 hours ago, Buurman said:

Stupid question, but the center (hotend cooling) fan is a 30x30x7 mm fanI guess?

It is indeed - I used a raspi pi 30x30x8 (all I could source at the time) and it fits well

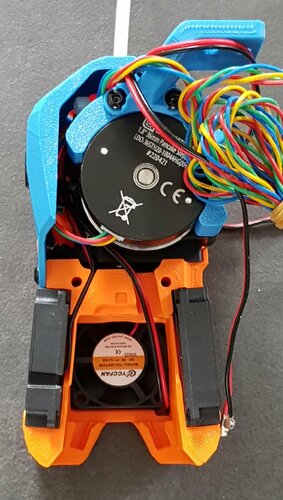
image.thumb.png.df1963da38c5e6ebfca4ca1f79306d9f.png


7 hours ago, atrushing said:

I was trying to find a 24v 3007 fan for my own install but had no luck

They are as scarce as hen's teeth. 30x30x12V are reasonably available but not the 24V ones

Link to comment
Share on other sites
4 minutes ago, mvdveer said:

They are as scarce as hen's teeth. 30x30x12V are reasonably available but not the 24V ones

It should be doable to make enough room to fit a 3010 fan in there but it is easy enough to grab 5V from the TFT header. Plus I have a lot of versions I would have to adjust.

2022-11-01-001705_1920x1054_scrot.thumb.png.4ef07198fcfe0b58062569cdd750ad7d.png

  • Like 1
Link to comment
Share on other sites
Just now, atrushing said:

It should be doable to make enough room to fit a 3010 fan

Don't really think it is necessary as the Vo PCB allows for a 5V fan. Keep it simple is my motto. V0 designed for 5V hotend fan - why change it, especially seeing these fans are readily available and cheap and quiet.  

  • Like 1
Link to comment
Share on other sites
2 minutes ago, mvdveer said:

Don't really think it is necessary as the Vo PCB allows for a 5V fan. Keep it simple is my motto. V0 designed for 5V hotend fan - why change it, especially seeing these fans are readily available and cheap and quiet.  

I changed this monstrosity to an SKR-2 while I was upgrading it and almost had to use a buck converter to power the hotend fan.

20221020_113153.thumb.jpg.7b55769507498bc0654c102b12f9954c.jpg

Link to comment
Share on other sites
10 minutes ago, atrushing said:

while I was upgrading it and almost had to use a buck converter

What we won't do for an upgrade. I have converted the following printers to Noctua fans - remember the days when this was a big deal? All 12V, All running off buck converters (Ender 3v2, Ender5Pro, Ender5, Creality CRX)  🙄

Link to comment
Share on other sites
8 hours ago, mvdveer said:

What we won't do for an upgrade.

My Trident was an upgrade of my Prusa MK3s. The 24v heated bed is the weak point of that upgrade route.

8 hours ago, mvdveer said:

Noctua fans - remember the days when this was a big deal?

Noctua really became a big name for a while.

  • Like 1
Link to comment
Share on other sites
9 hours ago, atrushing said:

It should be doable to make enough room to fit a 3010 fan in there but it is easy enough to grab 5V from the TFT header. Plus I have a lot of versions I would have to adjust.

2022-11-01-001705_1920x1054_scrot.thumb.png.4ef07198fcfe0b58062569cdd750ad7d.png

You started a revolution, now... looks like you need to lead! hahahahaha!

So many are looking for a mini stealburner so, yeah, you did a great thing here!
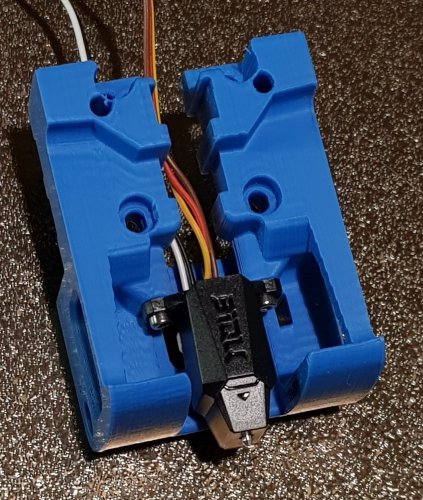
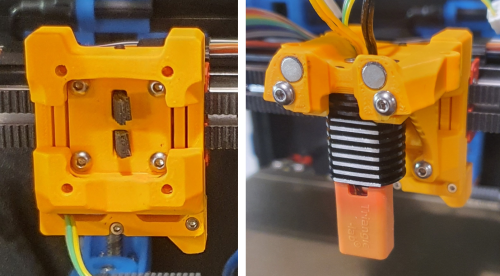
I am making pictures, maybe they can help your manual even further.
This is my first V0 and staring with the mini SB of yours, for me the mounting is unclear, so when I found out along the way, I try to make pictures. post it in my "fat finger" diary and here, feel free to use it, if you want.

  • Like 1
  • Thanks 1
Link to comment
Share on other sites

Ah, I forgot, I noticed for me (superslicer) the parts are not laid down by default in the right position.

For some parts it takes three looks to see what is the right orientation for printing.
Dont know if that a big pain in the A** to correct 😉 


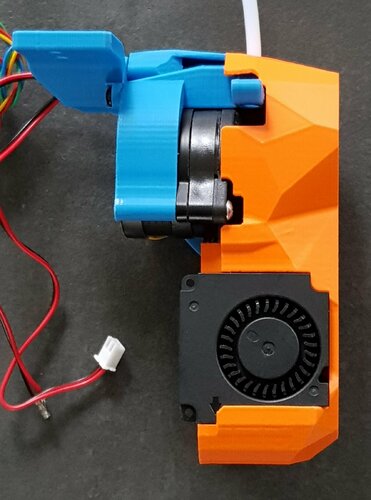
image.thumb.png.14749bdbcf6961523c1bcc1f11f48fff.png

Edited by Buurman
Link to comment
Share on other sites
Just now, Buurman said:

Ah, I forgot, I noticed for me (superslicer) the parts are not laid down by default in the right position.

For some parts it takes three looks to see what is the right orientation for printing.
Dont know if that a big pain in the A** to correct 😉 

Good point.

It would just be a little tedious re-uploading all of the parts and trying not to make any mistakes. When I get the LGX Lite uploaded I'll start going back through the Orb1.5/2.0 files.

Edited by atrushing
  • Like 2
Link to comment
Share on other sites
1 minute ago, atrushing said:

Good point

Not a big deal... but I managed to lay one down wrong way and it ruined that part and the part next to it.. 
But I am an idiot.. so ... 😛 

Link to comment
Share on other sites
Just now, Buurman said:

Not a big deal... but I managed to lay one down wrong way and it ruined that part and the part next to it.. 
But I am an idiot.. so ... 😛 

There are a few parts that I make sure to use a brim on to avoid 'accidents'. I guess I could try to add some of those details to the main page.

Link to comment
Share on other sites
8 minutes ago, atrushing said:

It would just be a little tedious re-uploading all of the parts and trying not to make any mistakes. When I get the LGX Lite uploaded I'll start going back through the Orb1.5/2.0 files.

Lot of work - appreciate your efforts

  • Like 2
Link to comment
Share on other sites

I was able to print everything without issues and without brim.
I guess people know their own printers and know how good their adhesion is, but advise never hurts anyone! 

Link to comment
Share on other sites
1 minute ago, mvdveer said:

No change in hell that will ever be true my friend! 

Can we get bigger HEARTS in the forum??? hahaha! thanks my friend from down under!!


  • Like 1
Link to comment
Share on other sites
2 minutes ago, Buurman said:

I was able to print everything without issues and without brim.
I guess people know their own printers and know how good their adhesion is, but advise never hurts anyone! 

On my Prusa PEI sheet cleaned with IPA I never have problems but my LDO V0.1 buildplate is very finicky. ABS will only stick if I clean it with ethyl-alcohol. I even had to lightly scuff the surface with a diamond honing stone.

Link to comment
Share on other sites
7 minutes ago, atrushing said:

PEI sheet cleaned with IPA I never have problems

Same here - the secret is cleaning after each and every print. I have found though on new PEI plates that initial first layer adherence is hit and miss. Got myself some  Nano Polymer adhesive. So my routine for new PEI plate and it seems to work - Clean with soap and water as soon as I receive it, follow by 99%(Surgical) alcohol clean and a coat of Nano Polymer Adhesive. Prints stick. On the Voron 2.4 with about 120hours print, no failure - yet 🙂


image.thumb.jpeg.4cb819b5dcb43dd0275452259f9cf39d.jpeg

Link to comment
Share on other sites

Join the conversation

You can post now and register later. If you have an account, sign in now to post with your account.

Guest
Add a comment...

×   Pasted as rich text.   Paste as plain text instead

  Only 75 emoji are allowed.

×   Your link has been automatically embedded.   Display as a link instead

×   Your previous content has been restored.   Clear editor

×   You cannot paste images directly. Upload or insert images from URL.


User Feedback

×
×
  • Create New...