


-
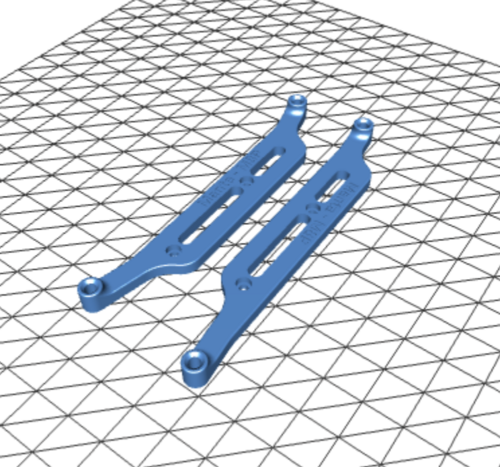
 12
12
-
 4
4
About This File
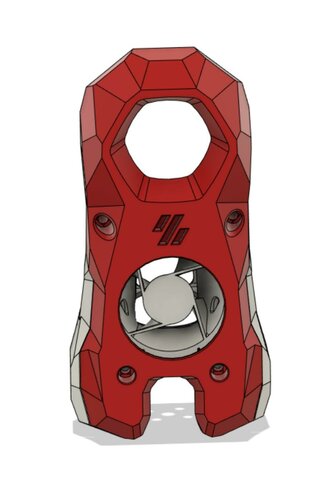
LGX_Lite_Stealthburner_CW2_style_mount
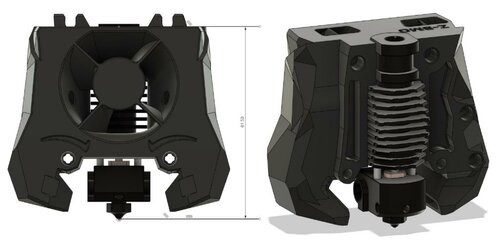
LGX Lite extruder mount for the Voron Stealthburner. The standard bowden clip delivered with the LGX Lite is to be removed, and a standard UM2 connector has to be inserted in the top printed part. This style clip is to be used: https://nl.aliexpress.com/item/32896103430.html. If you're lucky you might have some laying around already.
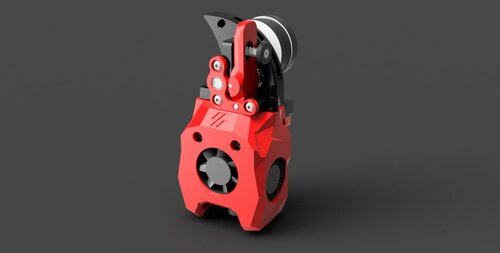
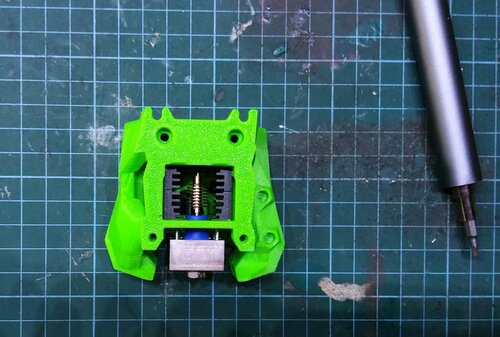
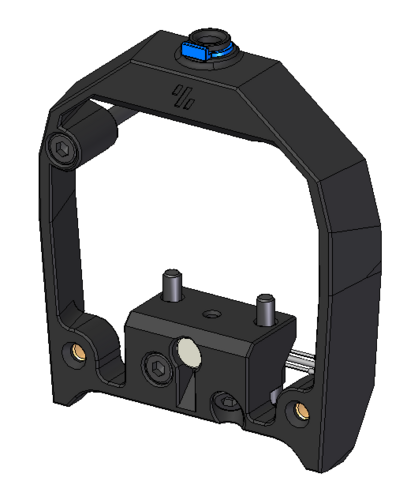
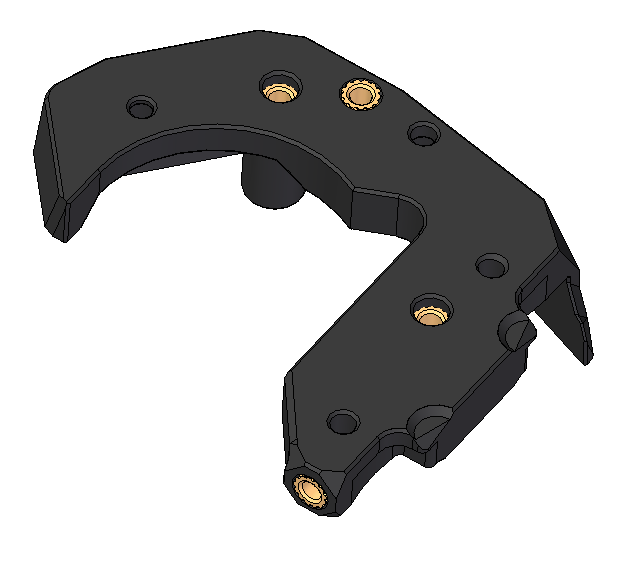
LGX Lite mount ERCF
The ERCF version is made to accomodate the LGX Lite with the stealthburner and the new carriage, including the toolhead sensor as it is being used for the ERCF. The housing style is matching with the original CW2 design. I recommend to insert a 3mm long 4x2mm bowden tube on the bottom of the LGX Lite to guide the filament properly. The cover and cable carrier mount can be re-used from the original version. The top of the front body is made to insert the bowden tube until it reaches into the LGX Lite, through a standard bowden tube clip with retainer ring. A lever latch is designed to change the pretension on the filament.
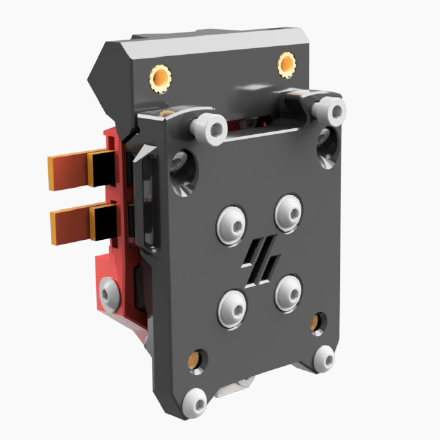
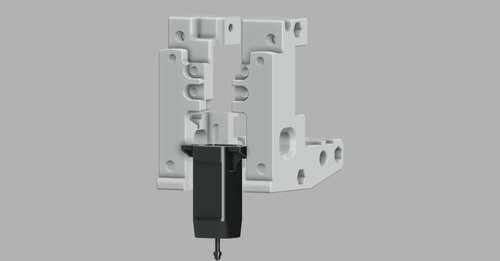
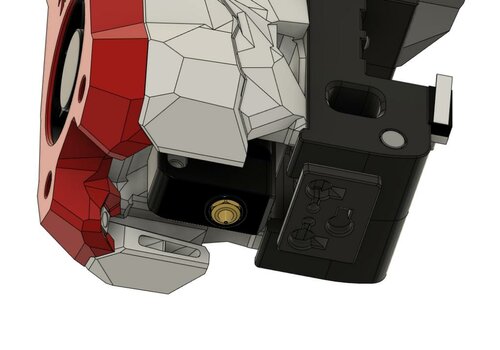
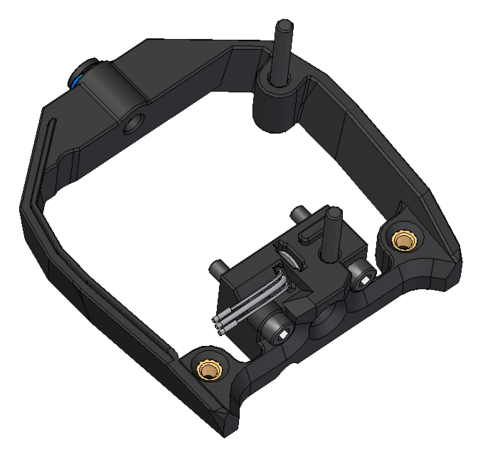
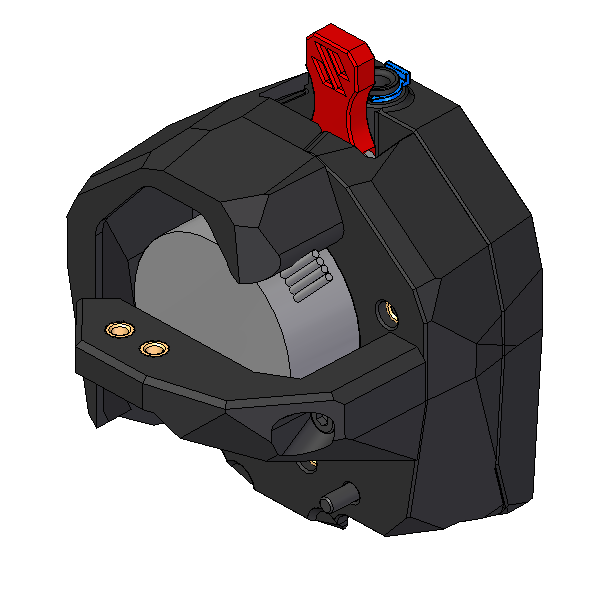
The toolhead sensor is a standard hall effect switch (AH3364Q-P-B), which can be soldered to some wires with a connector. This sensor enters in between both halves of the support body and can be fixed using an angled M3x8 DIN912 bolt. Please be careful not to overtighten this bolt as it clamps directly onto the sensor housing. A standard washer M3 is to be inserted in the slot centered with the filament path. The magnet can be inserted in the front. Be sure to check the correct polarity.
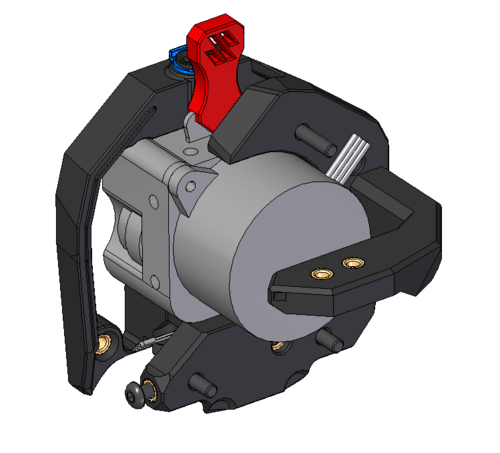
To mount the LGX Lite to the body, use the 4 screws DIN912 M3x16mm, too long screws will damage the gears within the LGX!
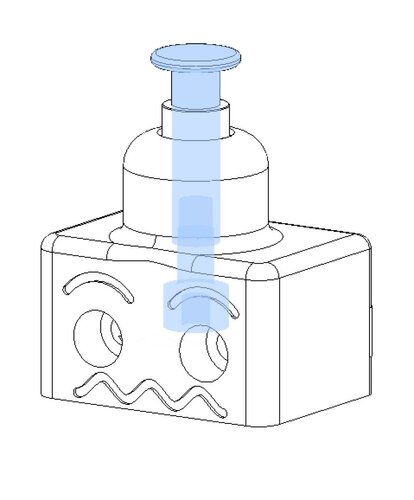
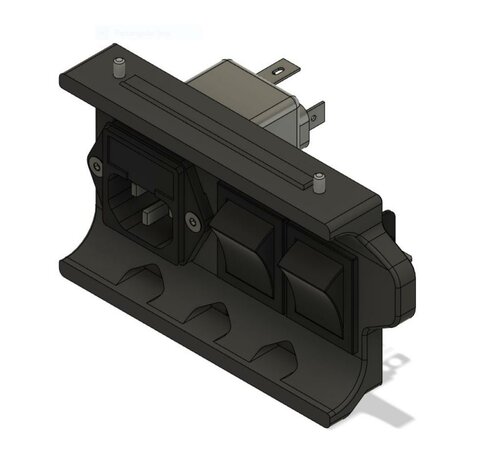
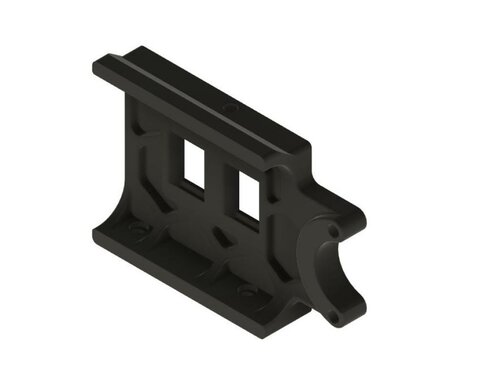
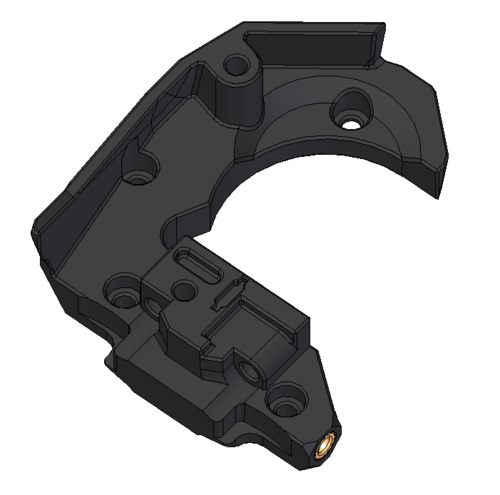
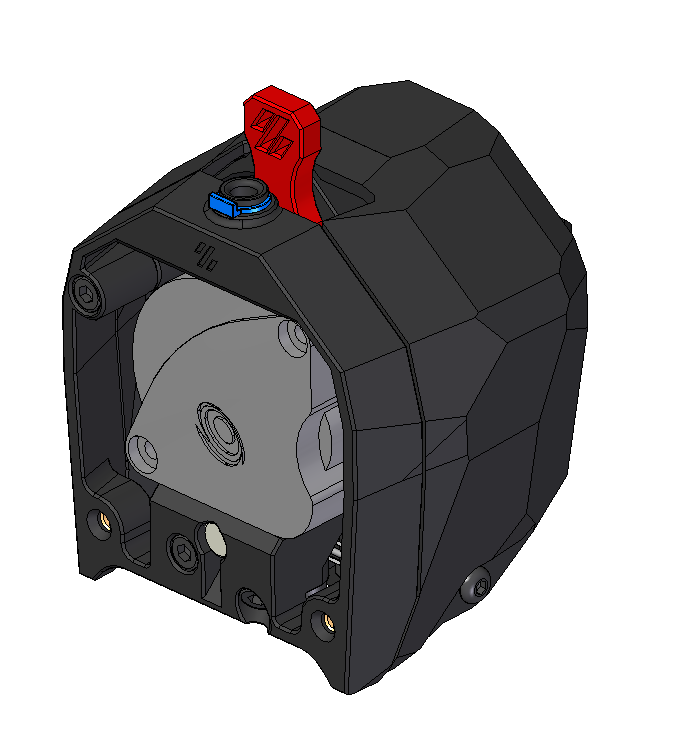
M3 Threaded insert locations
In the front housing there are 2 threaded inserts M3 which needs to be placed on the 'inside' to fixate the actual Stealthburner cover to.
In the rear housing there are 4 threaded inserts M3 to be placed on the back as shown in the image below.
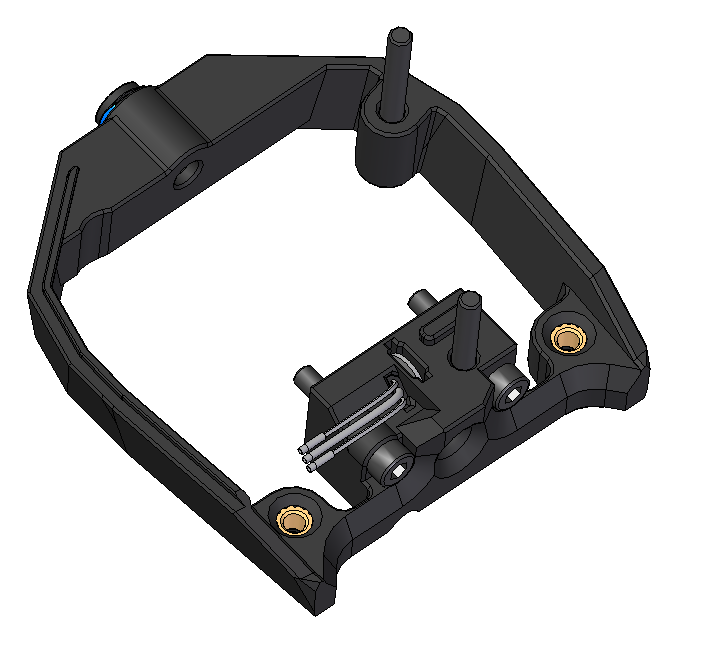
Cable hatch and cable carrier
The standard cable door hatch and cable carrier support can be re-used from the original CW2. Be sure to mount the cable door before mounting the LGX Lite into the housing. You won't be able to reach the fastener once the LGX Lite is placed.
I am not responsible in any way on how this impacts your printer. Use at your own risk.