Search the Community
Showing results for tags 'v2'.
Found 14 results
-

v2 First Build - Blooo Voron 2.4R2 with Mods, of course!
cjkennedy72 posted a topic in Build Diaries
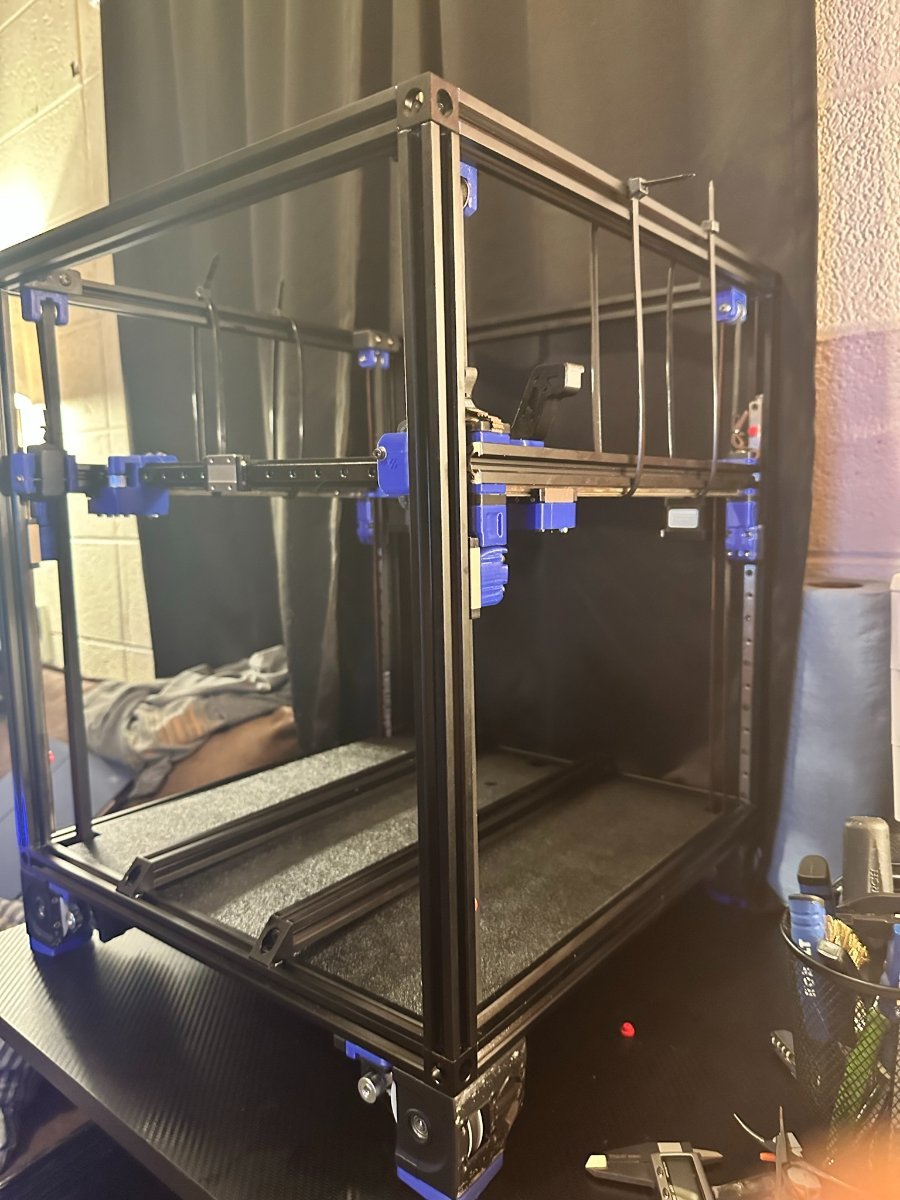
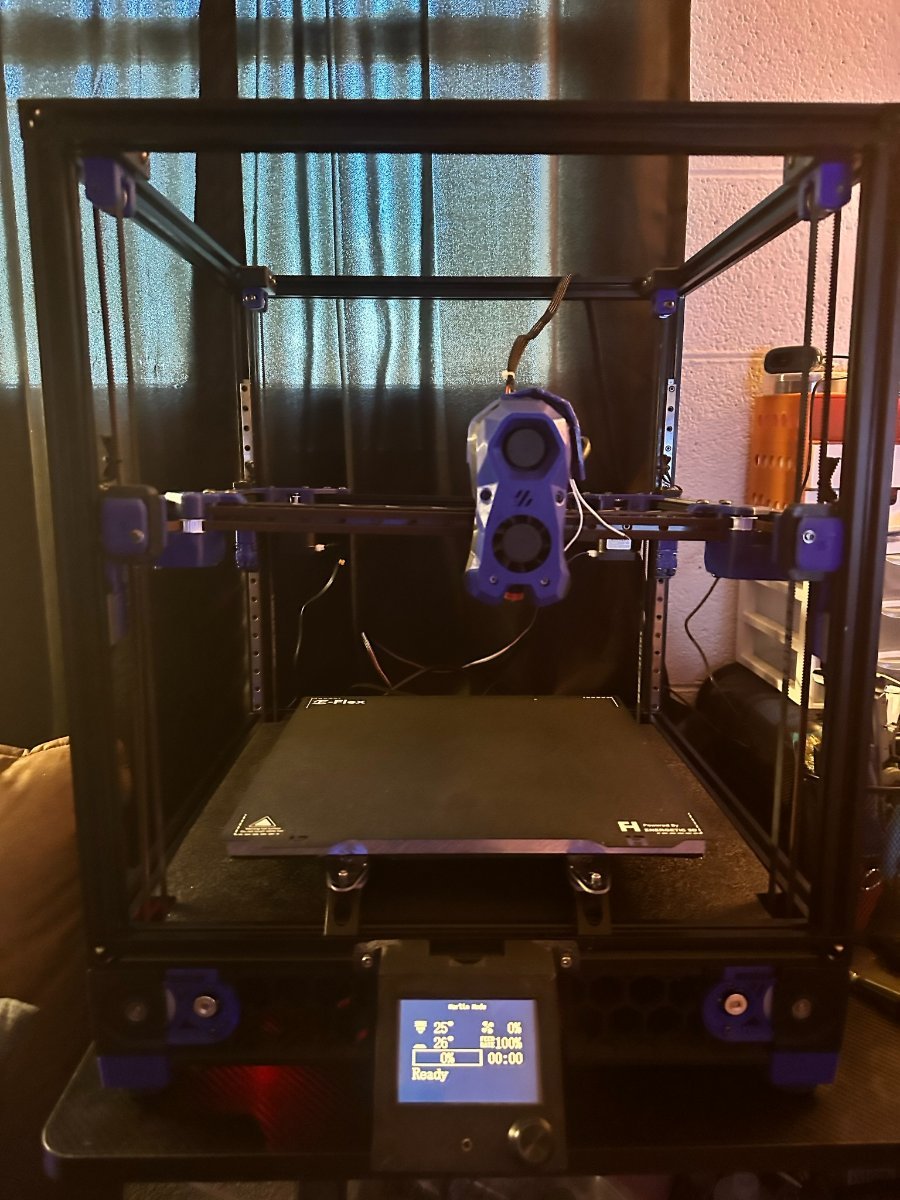
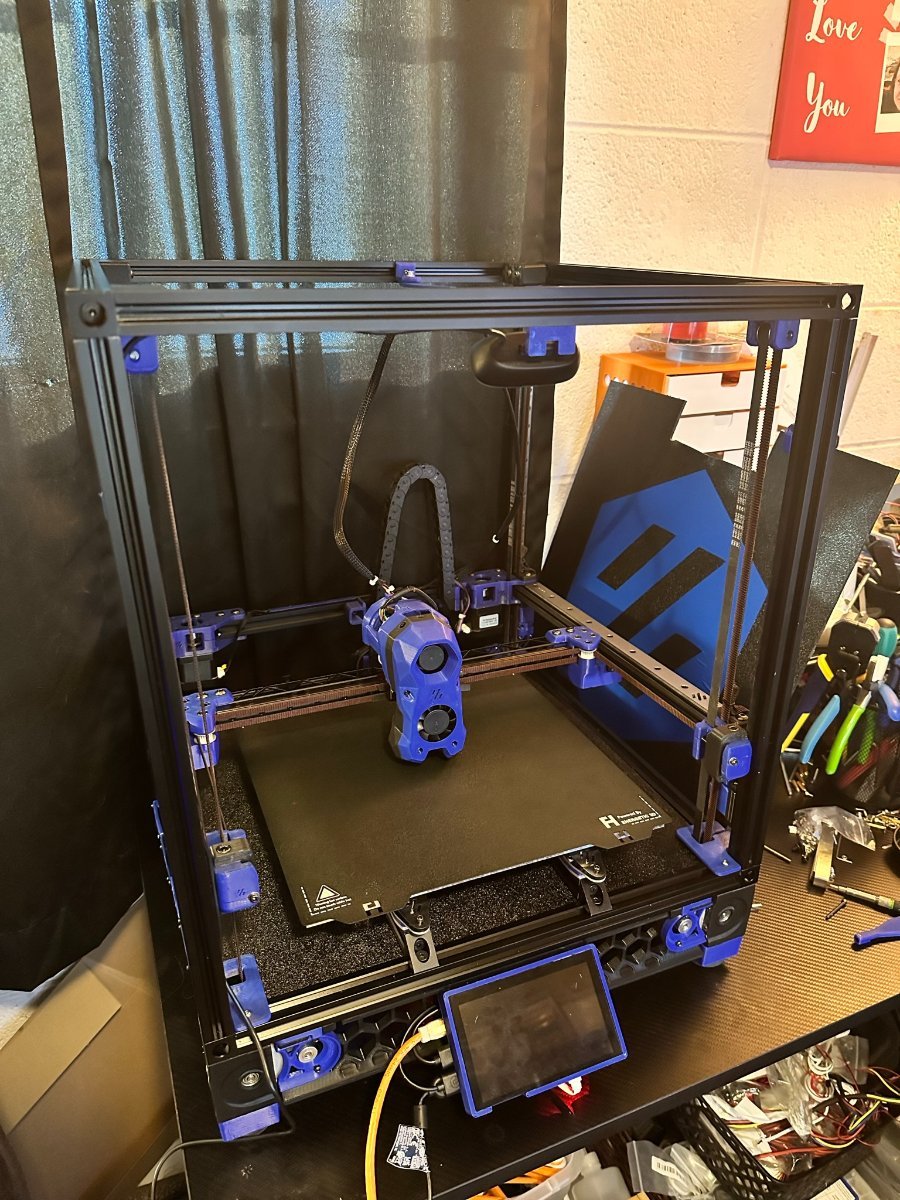
So after tweaking on my first printer, a Creality Ender 3 S1 and then errantly picking up a TronXY X5SA-Pro Kit (poor name, nothing pro about it). The constant fight to get more than 1 print before redoing all the leveing/bed-mesh, blah... blah.. Well... that lead me to building a Voron. Like many, I did a bunch of research, read articles, forum posts, the full manual for about ever open source printer on Github and felt I was on the right track... but then came the new set of decisions... Do I buy a CNC'd kit? Do I buy an LDO kit, or which controller, etc.... I finally settled on a mix of self-sourcing and kits, mainly the motion kit without rails, and the fasteners kit from Amazon. While I might have paid a little more, my time was worth it. So, I started printing my parts on that old Creality and TronXY... Soon, I found I was printing more on the Ender than the CoreXY because at least I could get the job printed first try almost every time. These are the earliest pictures I took as I was building... Lots has changed since then, and here are the latest pics... I replaced the heatbed because the first one was too thick and took forever to heat. I disassembled the Stealthburner and ditched any "lets see if this works" butt-connectors for nice shrink-wrapped soldering work. I installed LEDs, but am still figuring out what is up with those... I also got my camera mounted, the touchscreen with KlipperScreen added using a case from this site and a hack-job on a mount that worked out... I will come back to that later when I get a longer FPC cable. She is about get her back and side panels attached... Just waiting on a couple cable covers to finish printing... The TronXY X5SA-Pro is becoming a VZ-Bot 330 when this is done. I have already printed 80% of the parts while working on the Voron assembly, wiring, testing and all.
-
Version 1.0.0
8 downloads
I know some might feel this is a dumb design but as a tester, I prefer it goes. Just in case things went south Print as standard instruction. Use M3 8mm to mount (You might want to use heat inserts) PETG/ABS is good enough -
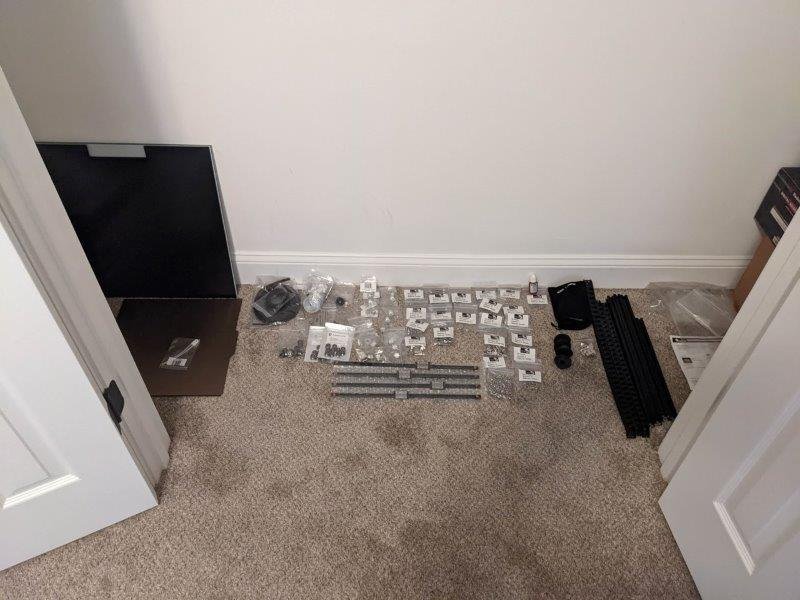
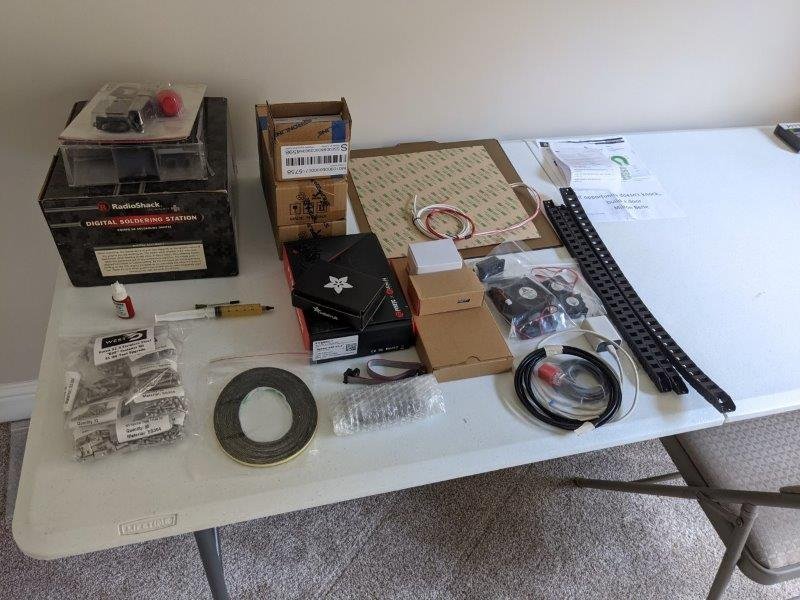
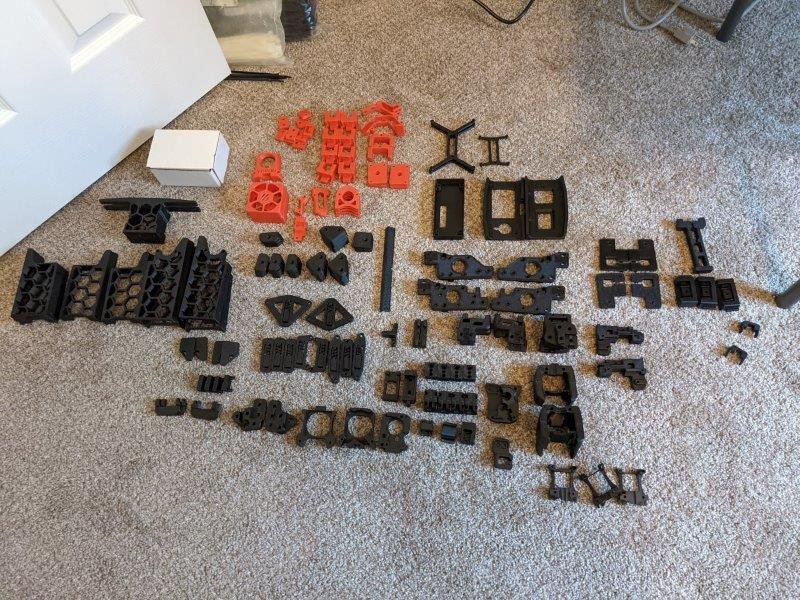
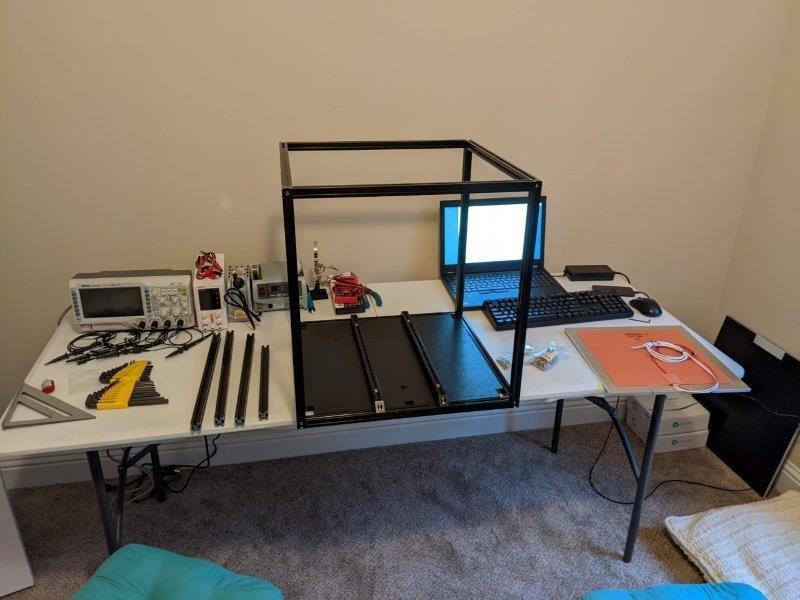
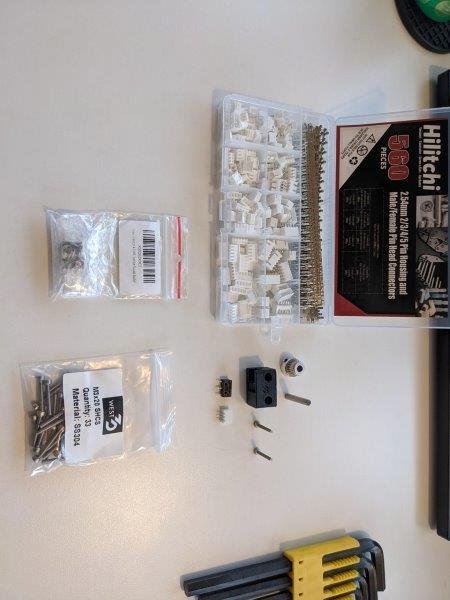
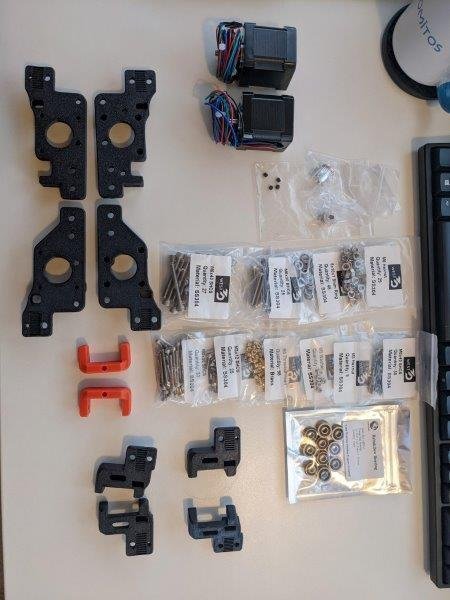
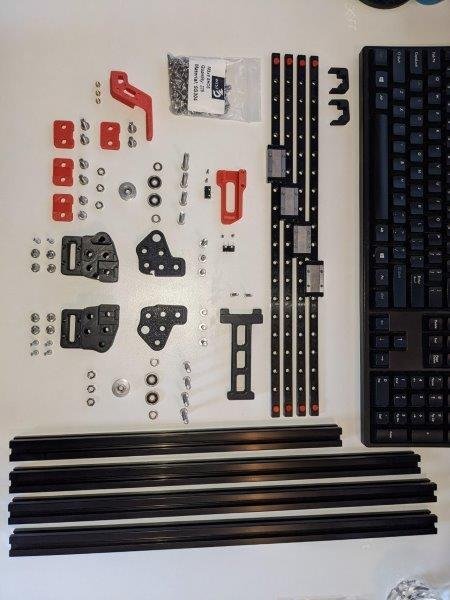
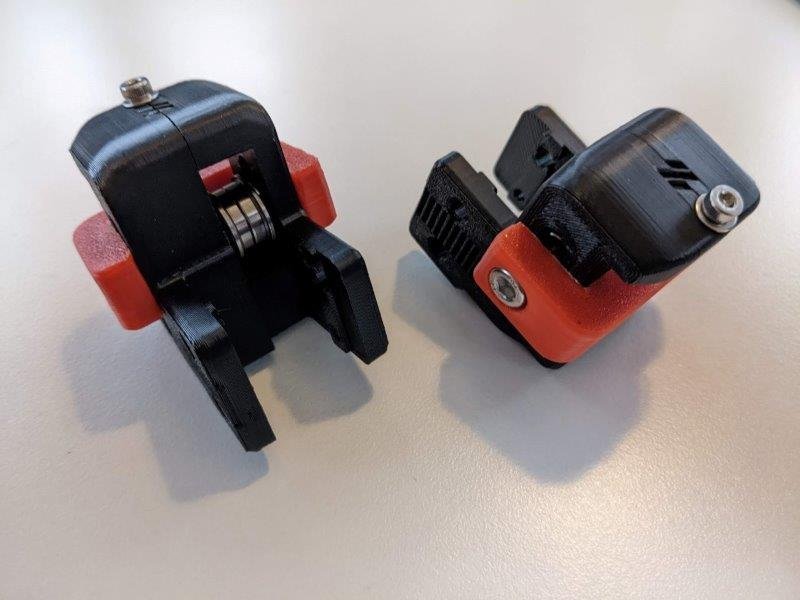
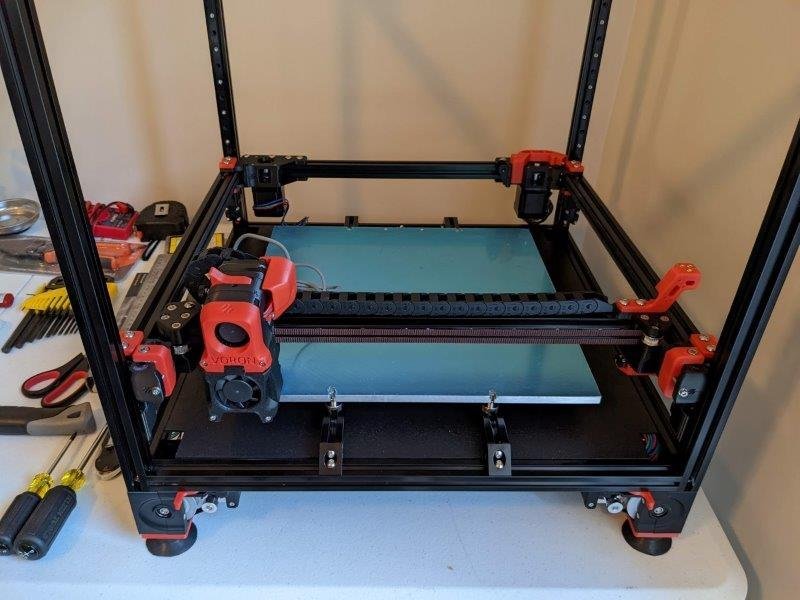
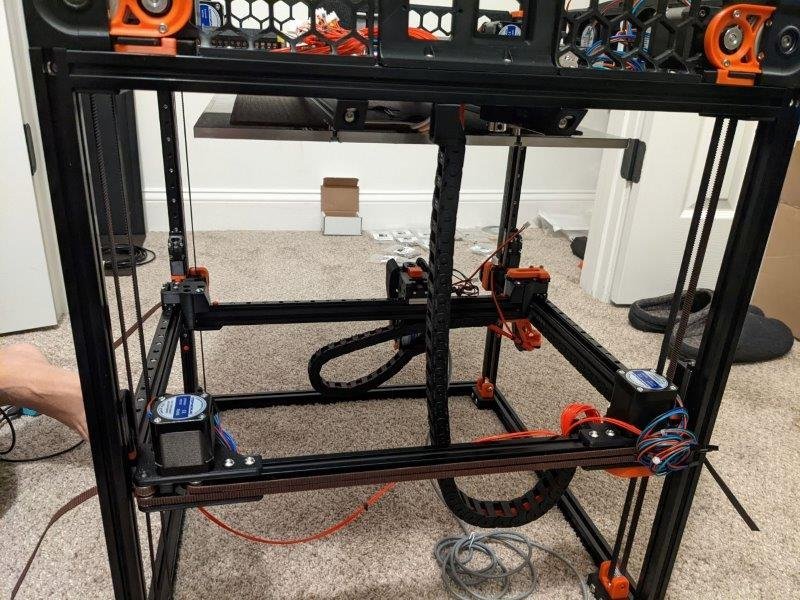
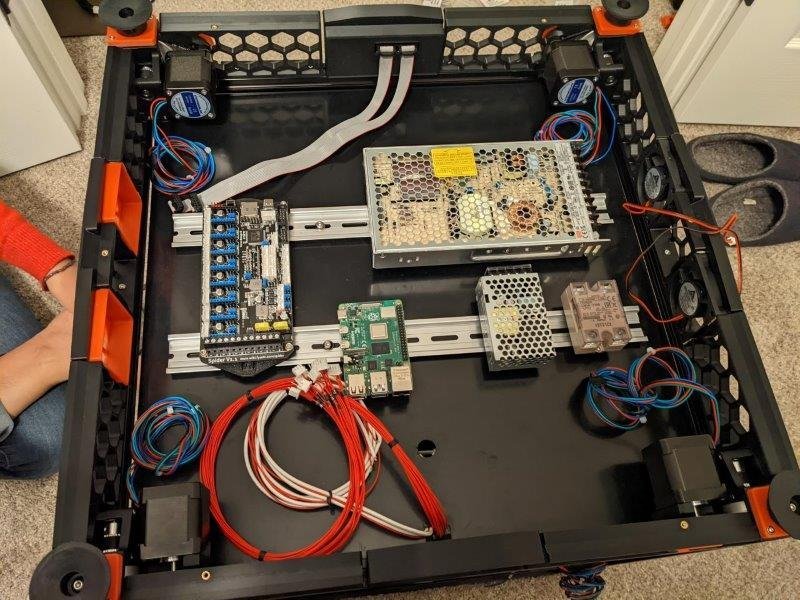
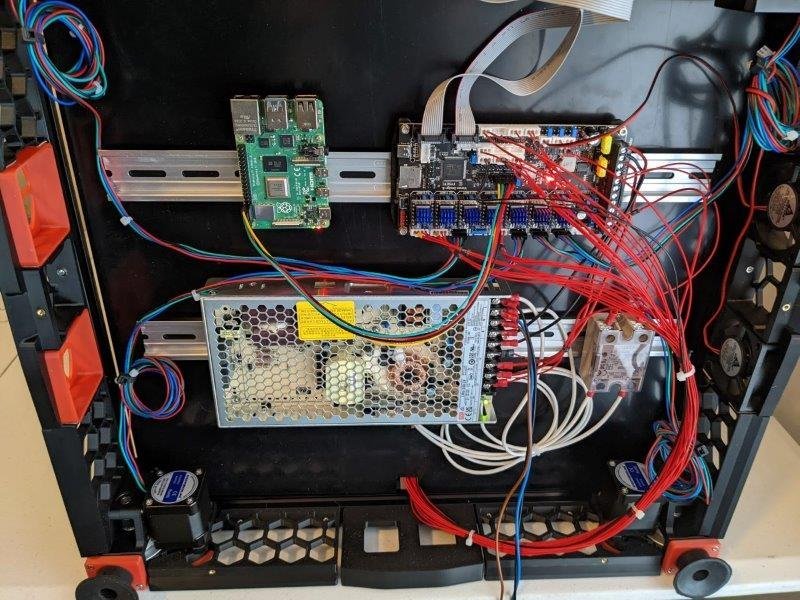
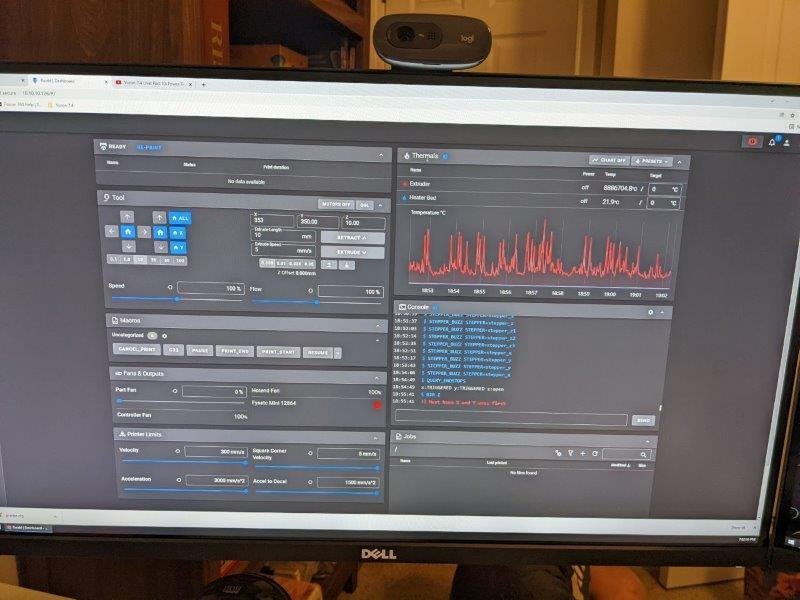
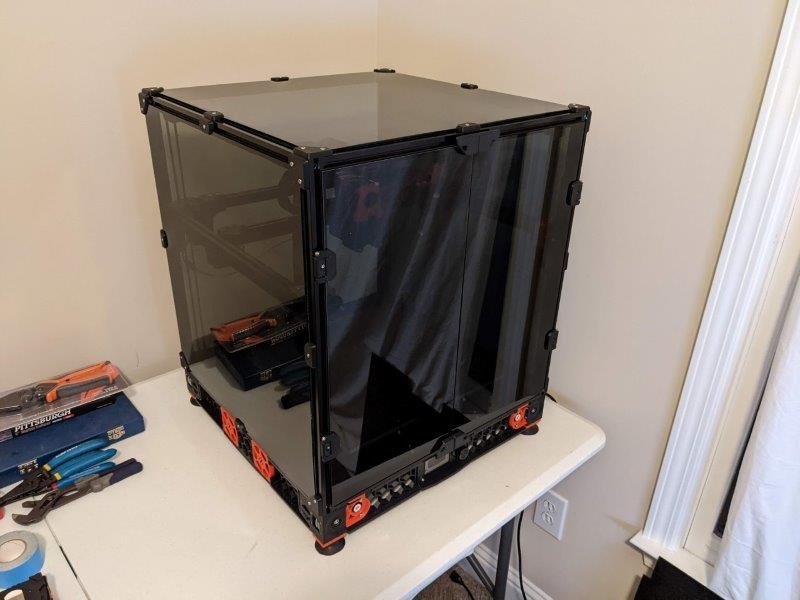
I just finished my build a few weeks ago, and was keeping a log that I was showing to a few of my friends. I'm going to move that over to this forum, and add to it as I make more modifications to my printer in the future. I decided against going with a kit because I knew I'd want to change parts right out of the gate, so I started a sourcing spreadsheet to keep track of pricing and who I was ordering from: Voron Parts Tracking.xlsx My parts started to arrive, so I started making piles: My printed parts were the last to arrive. When they did I started building: I started to feel a little intimidated at this point. All of the components were installed, but I didn't fully grasp how the electronics worked, and the documentation kind of died off in the build manual. I stared at this for a few days while I did some research on the controller board and raspberry pi: Once I had a better understanding of how things were supposed to come together, I simplified the electronics and removed the 5v power supply. I decided to go with the UART connection to the spider, to make the wiring look a little cleaner: I quickly realized my Dragon SF didn't come with a thermistor or heater cartridge. So, while I waited on that to arrive, I installed Fluidd as my web interface and started to become more familiar with the software components: Once I had my software setup and ready to installed my panels: Installed my thermistor and heater cartridge as soon as they arrived and ran my first test using PLA to print a Voron cube: I was so stoked at the quality that this had right out of the gate. I'll add my adventures with upgrades over all of the stock setup in an upcoming post.
-
 Starting building soon, most parts are delivered or in transport now. had some delay of Formbot city lockdown, but LDO is having massive delays also (even worse). Expecting to start building in about two weeks.... to be continued! Voron Kit: Formbot 2.4 R3 350 Vulcan SF Printed Parts: ASA Carbon Black & Neon Yellow (Neon Yellow was self sources, not a default color offered) High Quality prints from Mehmet (Turkey) on Etsy 5 star rating https://www.etsy.com/nl/shop/Yacime3D?ref=simple-shop-header-name&listing_id=1188668167 Wiring: Decided to buy an all black kit + SB kit from OneTwo3D.co.uk LCD: BTT Pi TFT50 v2.0 - BigTreeTech Electronics: Need to decide to mount things normal, or vertical, see what brings best space and cooling. Ventilation/filtering: Nevermore Duo with two Delta fans. Mostly for the hot air distribution, but filtering helps. VEFACH filter outlet MOD
 -
Version 1.0.1
3,274 downloads
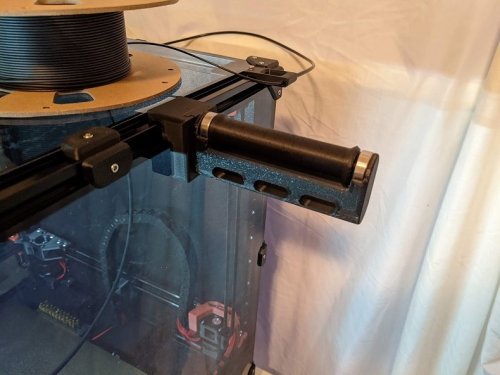
I really like this spool holder and had to make a Voron 2.4 adapter for it. I didn't want it to interfere with the glass panels, so it's been designed to avoid touching them at all. BOM: Roller Holder Mount x1 Roller Holder x1 Roller x1 Skateboard Bearing x2 (can be substituted with plastic bearings provided as stl files) 3x12mm SHCS x1 3mm T-nut This has been a welcome addition to my printer. Print Settings: Supports: Yes Resolution: 0.2mm Infill: 40-50% Wall Thickness: 1.6mm Here is a link to the original version of this spool holder: https://www.thingiverse.com/thing:3020026 Update: 5/4/2022 Depending on where you mount the spool holder and how you are routing your filament, you may need an extended bowden tube guide. After some questions around this, I have included the STL file for the an extended version of the stock Voron 2.4 bowden tube guide incase you run into this issue.- 2 comments
-
- 24
-

-

-
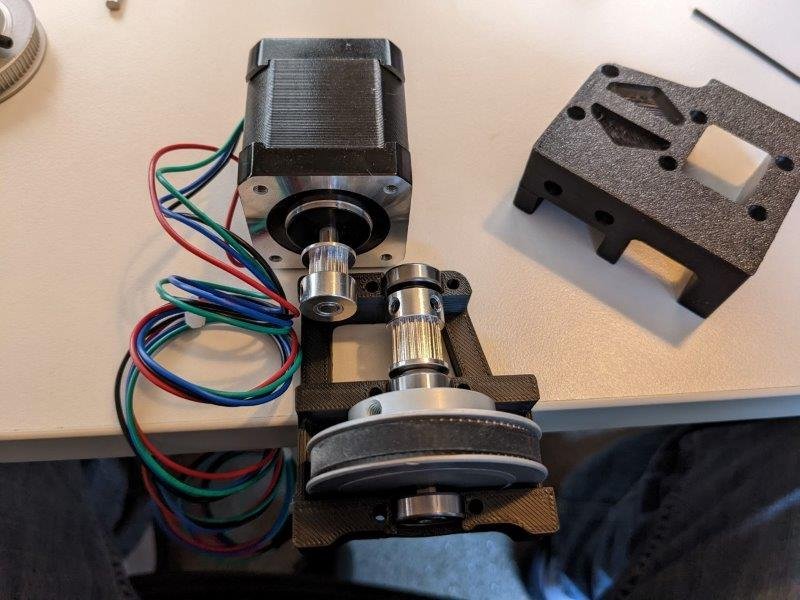
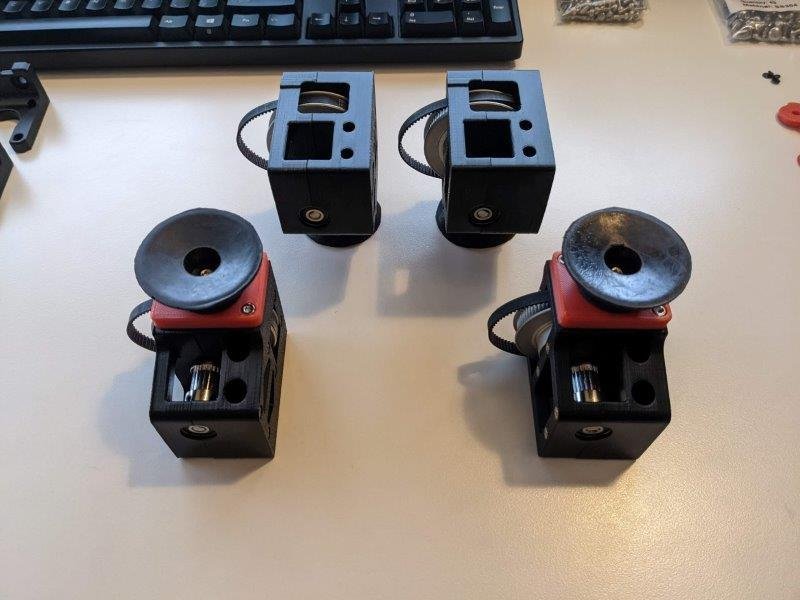
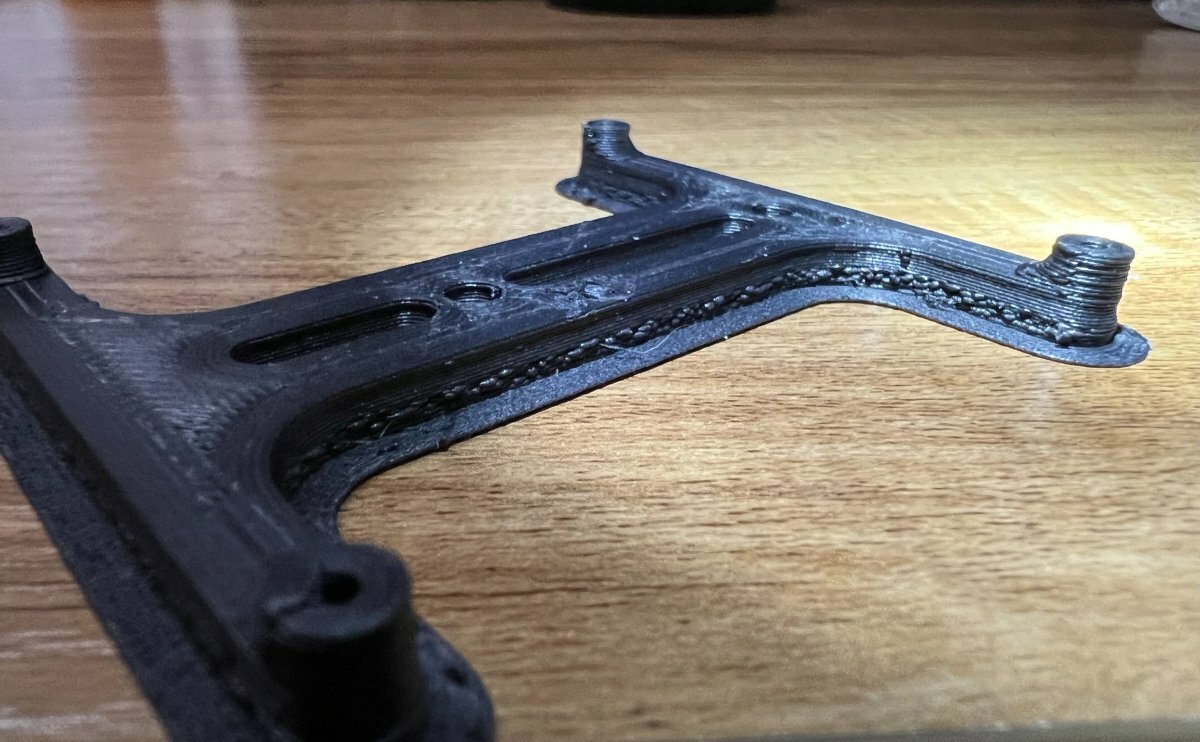
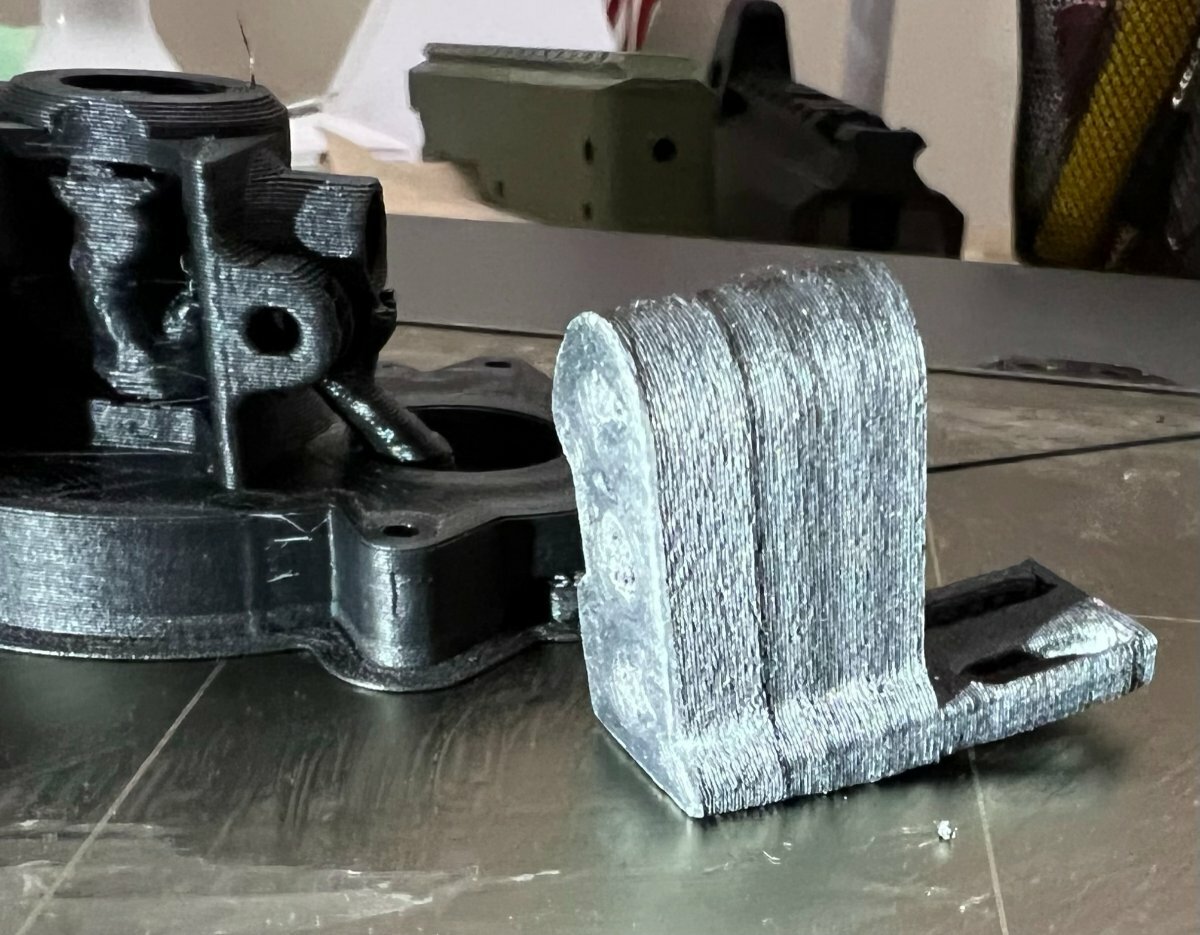
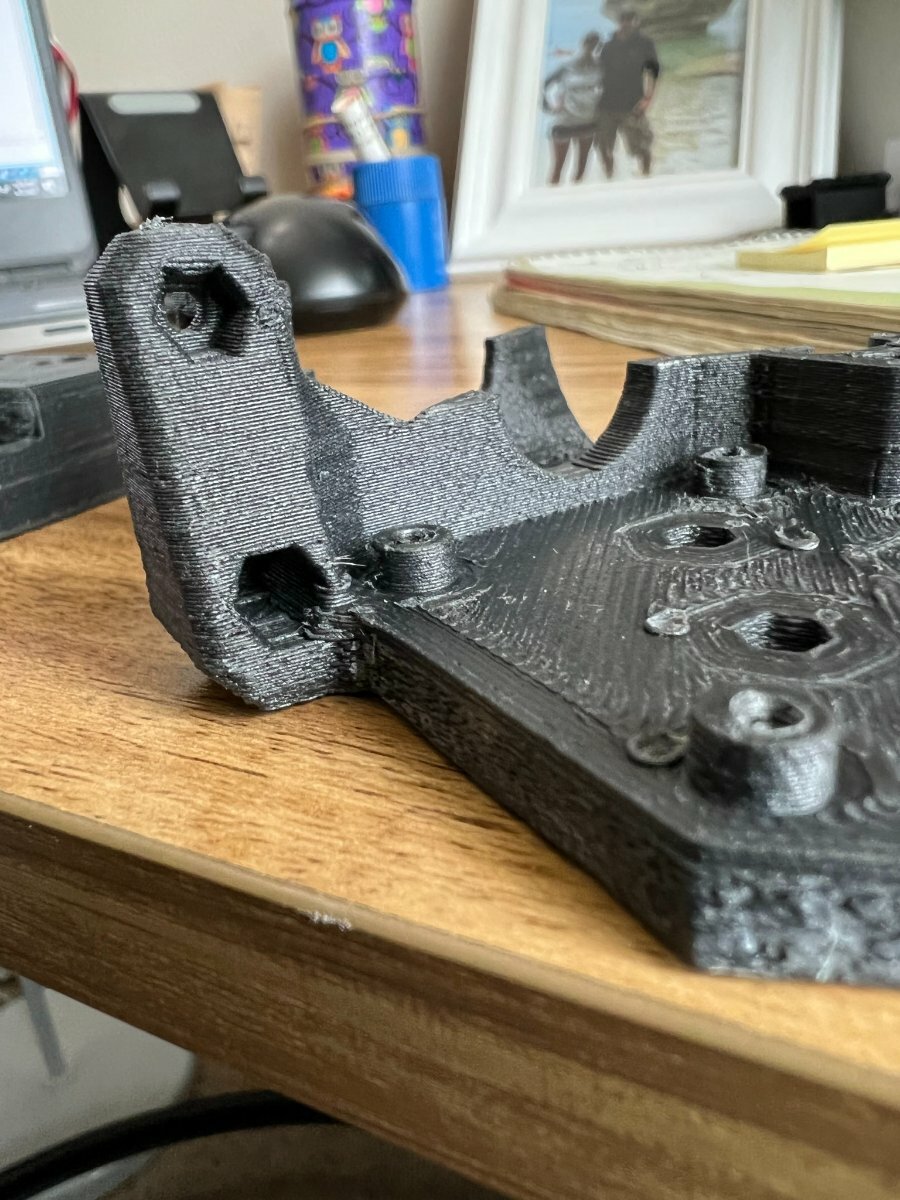
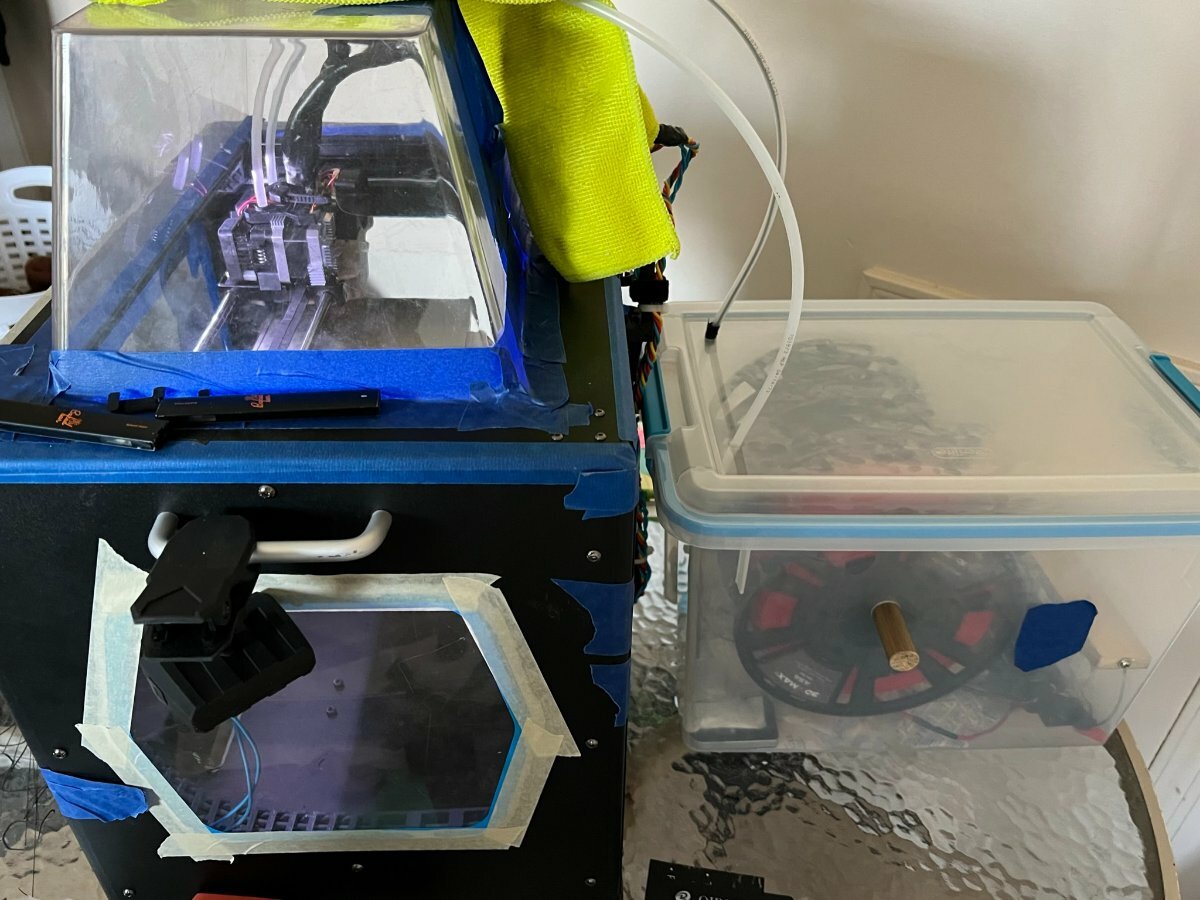
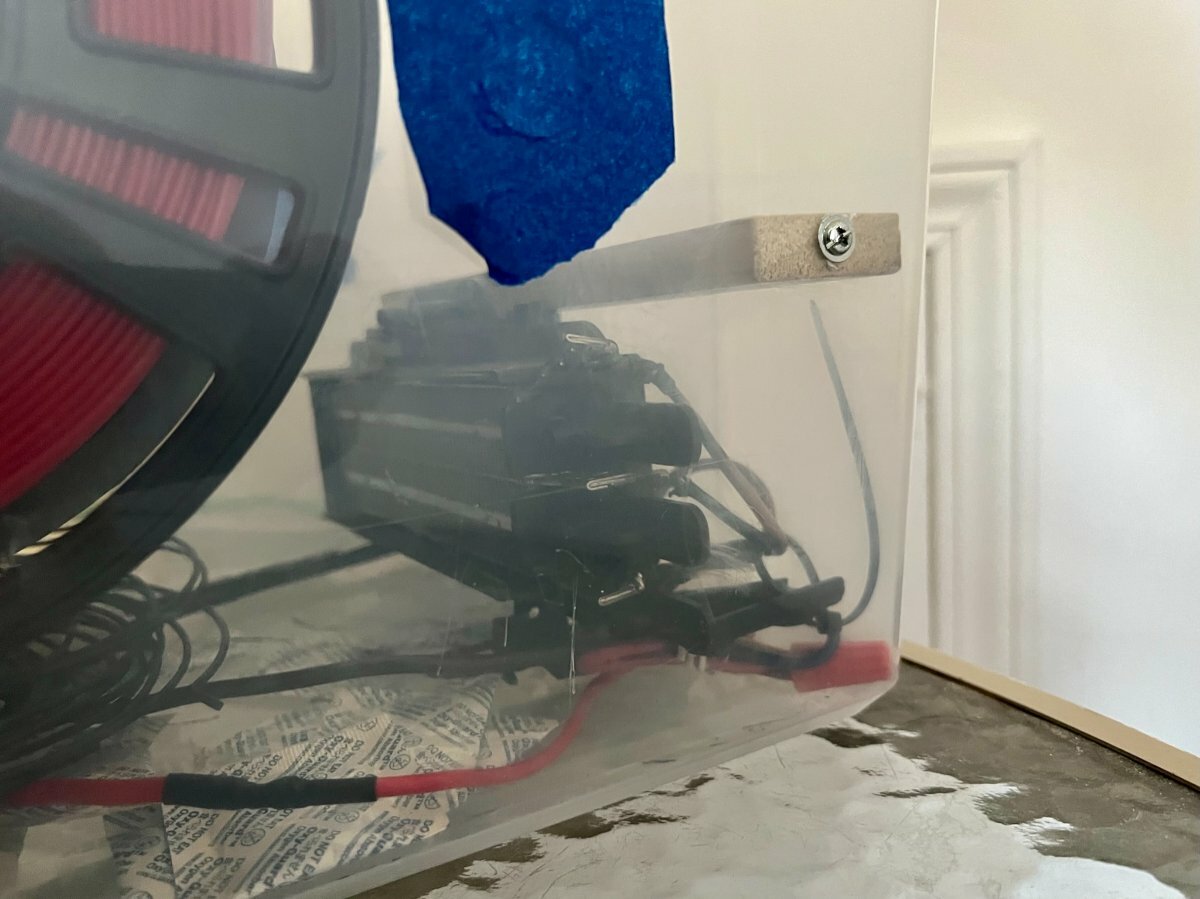
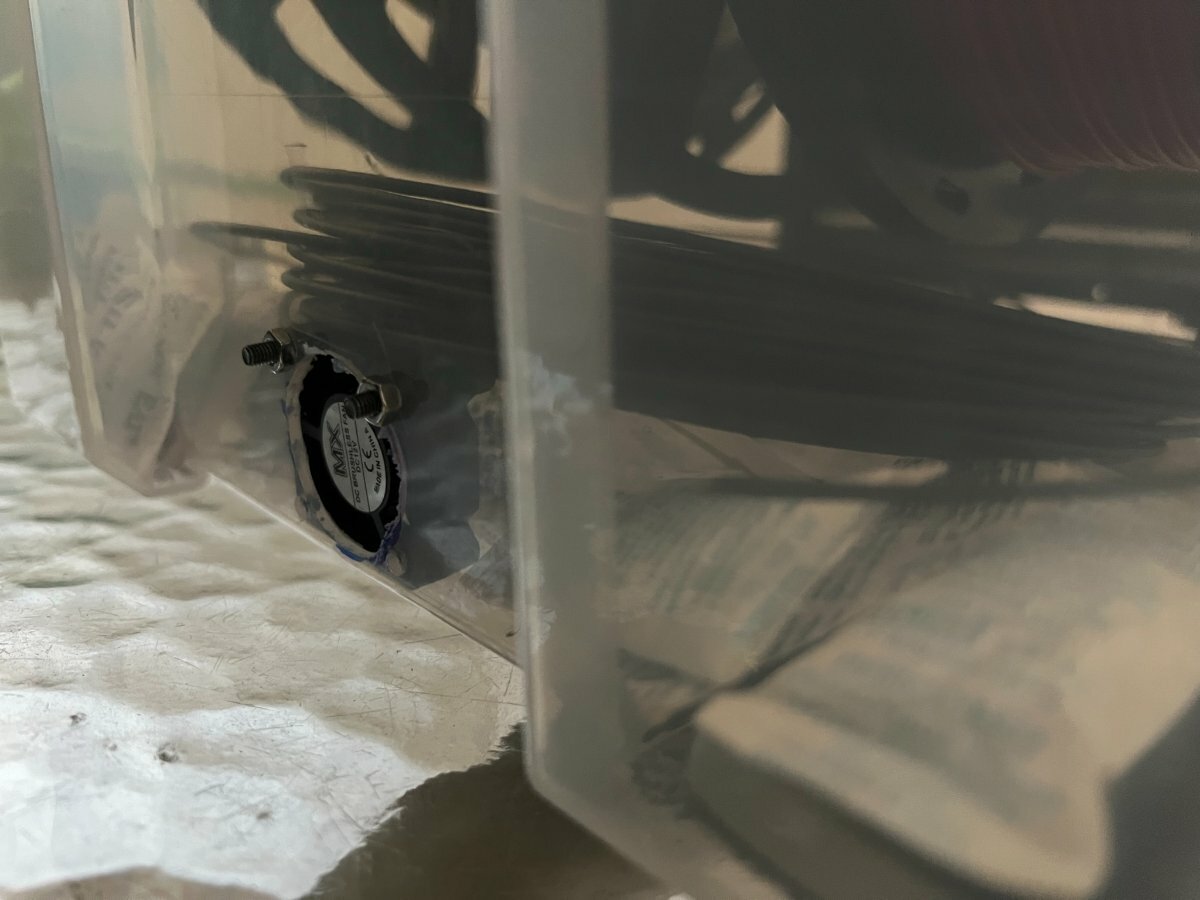
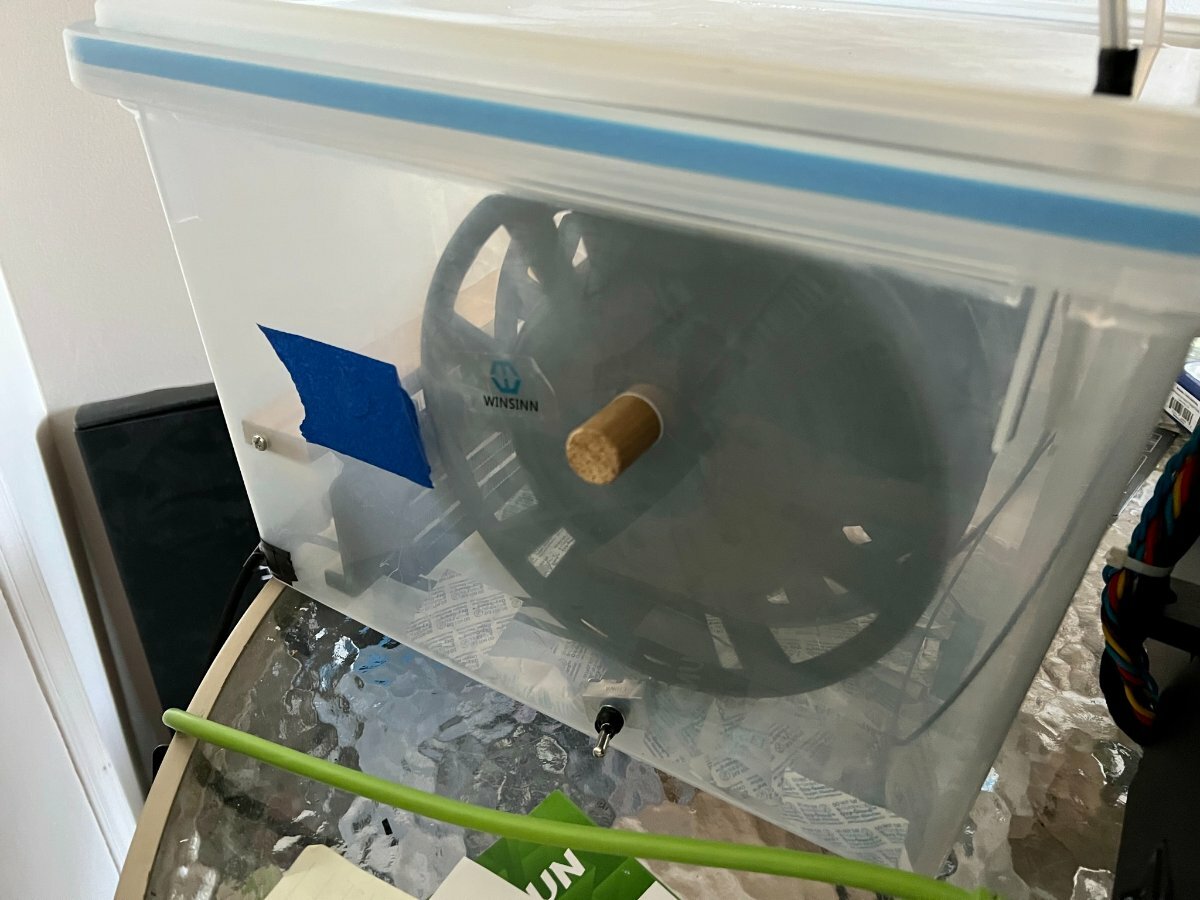
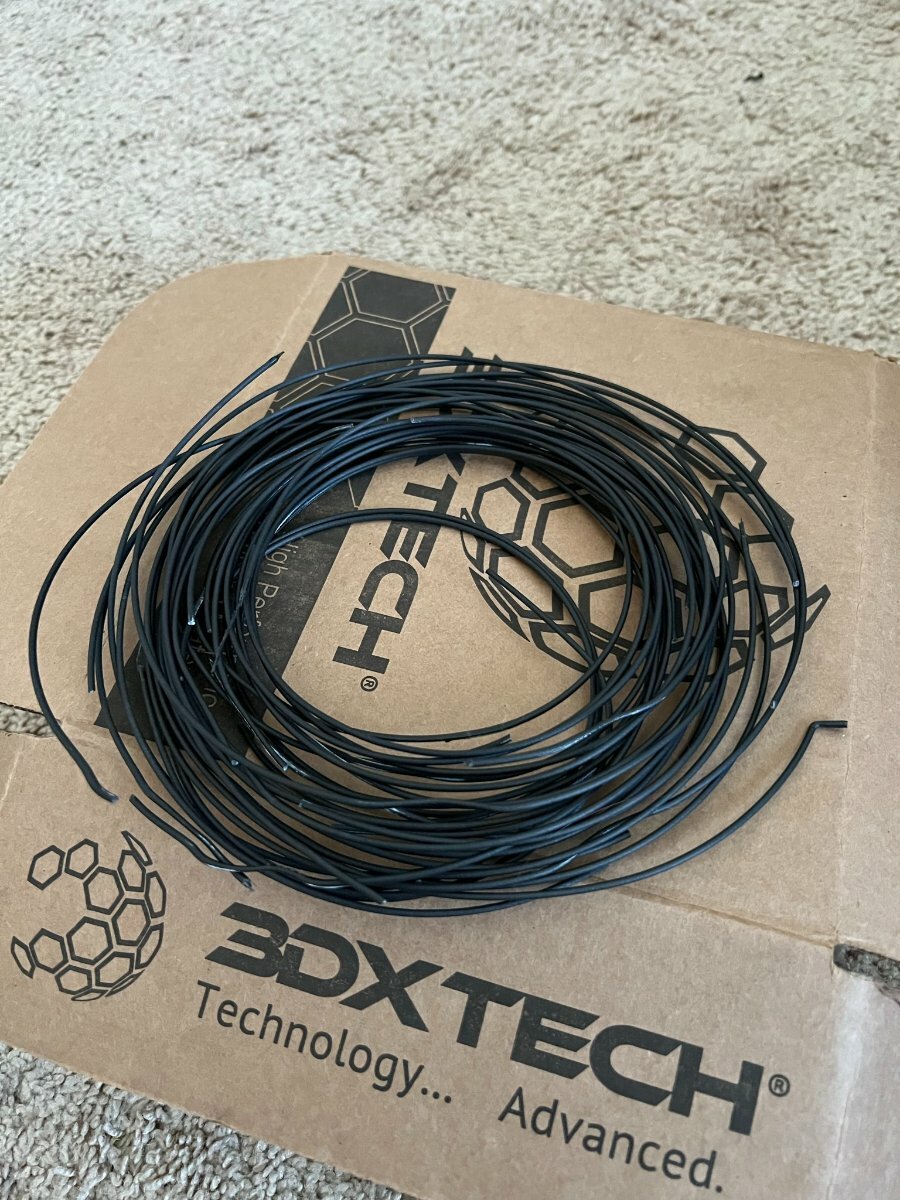
Building My First 3D Printer I got my first 3D printer back in January and upon research it was almost impossible not to come across the name 'Voron' Besides the fact that red is one of my favorite colors. When I saw the Stealth Burner for the first time I thought "I have to have that!" The dual fans looked so functional and the placement seemed well thought out compared to the run of the mill print heads. At first I didn't know Voron was an open source project. When I searched google I found some kits and the hefty up front cost prevented me from looking into them any further. I figured it was best to focus on getting the current printer I had to work to the best of its abilities. After a few months and a few spools of a filament I felt I was reaching the limits of printing quality and I wanted to try and cut down on the print times. For the Qidi Tech there wasn't much out there for aftermarket or even printable upgrades aside from getting a different mainboard. So I picked up an Ender 3 Max instead. Boy, what a headache that has been LOL. The E3Max has been a love hate relationship. I got it brand new for a great deal but that didn't come without issues. Some of the wires were sliced. The Extrusions where not machined square. The Y carriage ears were bent where it bolts to the build plate. AND I let the magic smoke out of the mainboard I replaced that with an SKR E3V3 and the USB port decided it didn't want to be connected. It ran pretty quickly and smoothly with Klipper before I decided to be lazy and not check my wires before hooking up a second Z I have it running via USART but still after all that I really wasn't 100% satisfied with the Ender even after upgrading to linear rails, DD, and a dual Z. Frustrated with all of that I decided it was time to re-visit the Voron. I went to the website to see what made these things so fancy (I still didn't know it was a print it yourself kind of deal LOL) Once I went through the configurator and found the sourcing guide my eyes lit up. I finally realized how to get a Voron. I can build it! I loved this idea. Something I could build myself with a proper BOM to go with! After downloading the build, I opened the assembly manual to see what kind of printing instructions there were. The first thing I saw was ABS. I thought crap. This ain't gonna work. The fanciest filament I have ever printed with was PETG and all the stories I hear about printing ABS are that its a PITA to print. The manual mentions not to deviate from this and I have to agree considering the temperatures an enclosed 3D printer sees. Then it dawned on me. I remembered that my Qidi Tech manual mentioned something about the MAX printing temps being higher than average. I check the manual and sure enough the printer is capable of printing at 280/130! Cool! Now to find some filament Well I'm a car guy so some type of carbon fiber was on my list of filaments to try. I came across 3DXTech who had some ASA-CF that looked pretty. So I ordered a .5k spool and thought I would use that to get the ball rolling. Bonus part is they are a Michigan company! Well as many of the experienced users may know. Ya can't just grab a roll of ASA/ABS throw it on the spool holder, crank the heat and go to town. Lets just say I had to create my own "lessons learned" document for this LOL. I couldn't figure out what was going on! At first I thought I wasn't getting up to temp. I wasn't skipping on the filament but when I watched it extrude, the filament appeared "chunky" So I turned up the heat! That seemed like it made things better when it got up a few layers but the first few were still horrible. 3DXTech recommends their ASA-CF filament be dried at 80c for four hours. The way I was drying the filament at first was by using the printer enclosure and placing the filament in a box with some desiccant packs and turned the build plate on with the box propped up on the build plate. Since I had no idea how warm it was really getting in there I let it dry for about +6 hours lol. After that I did another print and it came out 100x better. With those findings I decided it was time to build a dry box. I took apart an old space heater and took the ceramic heater out and used that with the mechanical thermostat it had for my heat source. I screwed the heater to a board then screwed the board in place inside a tote. At first I just tossed the filament in the box to see what the temp would average. The temp gauge I had was reading around 60c consistently so I left it that way for a few hours. I come back to check on it and the temperature gauge had shut off. I opened the box to check the filament and boy was she warm I picked up the temp gauge and it warped to where the battery cover popped off When I checked the filament it had even warped the whole side of the spool! When I moved the box the spool leaned up against a heat shield I made. It didn't turn it into a melted mess but the whole side of the roll was warped lol. This was pretty much a brand new spool I was able to salvage most of it but lost a good chunk too. I shared a photo of that mess too. So for a spool holder I just drilled a hole through each side of the tote and shoved a wooden dowel through. The tote is wide enough to accommodate either 2x 1k spools or 4x 0.5k spools. Drilled a couple of holes in the lid and stuffed some PTFE tubing in them and ran that to the extruders. Done. LOL. Its very crude but works very well. Ill add some photos of that as well. Now I finally have the filament and printing temps figured out so I am ready to start this journey. I plan to self source everything I can but may purchase a bundle such as a frame kit or hardware kit if its the more economical option that wont sacrifice function or quality. I will be using 3DXTech ASA-CF for the primary color and 3DXTech ASA Red as the accent color. The red has a nice matte finish to it that I really like. I plan to print everything on my Qidi Tech 1 dual extruder, with the micro swiss upgraded all metal hot ends and A2 nozzles. Hopefully the build space is big enough To start off I'll share some photos of what I learned and the test prints that didn't work out. I still need to buy everything else for this build but I figured the printing was gonna give me the most trouble. So here we go!
-
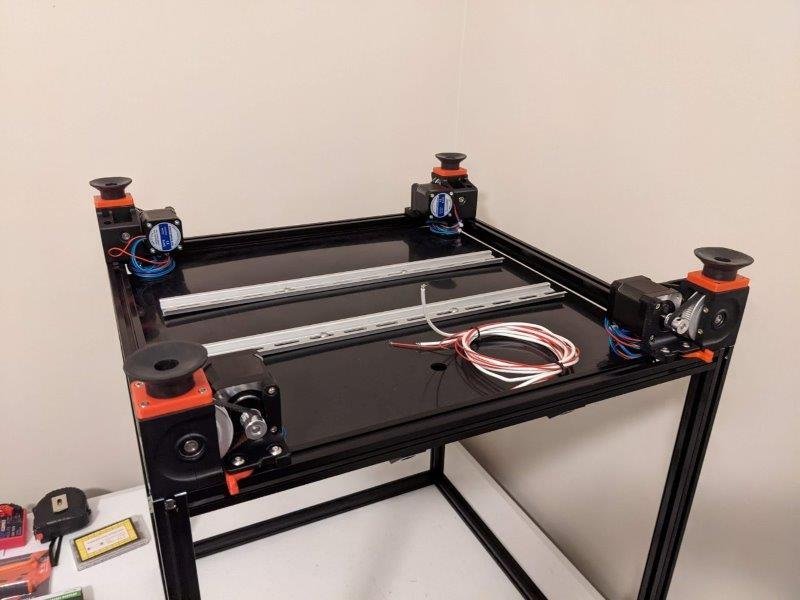
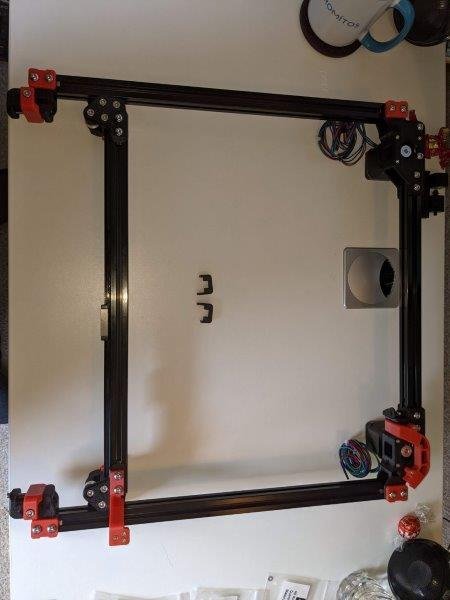
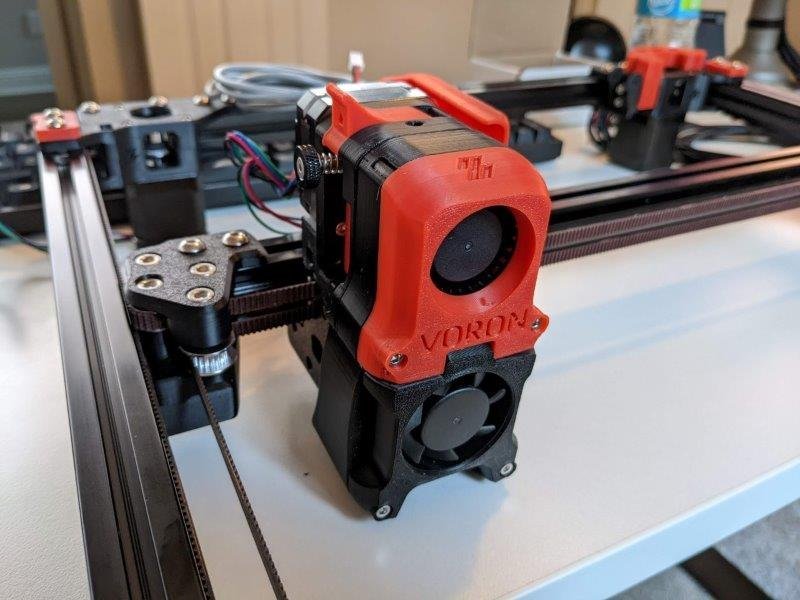
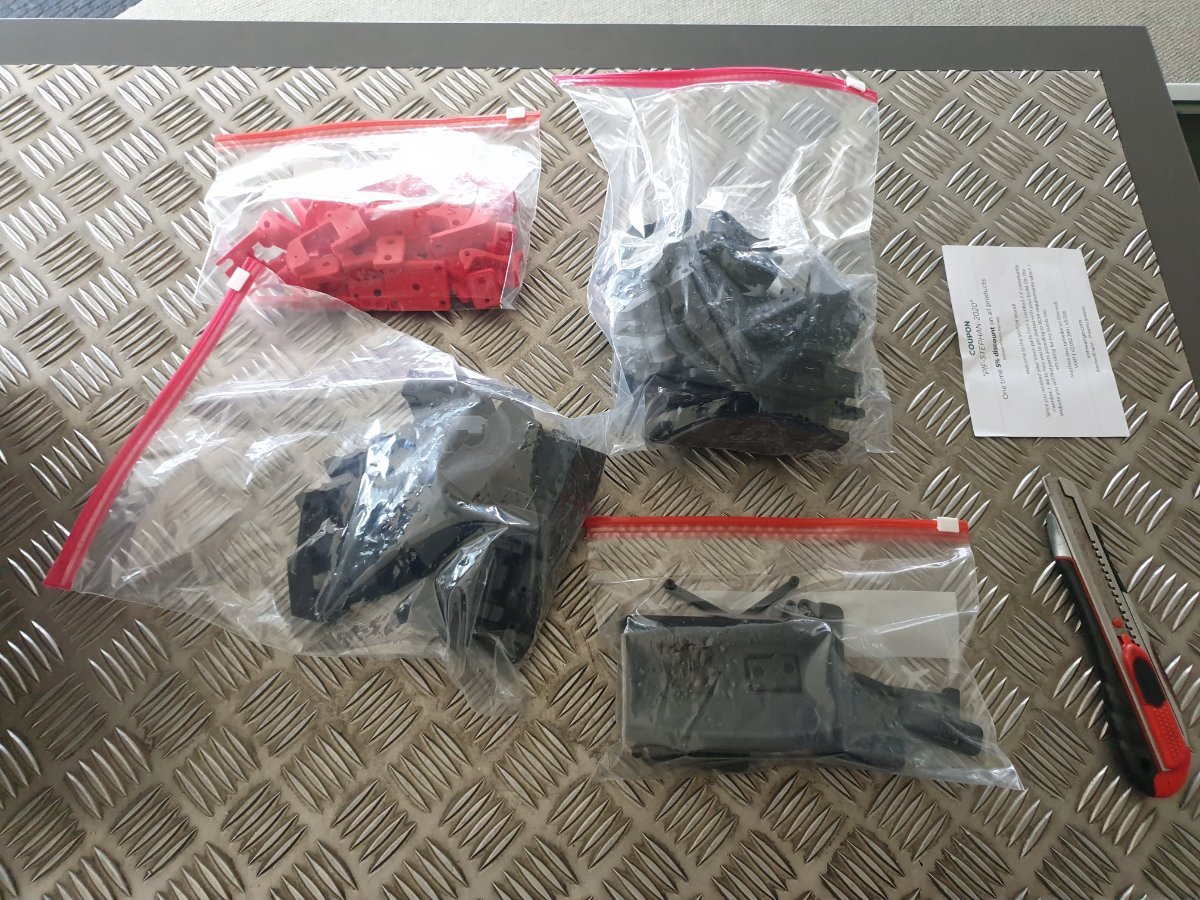
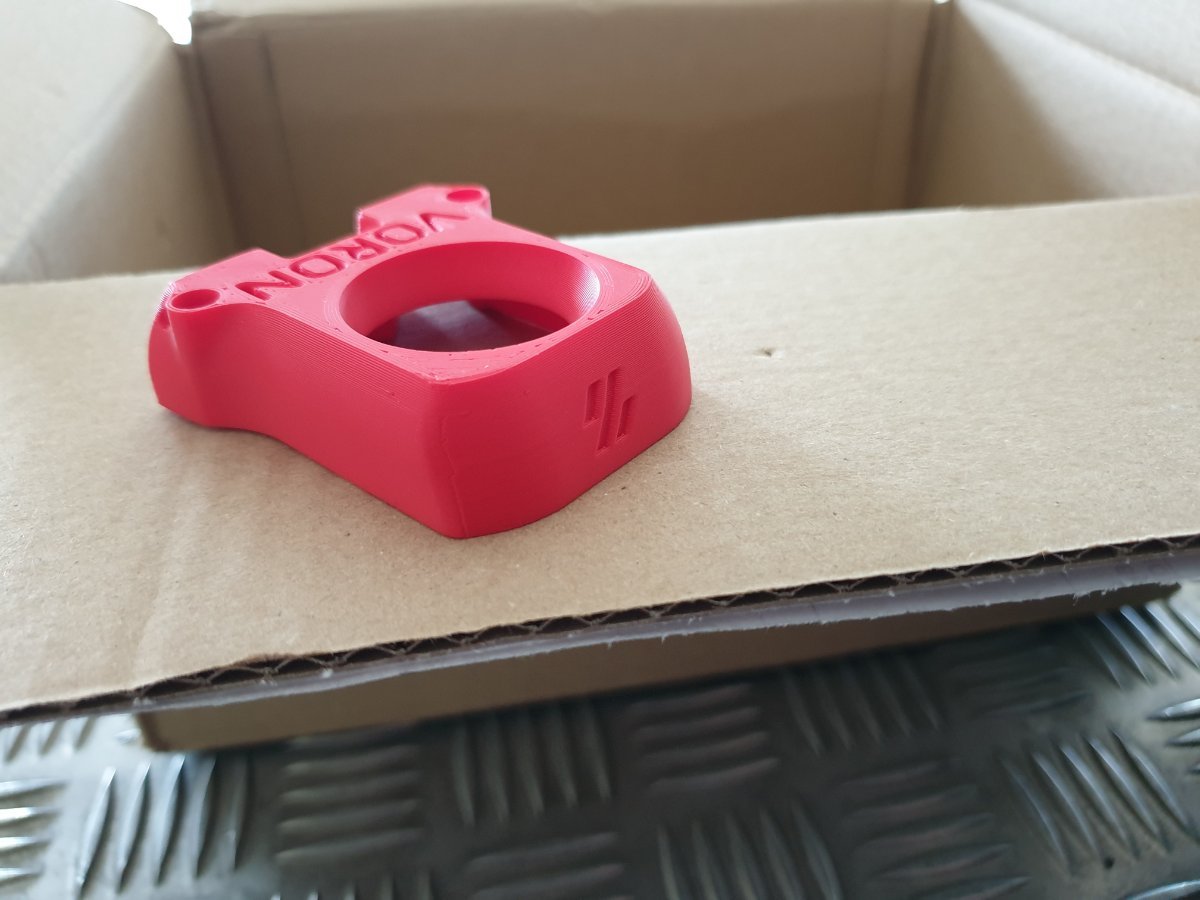
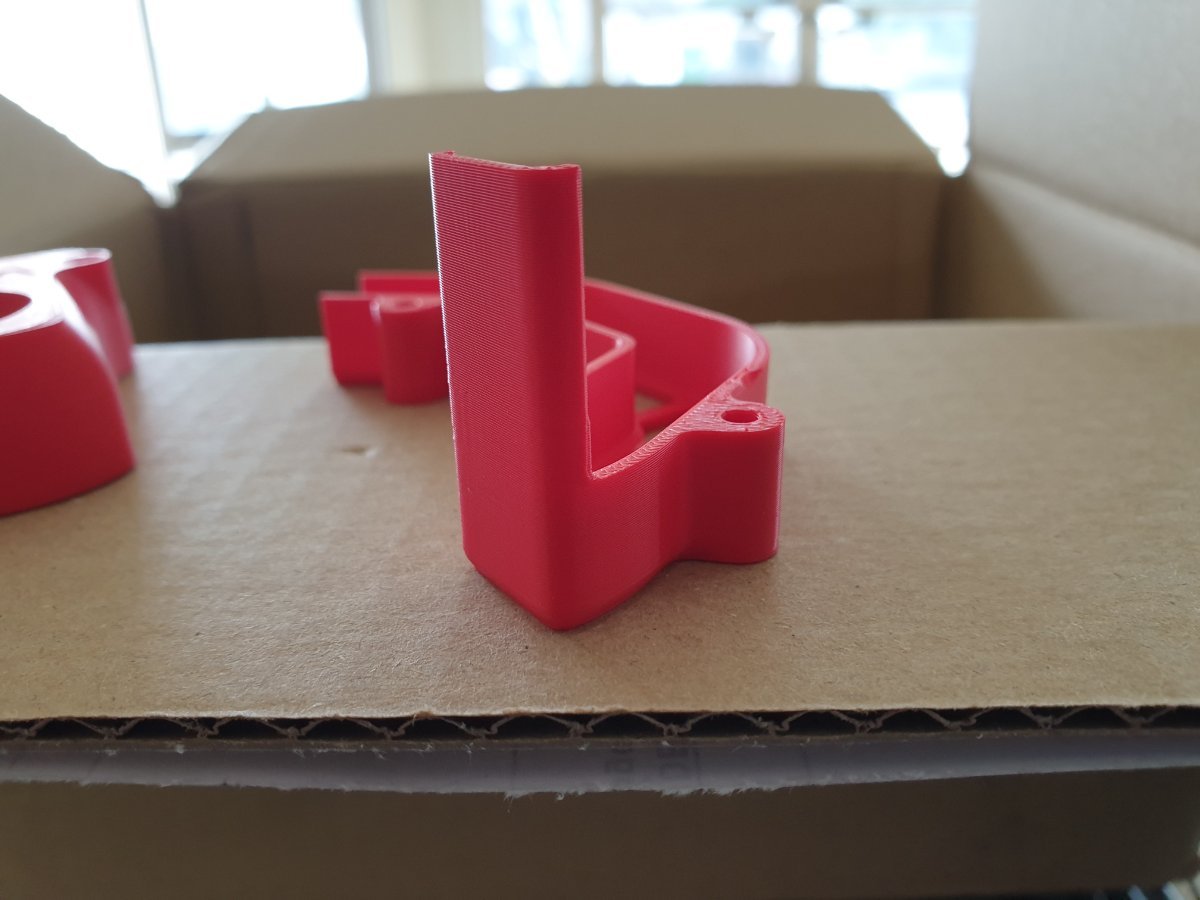
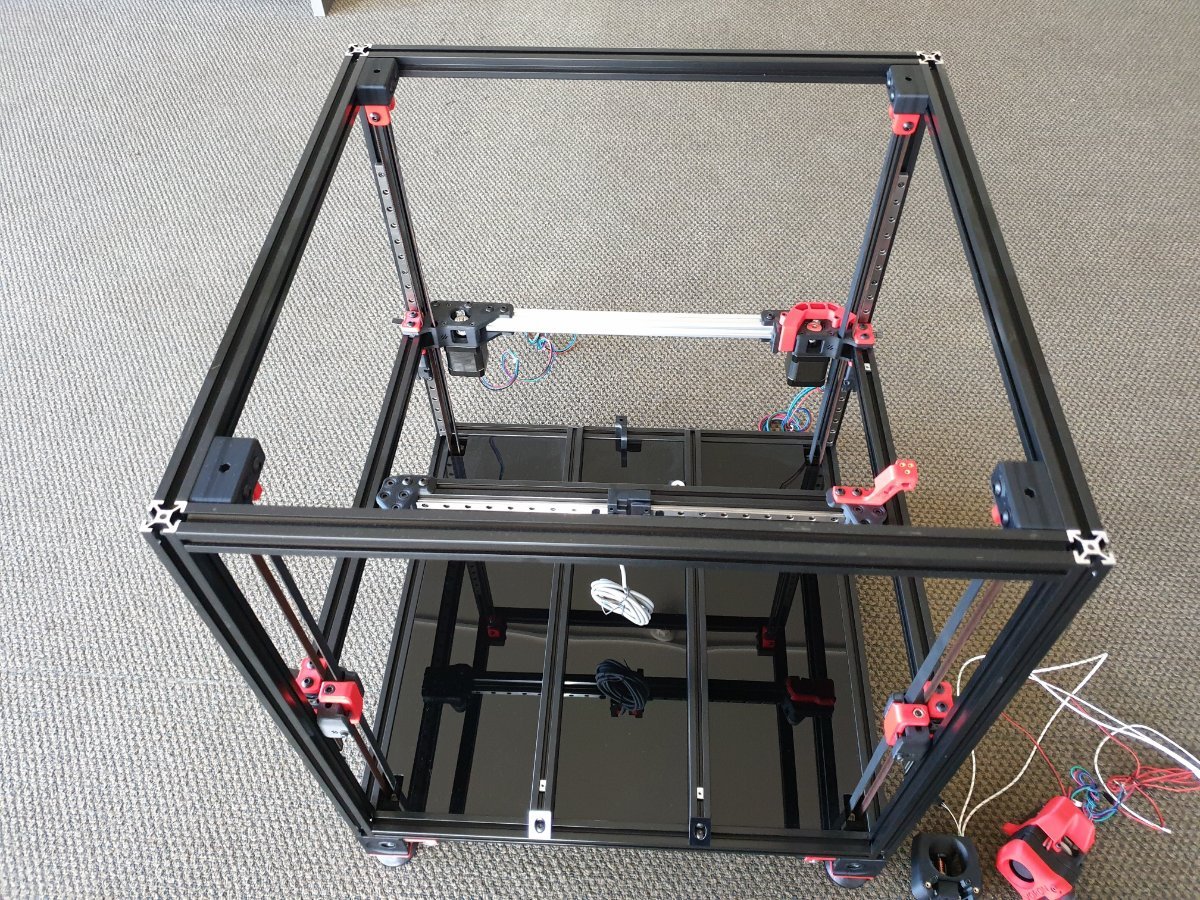
Been recommended to start a build diary for others that want to do the same. I'm not good at keeping document so will try my best. All start early late 2020 to early 2021 at the time there are no recommended kit available, to ensure the build quality is good I went with PIF and self sourcing parts. Sign up the PIF to wait for the queue and start to using the voron sourcing guide to order parts not all ships to my country(New Zealand) PIF printed parts showed up first the print is very good worth the wait. Parts I've order did not show up till mid May due to Covid and shipping is very slow, some parts were wrong or was not up to standard I would use in the printer. So had to order replacements from other vender on aliexpress. More parts show up around mid June now I've got enough parts to start the build and wait for more parts to come in.(sorry did not take any photo during the build) This is how far I've got cable chain were not good so have order igus cable chain as show in photo. Also the extrusions kit I got were short of the rear extrusion for the AB drive its on the way to me now should have it next week if tracking is right. I found the extrusion from my mendelmax 1.5 is the right length so used for now. Will start the wiring soon as I finish this post and hope to get it to print by next weekend. Parts I've got on hand to install - Linneo wiring harness, BTT Octopus v1.1, tool head PCB, all electronics parts, heat bed and panels. Not too happy about the heat bed may order a new one if not great once heated. Have been looking at the kits on offer now and the quality is fairly good I would recommend anyone if you are not patient enough try not to self source. Also I've notice more and more vender are showing up that carrying quality parts for the Voron its making things easier for me to order parts to finish and upgrade at the same time.
- 30 replies
-
- 4
-
-
- v2
- selfsourced
- (and 1 more)
-
It took a while to get the nerve up to attempt this build. I have been struggling with speed on my other printers knowing that the limitations were due to the bed sliding back and forth. After a few months of of research and watching the speed benchy challenge, i was and am very sure i found the next printer that i was after. Building a printer is always intimidating no matter how many you have built. I got excited and went for it in the form of a Formbot kit. I looked to sourcing everything myself for about 5 minutes... maybe on the zero i will start next but i have plans for this printer sooner rather than later. I also wanted to build a larger volume printer. soooo friken sold on building this at this point! My counterparts want me to enroll in classes.. i guess 5 printers that are all of different flavors is too much for non-hobbyists to handle in thought. These are the same counterparts that ask for random odds and ends from antennae mounts to cup holders on their off road rigs that i happily and extatically design and print for a beer here and there. The frame was not like anything i have done in the past.. "blind fastening"... lets try it! I spent a few hours getting everything together, double/ triple checking with 2.4.6 blocks clamped in place while i added Loctite and did a final tighten corner by corner. It worked well and everything measured square. At this point i have not gone digging for how to's on YouTube or looked for forums. I got this... next step was installing the bed... i don't got this. The manual did not specify location so to the YouTube i went. Looking at other build logs i decided to wait and install the bed very late in the build closer to the wiring portion. It does not look very complex but something worth locating after the firmware is loaded and you can move the print head around. Weekend 1 in the books! Frame is solid and true...ish...i think. The kids now have a directive to say "OOHHH" whenever i hit a personal milestone in the build when i point out what i have done. The wife shakes her head, smirks, and follows suit, then shakes head again. I am satisfied.
-
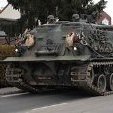
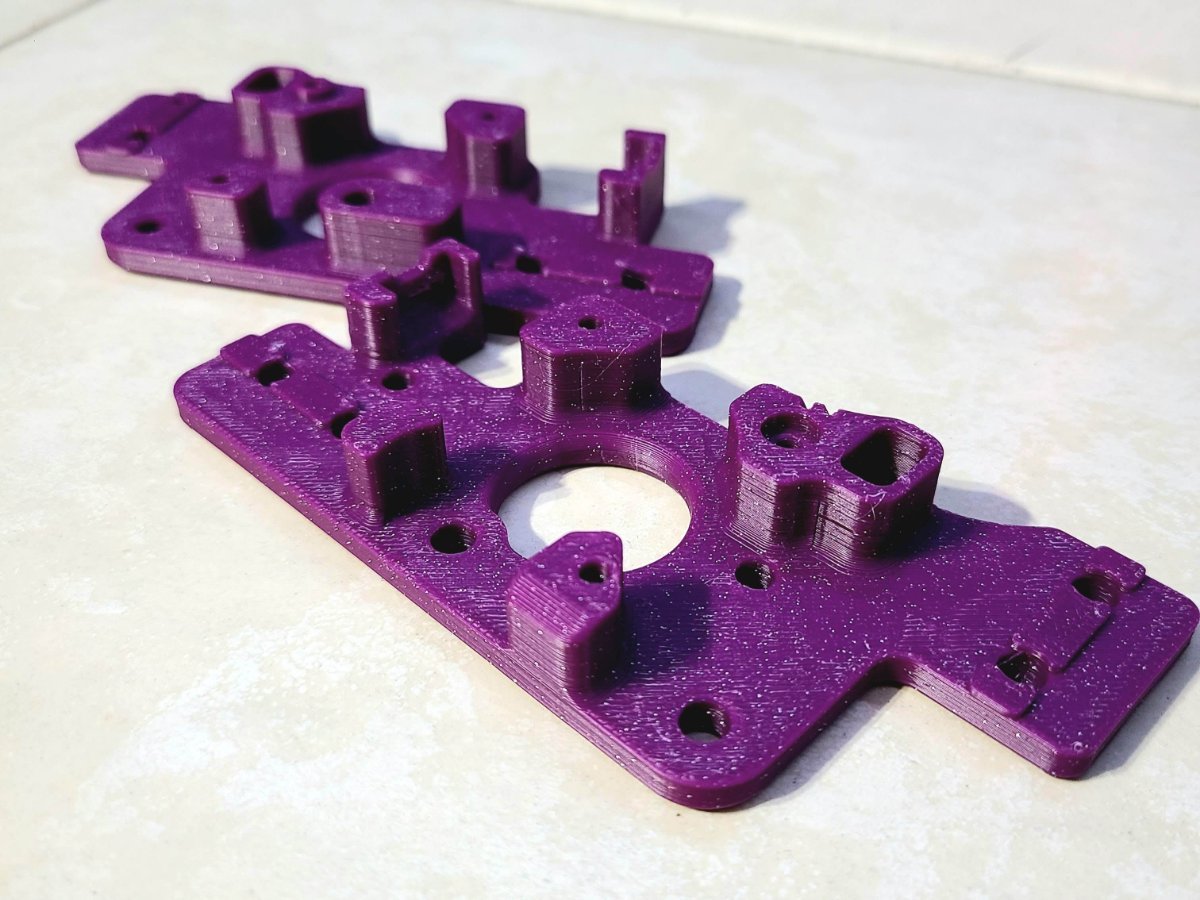
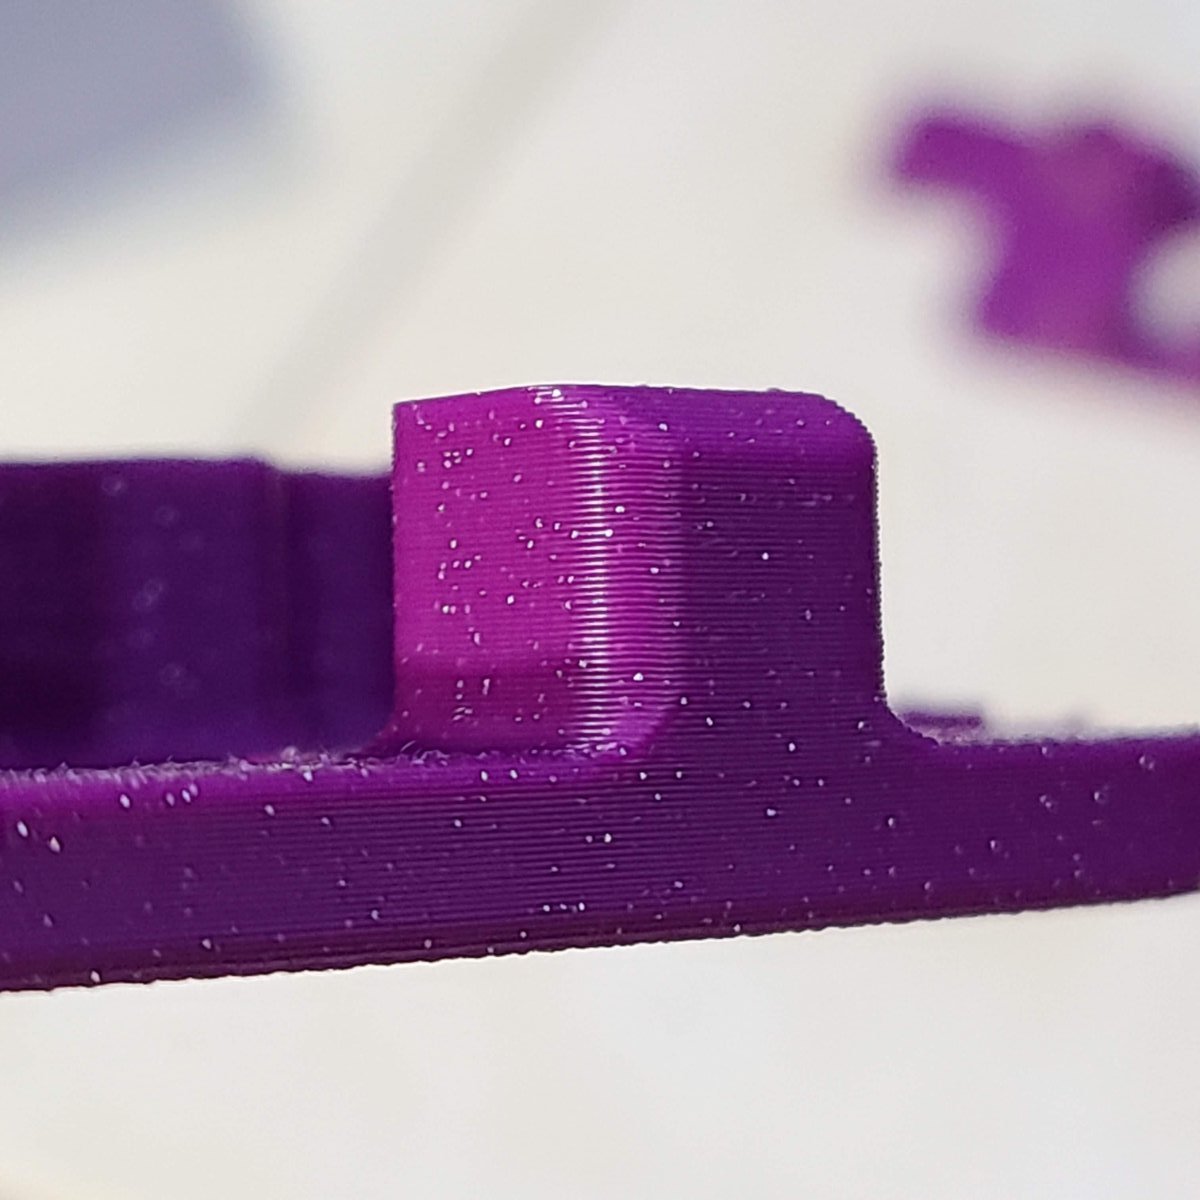
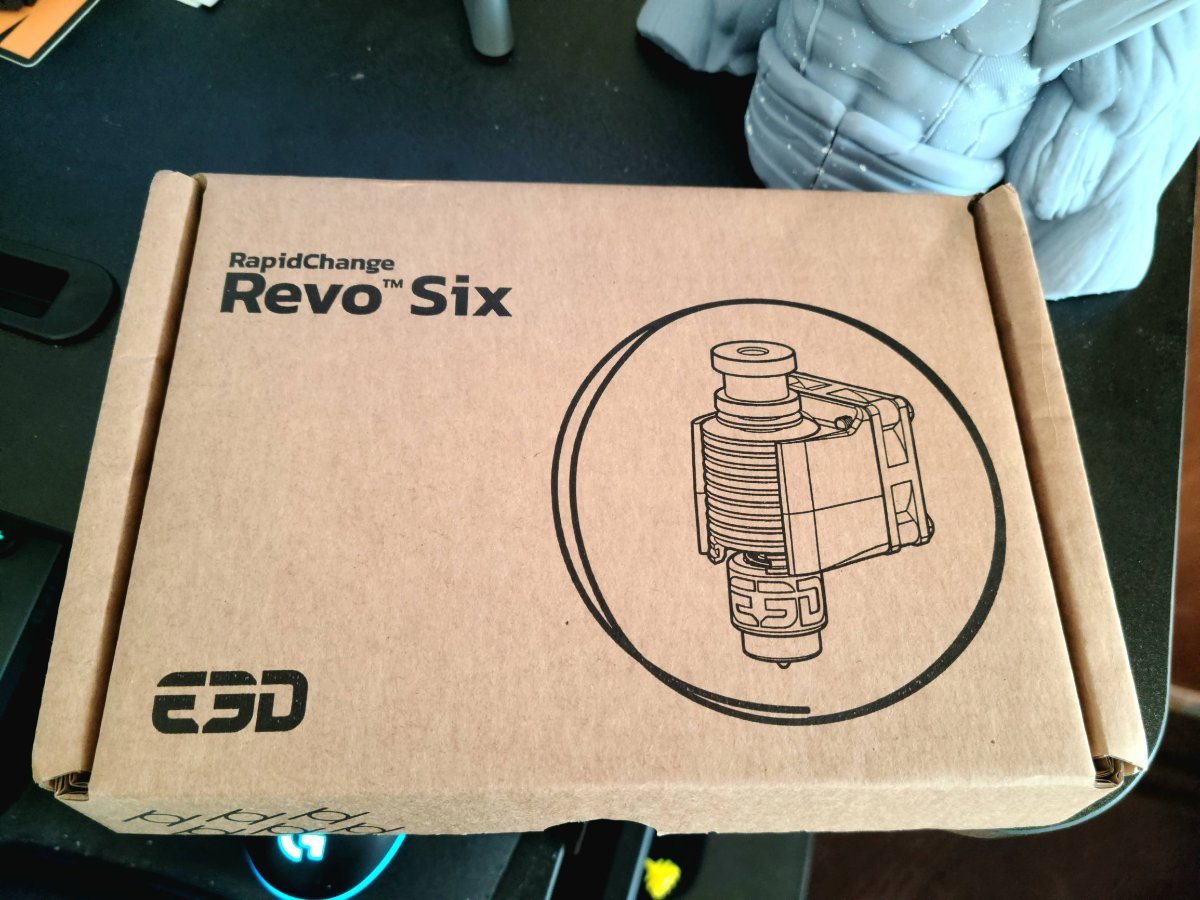
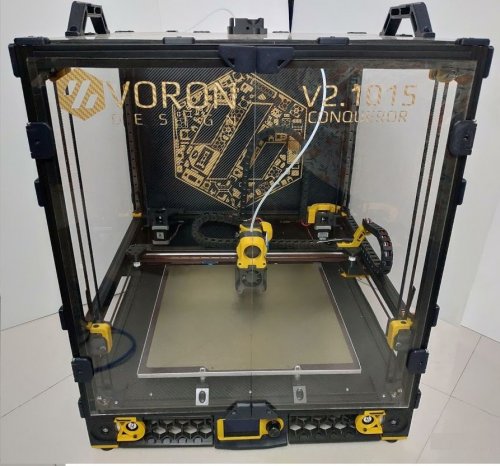
This is my initial commit for my upcoming LDO V2.4 Kit build. I waited until the R2 parts were released before printing, and since the release this week, I've begun printing all the things needed to start the build. I haven't received the LDO kit yet but will be prepared when it arrives sometime in March. The LDO frame will be Green. The primary parts color is Sparta3D Purple Sparkle ABS+ and the secondary parts color will be Sparta3D Cloud Gray Sparkle ABS+. The plan is to use the new Revo 6 in this build.
-
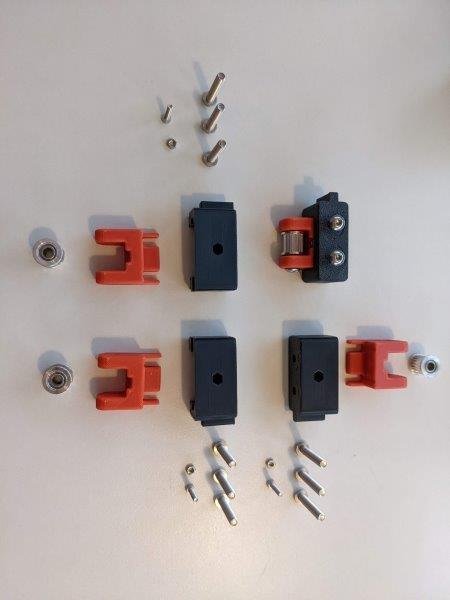
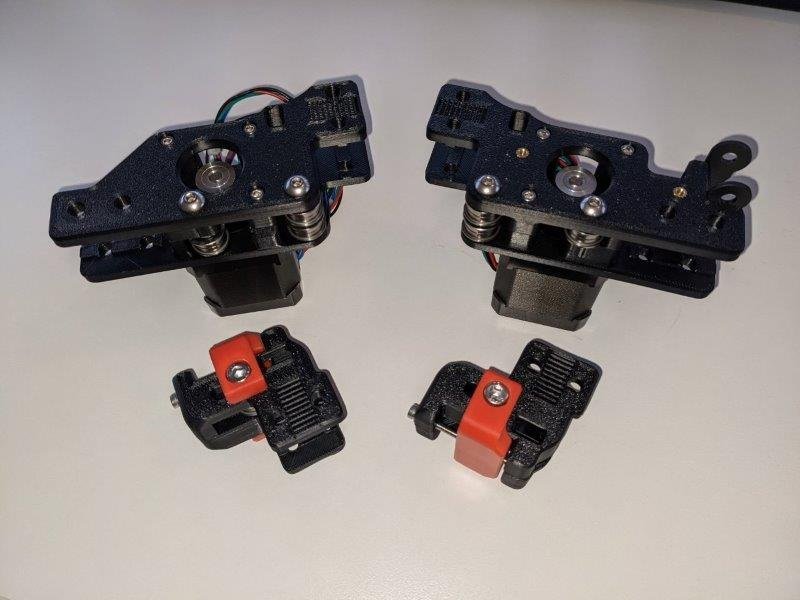
Tighten All Screws (especially Linear Rails, and X gantry, after de-racking). Don't forget to tighten ALL of the screws in the Linear rails. Leaving a little lose while racking is great way to ensure no binding. but don't forget to tighten each and every one before printing. Z-Probe failing with out of tolerance constantly during QGL Make sure your Z-Belts are snug and equally tightened. Once I went tighter than I initially thought I should, and continued to slowly tune each one. My tolerance error issue basically went away. Motor Current Follow latest guides, and don't use hold_current. I had to set my LDO High temp extruder motor to 0.6 (rated for 1A) to stop clicking when printing/extruding at or above 5mm/s, worked up to 10mm/s with my dragon HF and 0.4mm nozzle. Hall effect End Stops Are a huge pain to setup! i will be changing for switches once I get my PCB... why... Polarity of magnets must be set right, which was a pain. Then you have to play with the sensitivity control on the pcb to get it just right so that it does not trigger too late, or too early. Even then, I had it set and working and randomly one of them stopped sensing and I had to tune it again. Z-Height, Squish! Keep going if using the textured sheet, make it squish a lot. why, if you follow the tuning guide, and lower the Extrusion Multiplier, you need to have a good squish or you may run into adhesion issues. once you find your z-offset, save it via `Z_OFFSET_APPLY_ENDSTOP` followed by `SAVE_CONFIG` I'll try to update as I remember more things I did/found out.
-
Version 2021.03.20
885 downloads
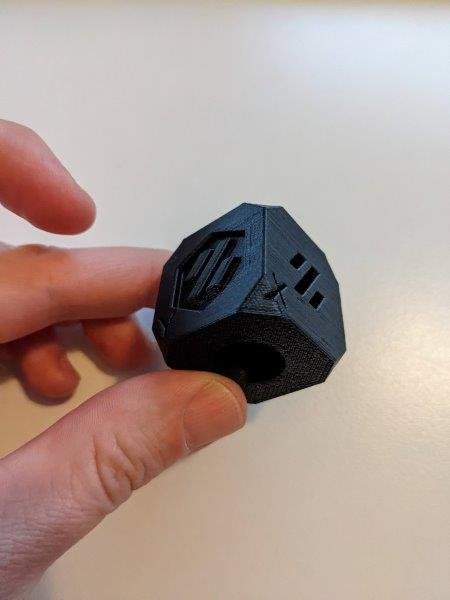
STL File You can print this logo on your 3D printer. I have included base (0.64mm thick) in this stl file which you can print in base color (at 0.24 first layer + two 0.2mm layers) & change filament after 3 or 4 layers to your accent color. I changed filament after 4 layers. Use monotonic top layer infill to have uniform top layer of Black base. Check images below. Use VHB tape to stick it to back panel. Image Files Image files are included in high quality JPG & PNG format if anyone wants to print them on paper with traditional ink printer. DXF File DXF file is included if anyone wants to cut this on laser cutter out of Vinyl wrap. (Like I did, Shown in Images below) -
Version 2020.08.25
2 downloads
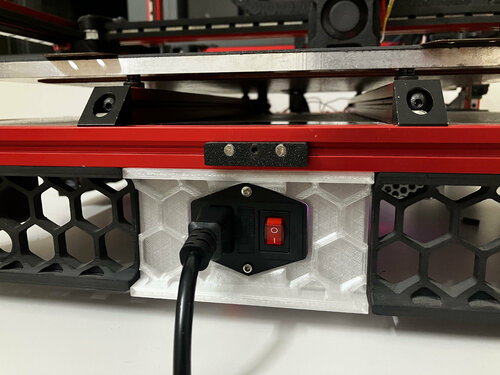
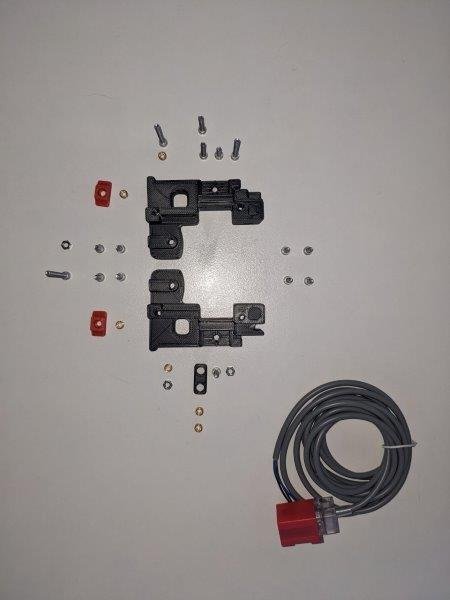
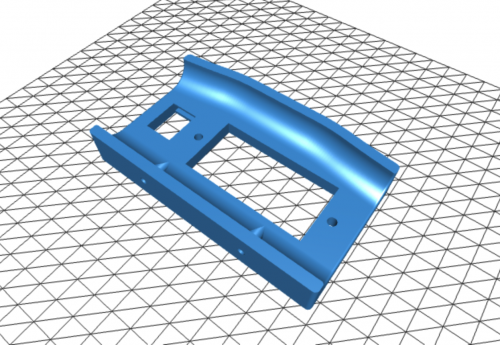
This is a modified plug panel designed to be used with the RND 165-00057 mains filter with integrated switch sold by Reichelt, Distrelec or ELFA For Version 2.4. -
Version 1.0.0
4 downloads
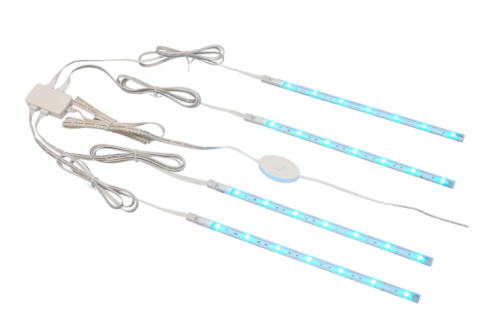
Overview Voron 2.x IKEA Dioder Led Mount for the DIODER single and multi colour LED Strip sold by IKEA. Description This is an improved version of the model of randommen96 for the IKEA Dioder LED strip. It comes with a wider gap so it nicely fits the metal mounting brackets supplied with the Dioder. Additionally the strip can be mounted either with VHB tape or an M3x8 BHCS screw. The LED shines inwards in an angle of 70°. Step file is included to ease your own modifications. -
Time and time again, the question is asked, "What is the difference between Voron Printers?". Below is a quick overview of the differences and what is great about each. V0 - Voron0 tiny, cute, fast. I hope you like 120*120mm. The cheapest full build option can print all the required parts for any other Voron build. V1 - Voron1 is a classic fixed-top gantry, moving bed. 250-300mm. Currently doesn't have automatic bed leveling; next version will. V2 - Voron2 is a flying gantry, fixed bed. Probably most popular overall, but also the most expensive. It has the largest potential build volume, up to 350mm cubed. VS - VoronSwitchwire is a CoreXZ design with bed flinger. It might be cheapest if you have a printer to cannibalize VL - VoronLegacy is a specialized one in the lineup for v1.6 that you don't want to replace with rails. It's a throwback model intentionally if you like old-school designs with some modern enhancements. VK - VoronKit was produced for minimal time; these are no longer produced and no longer available for purchase. Voron Serial Registry: Currently issued serials as of July 13, 2021: V0: 581 V1: 261 V2: 1658 VK: 19 VL: 25 VS: 191 Total: 2735. NOTE: This is not an extensive list of all Vorons built, the users who produce the second or third Vorrons may not request a serial number to be included in the registry, but it will give a rough idea of what is out there. Additionally you can find longer descriptions in this FAQ