Search the Community
Showing results for tags '2.4'.
Found 9 results
-
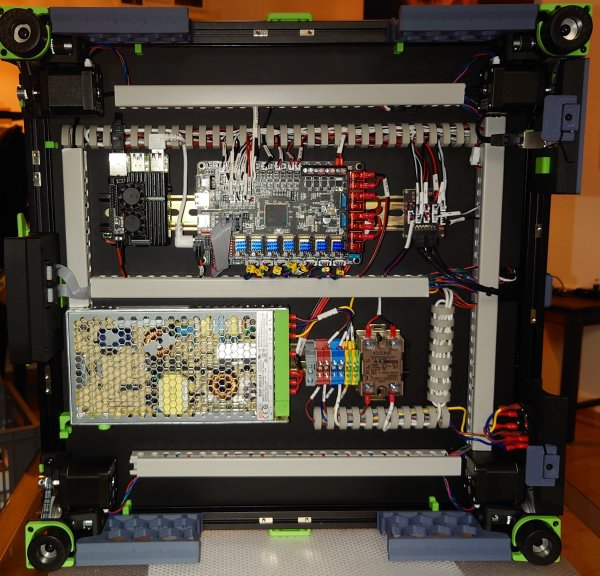
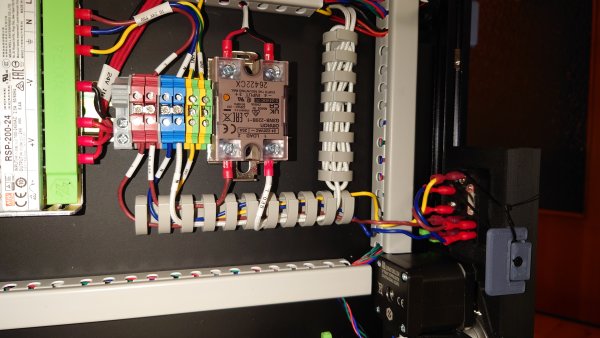
From the album: 2.4 Wiring Gallery
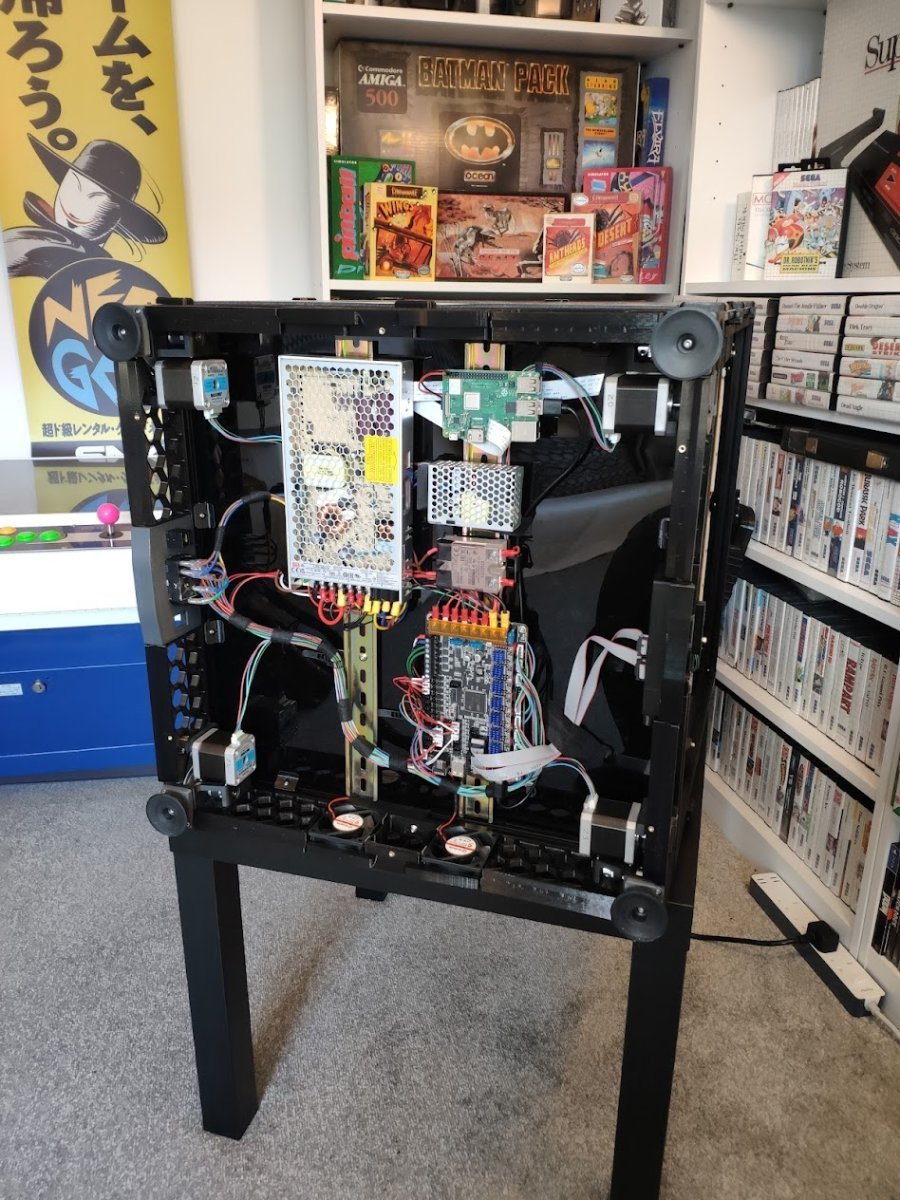
Seperated high voltage from signal wiring. Motor wires and stuff that won't change is separate, too. Everything else sits in open cable ducts for quick access and ease of changing things.© fristle
-
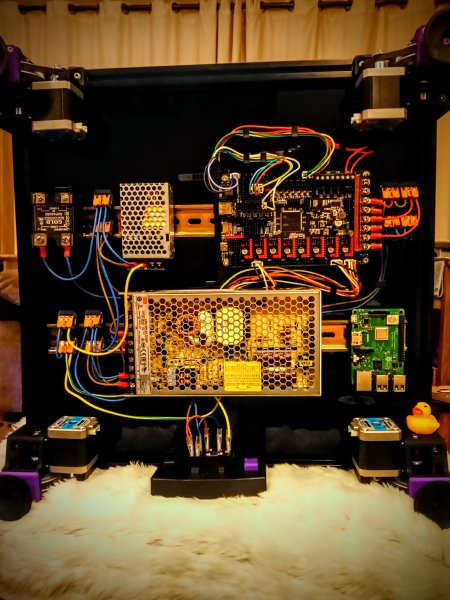
From the album: 2.4 Wiring Gallery
© (c) fristle
-
From the album: 2.4 Wiring Gallery
© (c) fristle
-

Version 1.0.1
2,693 downloads
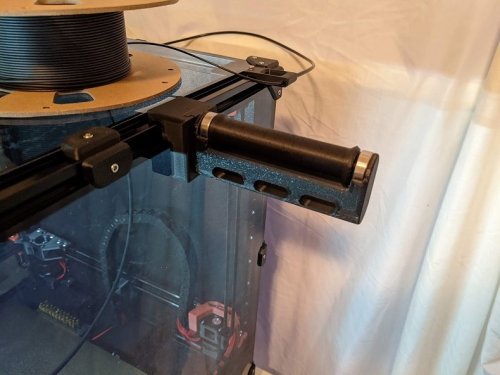
I really like this spool holder and had to make a Voron 2.4 adapter for it. I didn't want it to interfere with the glass panels, so it's been designed to avoid touching them at all. BOM: Roller Holder Mount x1 Roller Holder x1 Roller x1 Skateboard Bearing x2 (can be substituted with plastic bearings provided as stl files) 3x12mm SHCS x1 3mm T-nut This has been a welcome addition to my printer. Print Settings: Supports: Yes Resolution: 0.2mm Infill: 40-50% Wall Thickness: 1.6mm Here is a link to the original version of this spool holder: https://www.thingiverse.com/thing:3020026 Update: 5/4/2022 Depending on where you mount the spool holder and how you are routing your filament, you may need an extended bowden tube guide. After some questions around this, I have included the STL file for the an extended version of the stock Voron 2.4 bowden tube guide incase you run into this issue.- 2 comments
-
- 21
-

-

-
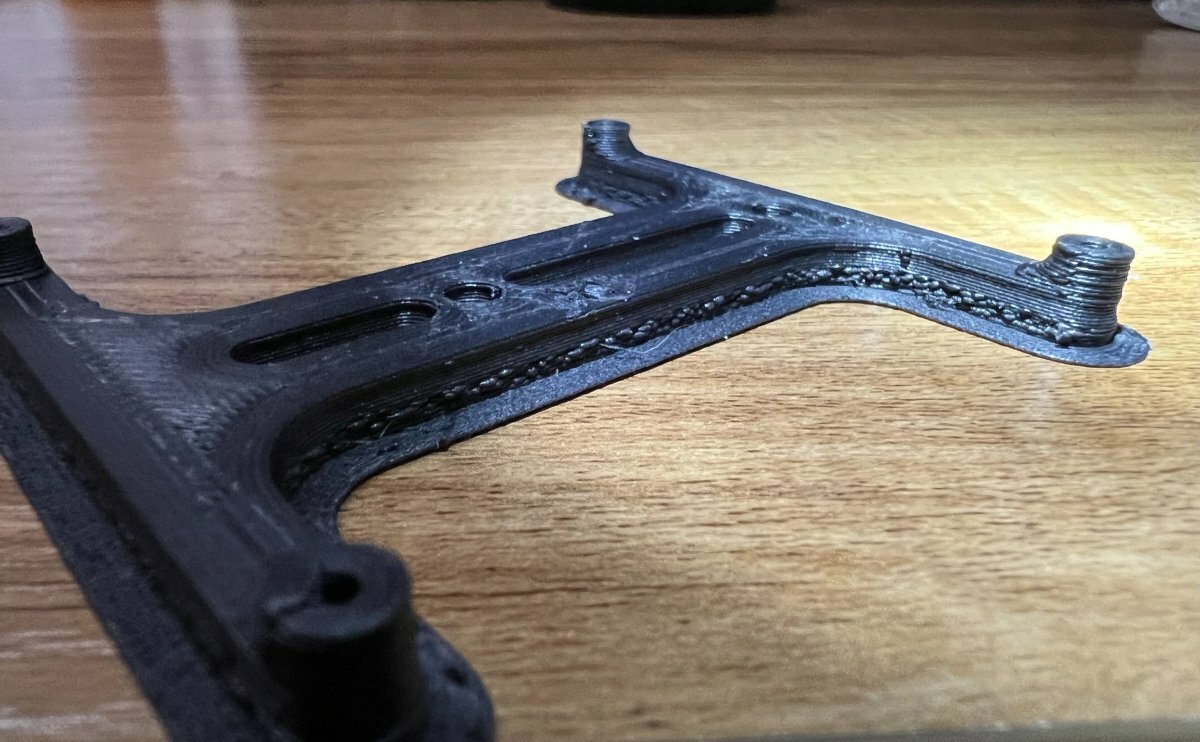
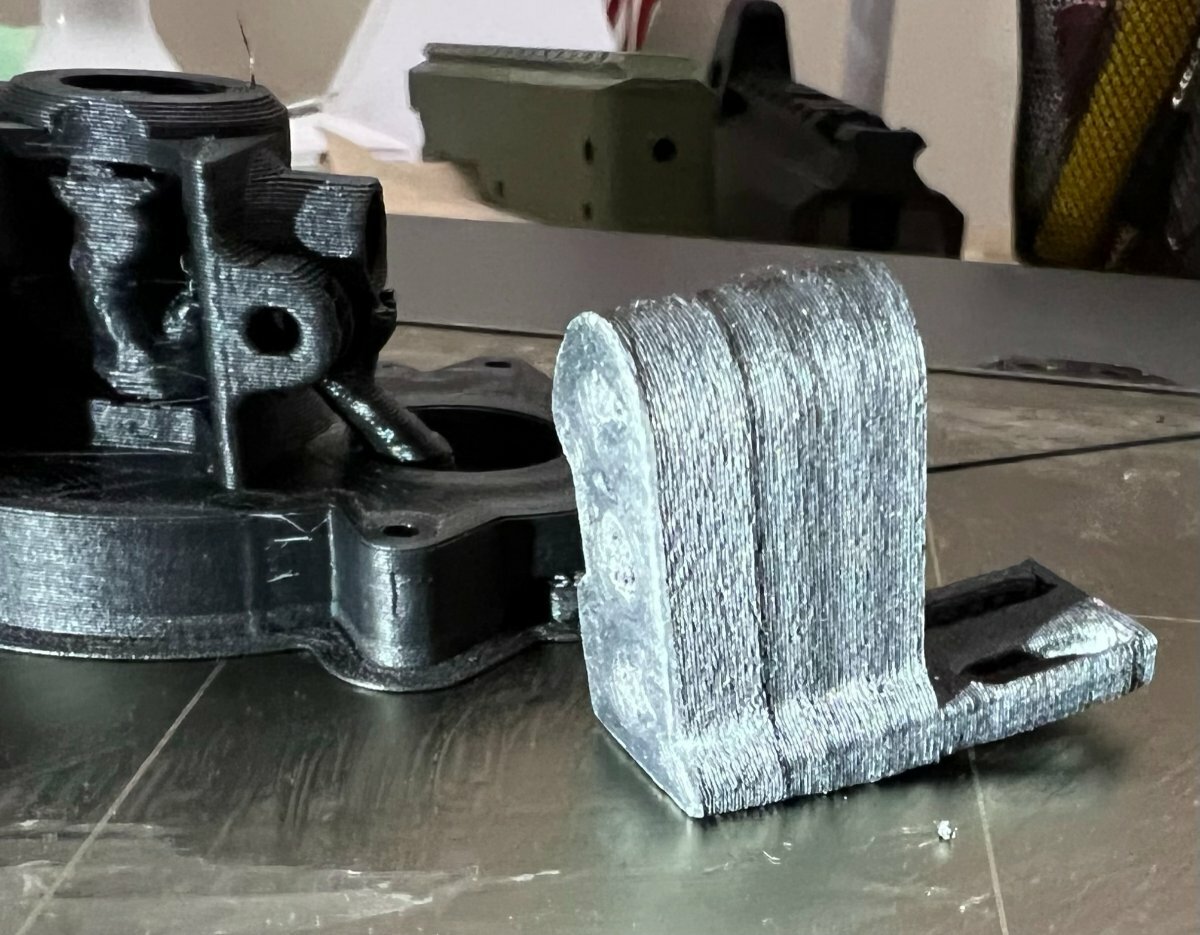
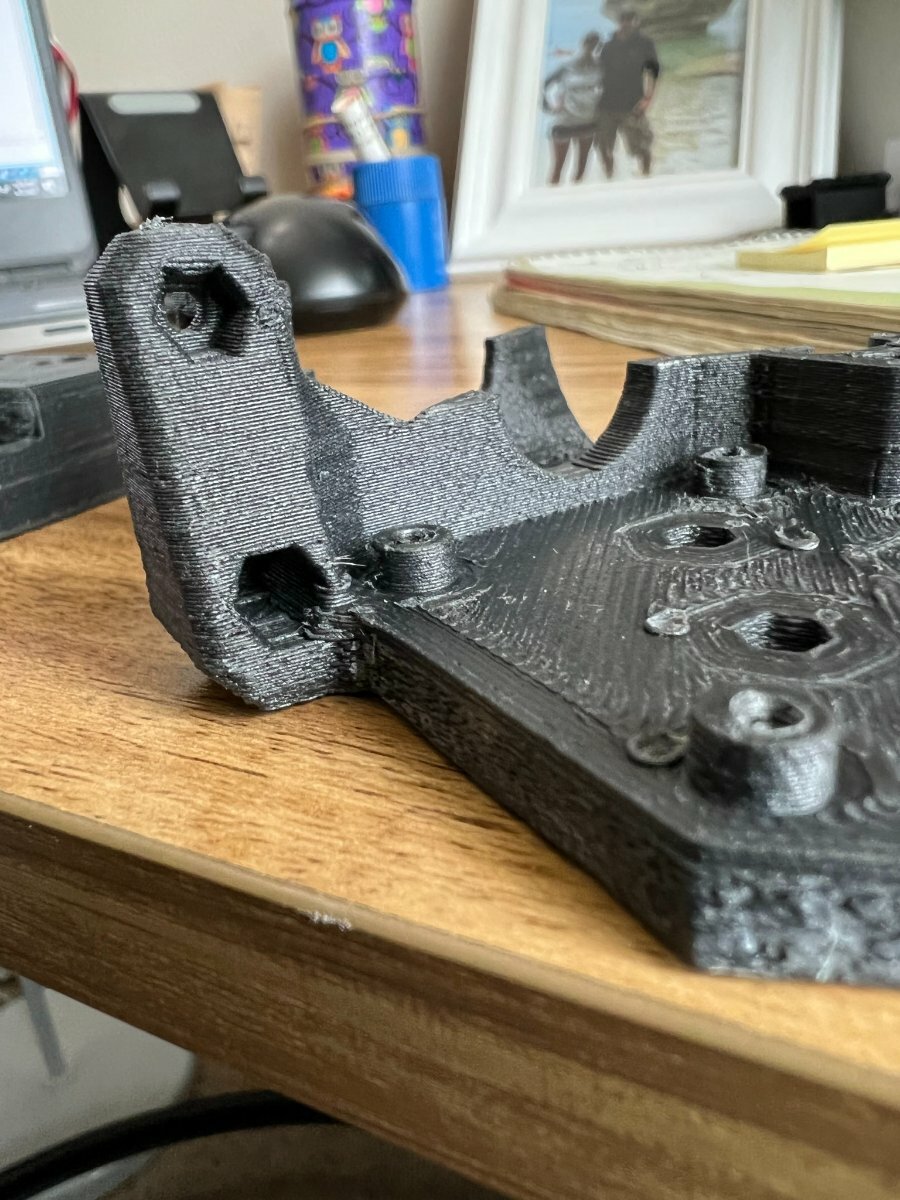
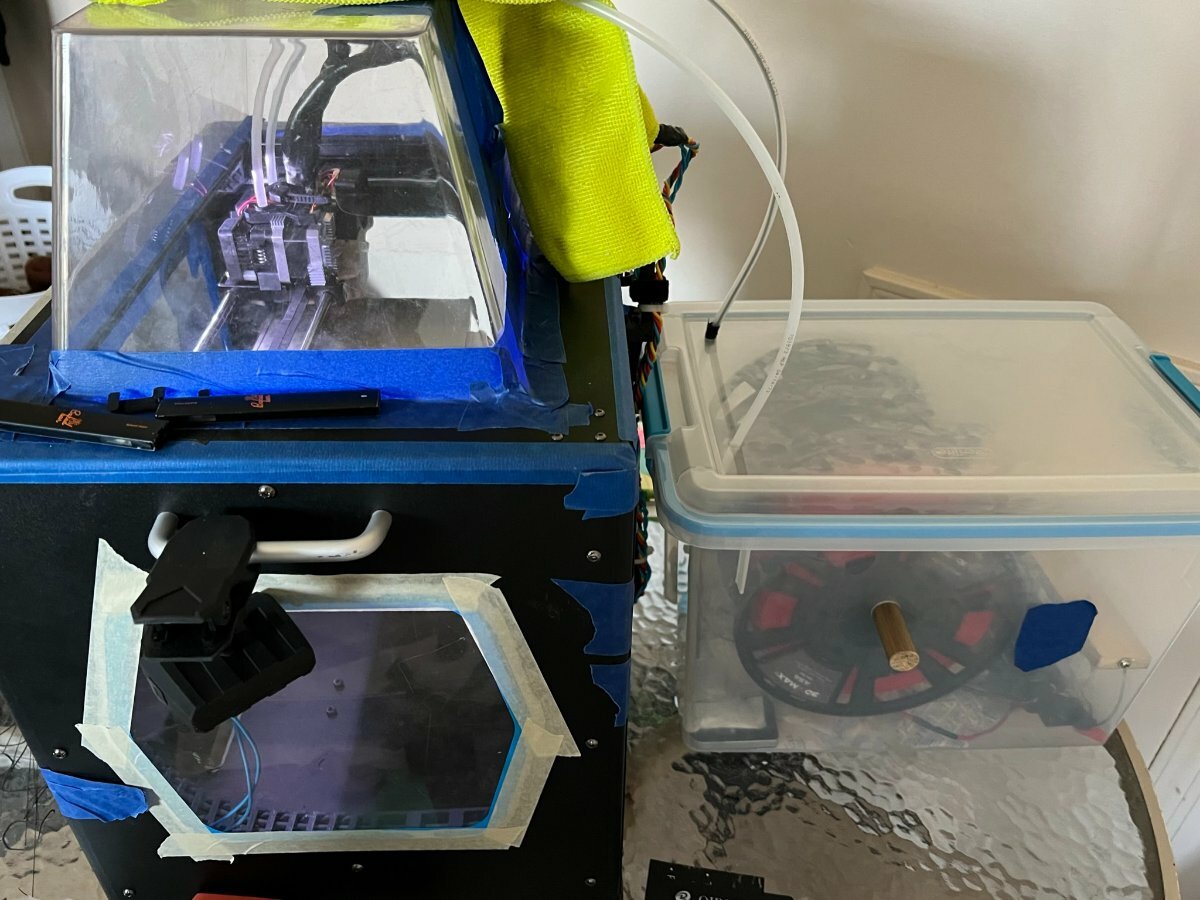
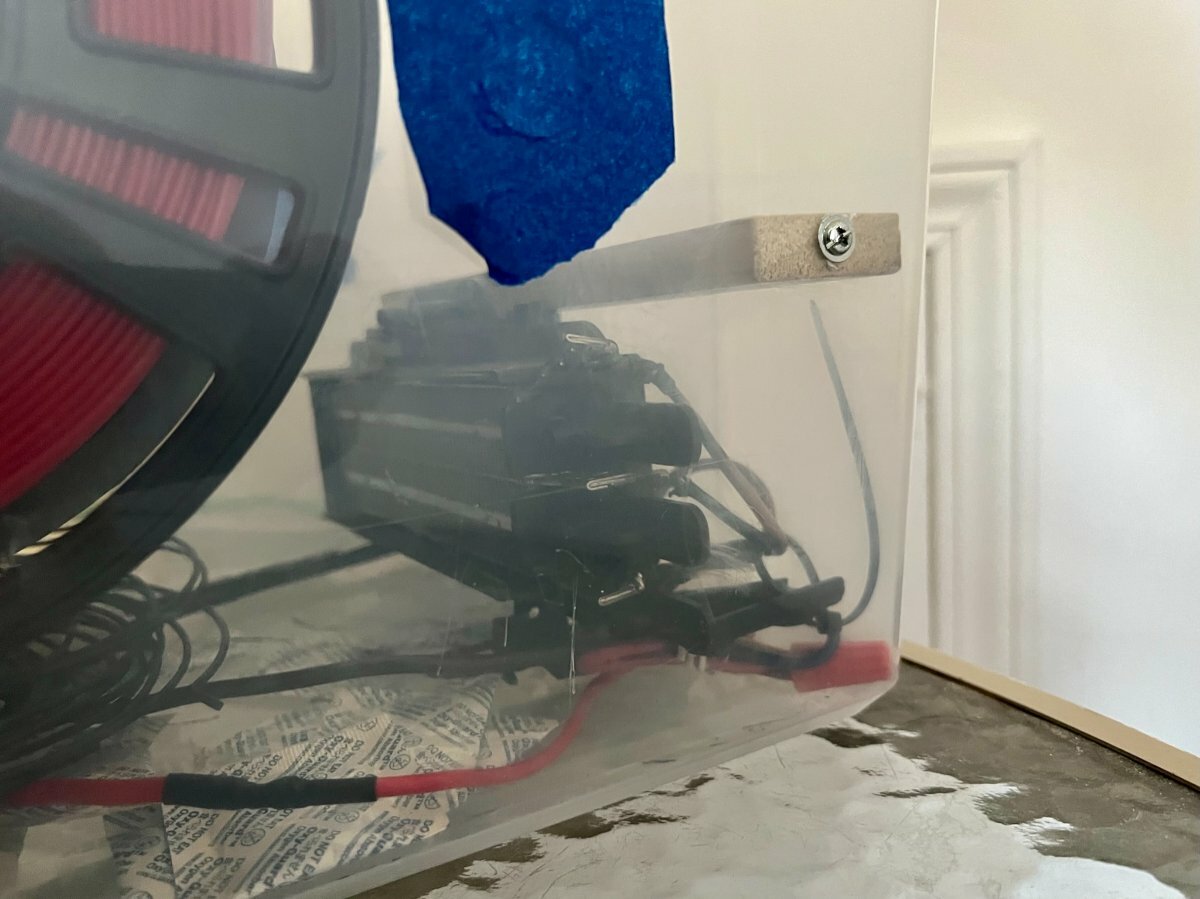
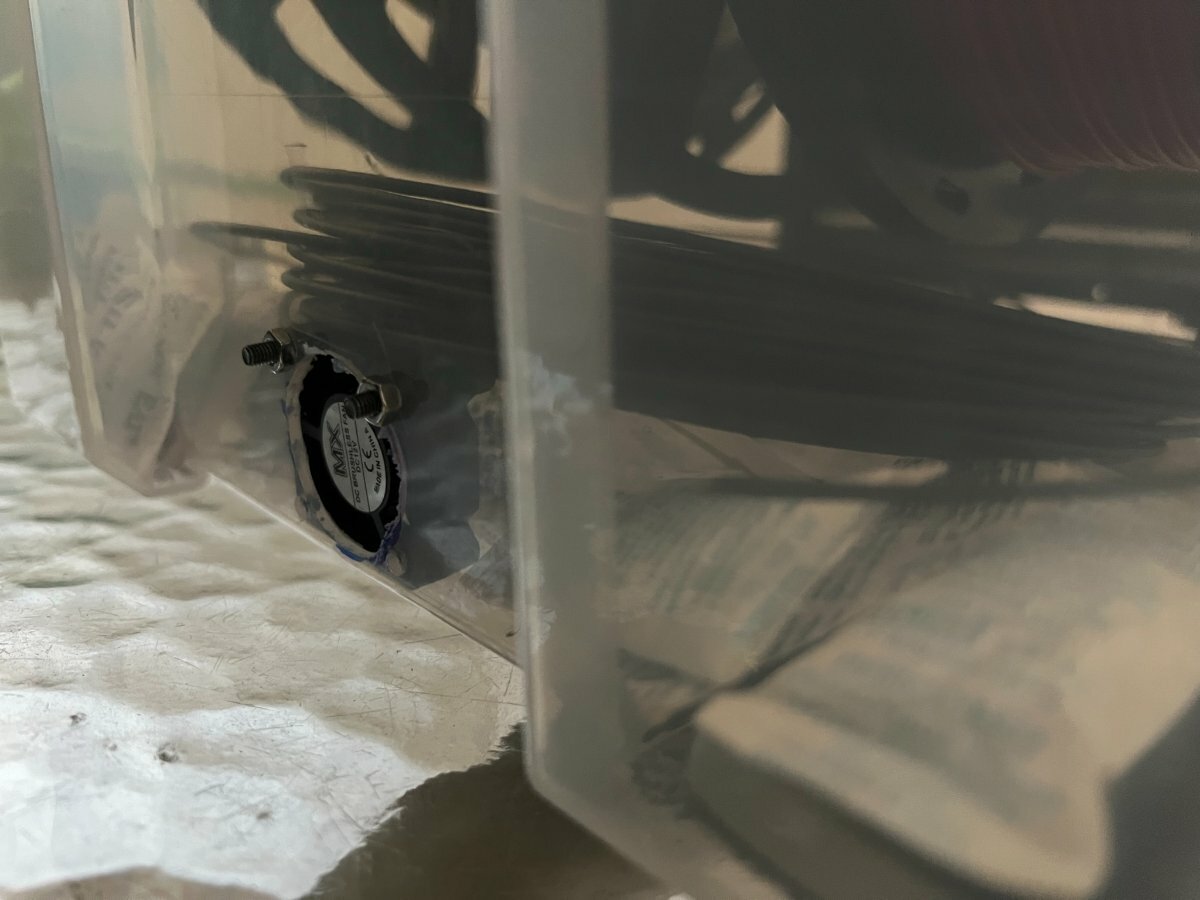
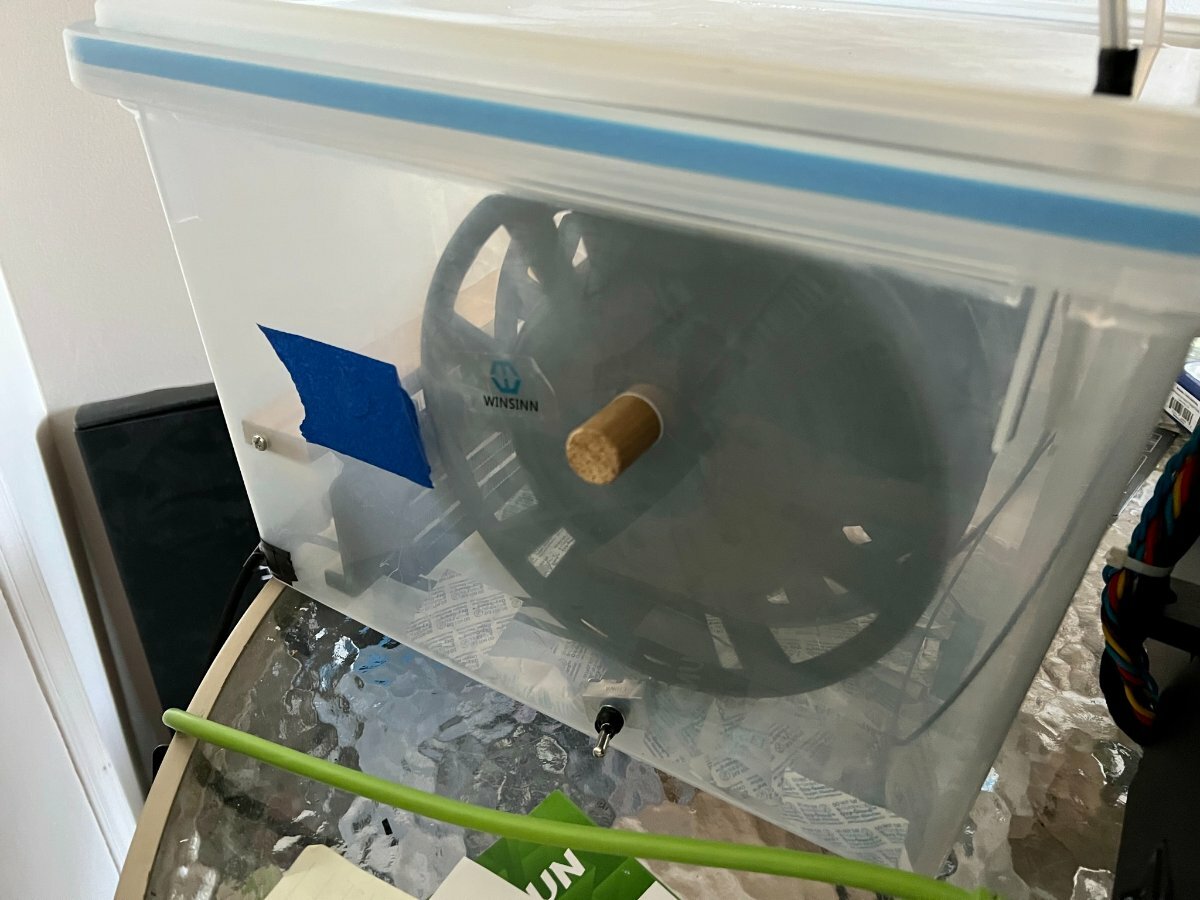
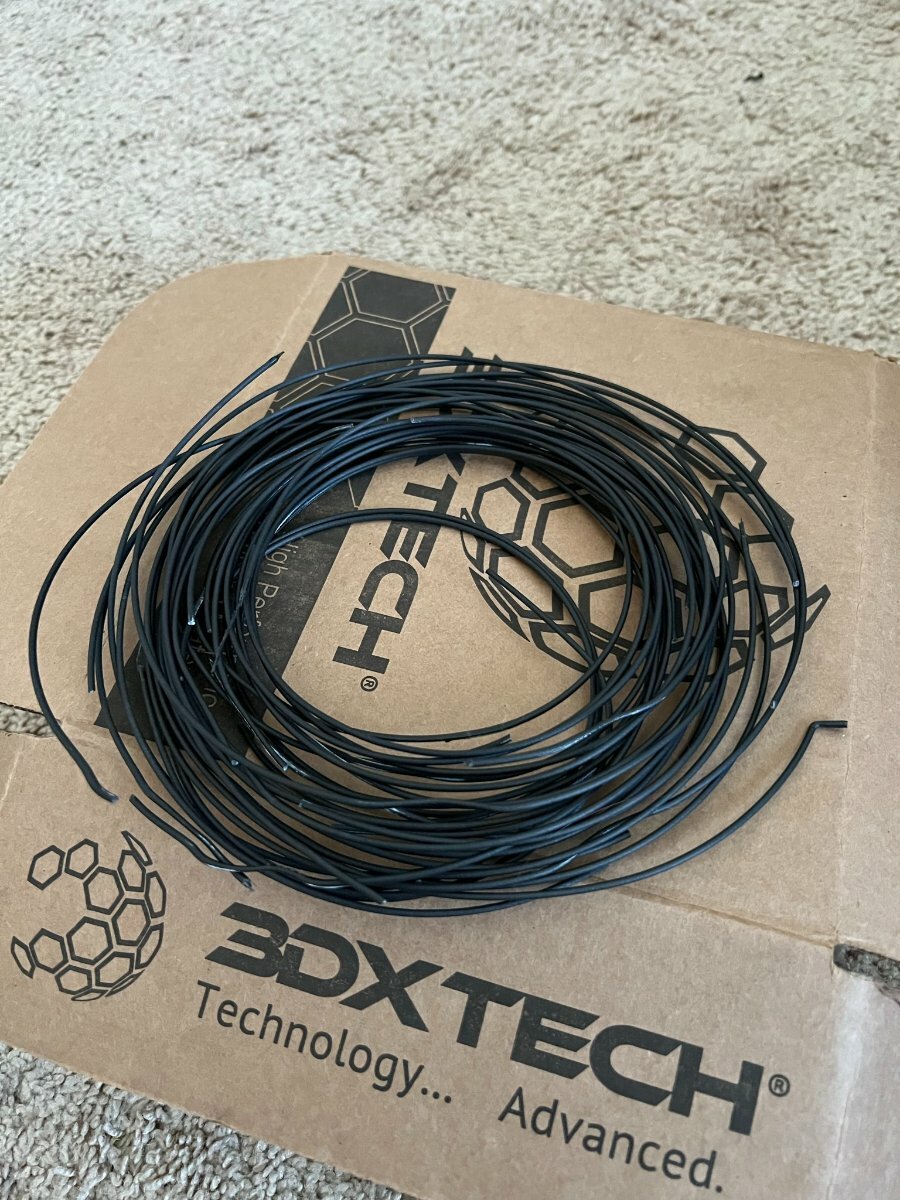
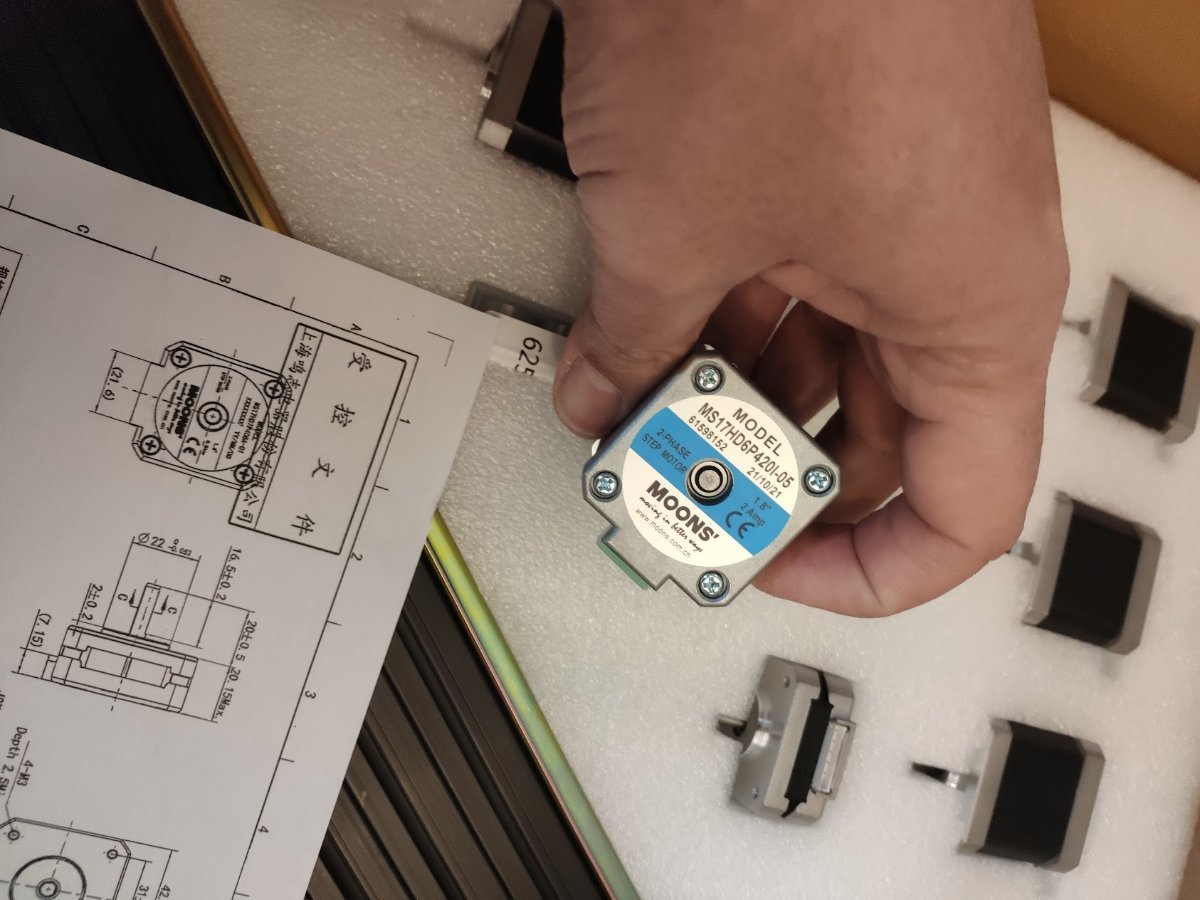
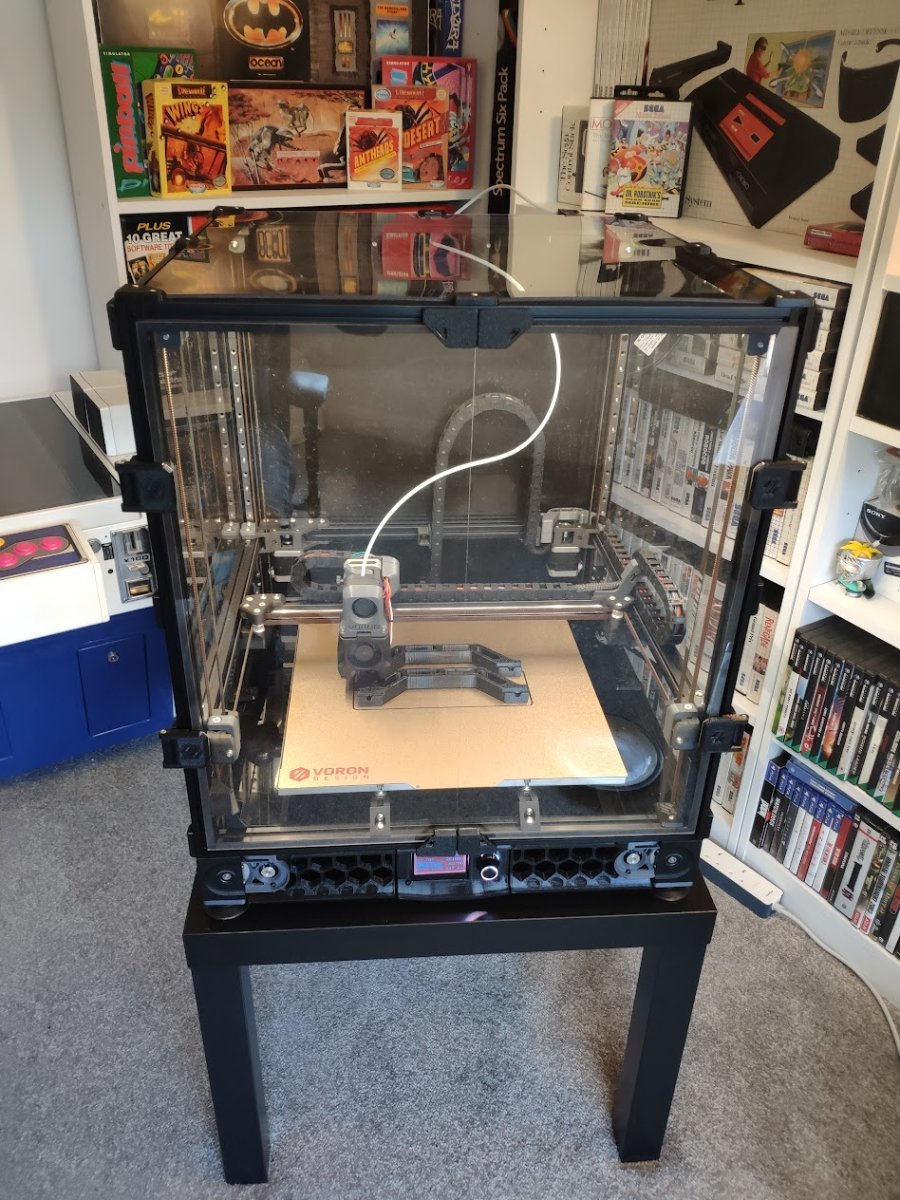
Building My First 3D Printer I got my first 3D printer back in January and upon research it was almost impossible not to come across the name 'Voron' Besides the fact that red is one of my favorite colors. When I saw the Stealth Burner for the first time I thought "I have to have that!" The dual fans looked so functional and the placement seemed well thought out compared to the run of the mill print heads. At first I didn't know Voron was an open source project. When I searched google I found some kits and the hefty up front cost prevented me from looking into them any further. I figured it was best to focus on getting the current printer I had to work to the best of its abilities. After a few months and a few spools of a filament I felt I was reaching the limits of printing quality and I wanted to try and cut down on the print times. For the Qidi Tech there wasn't much out there for aftermarket or even printable upgrades aside from getting a different mainboard. So I picked up an Ender 3 Max instead. Boy, what a headache that has been LOL. The E3Max has been a love hate relationship. I got it brand new for a great deal but that didn't come without issues. Some of the wires were sliced. The Extrusions where not machined square. The Y carriage ears were bent where it bolts to the build plate. AND I let the magic smoke out of the mainboard I replaced that with an SKR E3V3 and the USB port decided it didn't want to be connected. It ran pretty quickly and smoothly with Klipper before I decided to be lazy and not check my wires before hooking up a second Z I have it running via USART but still after all that I really wasn't 100% satisfied with the Ender even after upgrading to linear rails, DD, and a dual Z. Frustrated with all of that I decided it was time to re-visit the Voron. I went to the website to see what made these things so fancy (I still didn't know it was a print it yourself kind of deal LOL) Once I went through the configurator and found the sourcing guide my eyes lit up. I finally realized how to get a Voron. I can build it! I loved this idea. Something I could build myself with a proper BOM to go with! After downloading the build, I opened the assembly manual to see what kind of printing instructions there were. The first thing I saw was ABS. I thought crap. This ain't gonna work. The fanciest filament I have ever printed with was PETG and all the stories I hear about printing ABS are that its a PITA to print. The manual mentions not to deviate from this and I have to agree considering the temperatures an enclosed 3D printer sees. Then it dawned on me. I remembered that my Qidi Tech manual mentioned something about the MAX printing temps being higher than average. I check the manual and sure enough the printer is capable of printing at 280/130! Cool! Now to find some filament Well I'm a car guy so some type of carbon fiber was on my list of filaments to try. I came across 3DXTech who had some ASA-CF that looked pretty. So I ordered a .5k spool and thought I would use that to get the ball rolling. Bonus part is they are a Michigan company! Well as many of the experienced users may know. Ya can't just grab a roll of ASA/ABS throw it on the spool holder, crank the heat and go to town. Lets just say I had to create my own "lessons learned" document for this LOL. I couldn't figure out what was going on! At first I thought I wasn't getting up to temp. I wasn't skipping on the filament but when I watched it extrude, the filament appeared "chunky" So I turned up the heat! That seemed like it made things better when it got up a few layers but the first few were still horrible. 3DXTech recommends their ASA-CF filament be dried at 80c for four hours. The way I was drying the filament at first was by using the printer enclosure and placing the filament in a box with some desiccant packs and turned the build plate on with the box propped up on the build plate. Since I had no idea how warm it was really getting in there I let it dry for about +6 hours lol. After that I did another print and it came out 100x better. With those findings I decided it was time to build a dry box. I took apart an old space heater and took the ceramic heater out and used that with the mechanical thermostat it had for my heat source. I screwed the heater to a board then screwed the board in place inside a tote. At first I just tossed the filament in the box to see what the temp would average. The temp gauge I had was reading around 60c consistently so I left it that way for a few hours. I come back to check on it and the temperature gauge had shut off. I opened the box to check the filament and boy was she warm I picked up the temp gauge and it warped to where the battery cover popped off When I checked the filament it had even warped the whole side of the spool! When I moved the box the spool leaned up against a heat shield I made. It didn't turn it into a melted mess but the whole side of the roll was warped lol. This was pretty much a brand new spool I was able to salvage most of it but lost a good chunk too. I shared a photo of that mess too. So for a spool holder I just drilled a hole through each side of the tote and shoved a wooden dowel through. The tote is wide enough to accommodate either 2x 1k spools or 4x 0.5k spools. Drilled a couple of holes in the lid and stuffed some PTFE tubing in them and ran that to the extruders. Done. LOL. Its very crude but works very well. Ill add some photos of that as well. Now I finally have the filament and printing temps figured out so I am ready to start this journey. I plan to self source everything I can but may purchase a bundle such as a frame kit or hardware kit if its the more economical option that wont sacrifice function or quality. I will be using 3DXTech ASA-CF for the primary color and 3DXTech ASA Red as the accent color. The red has a nice matte finish to it that I really like. I plan to print everything on my Qidi Tech 1 dual extruder, with the micro swiss upgraded all metal hot ends and A2 nozzles. Hopefully the build space is big enough To start off I'll share some photos of what I learned and the test prints that didn't work out. I still need to buy everything else for this build but I figured the printing was gonna give me the most trouble. So here we go!
-
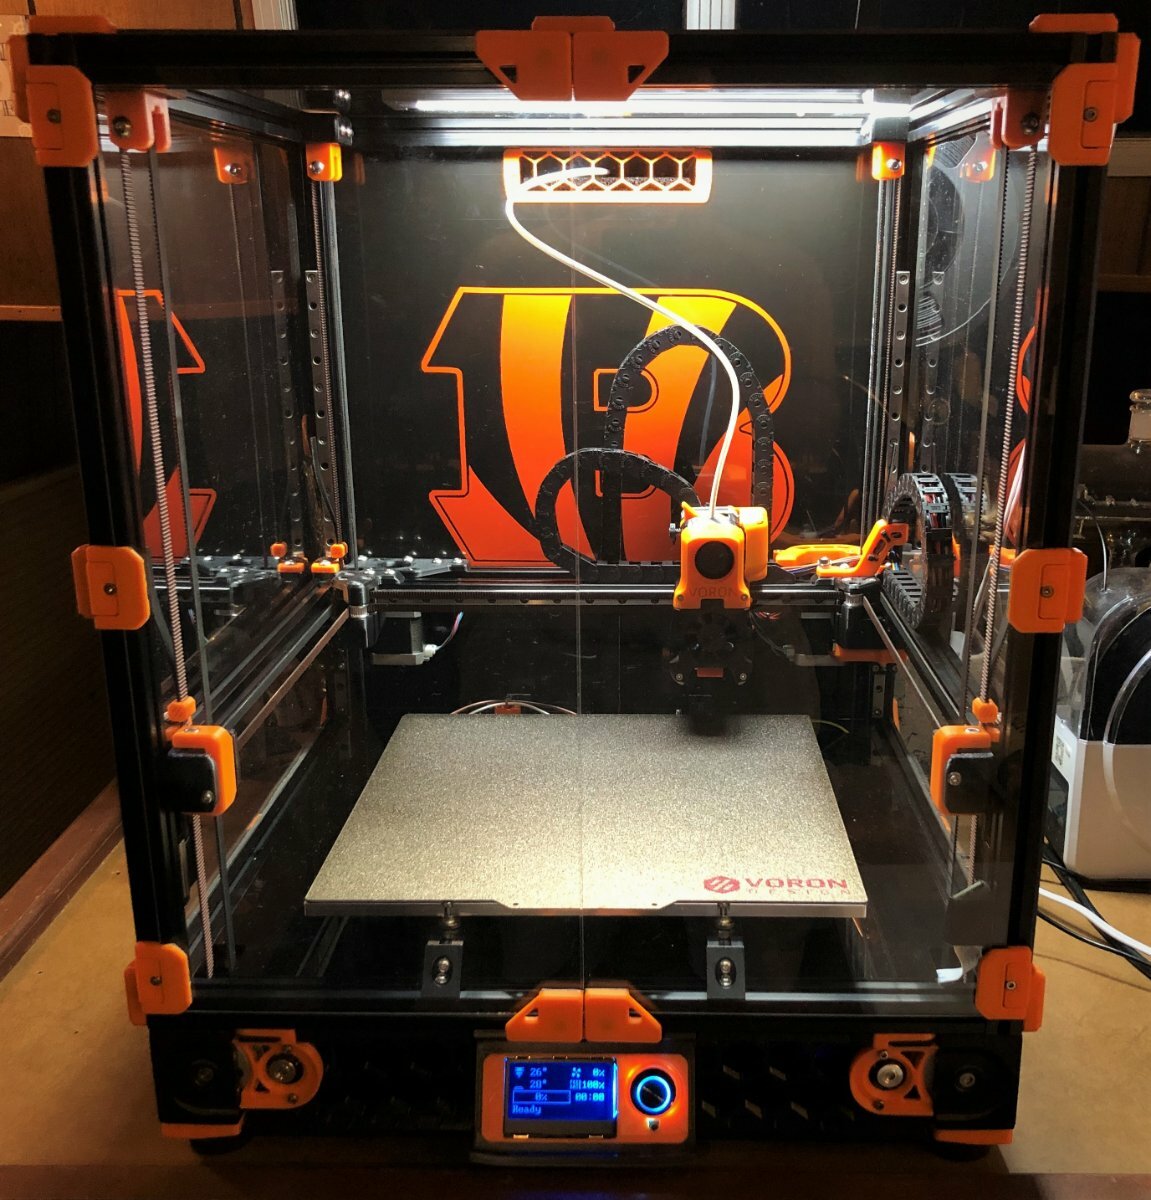
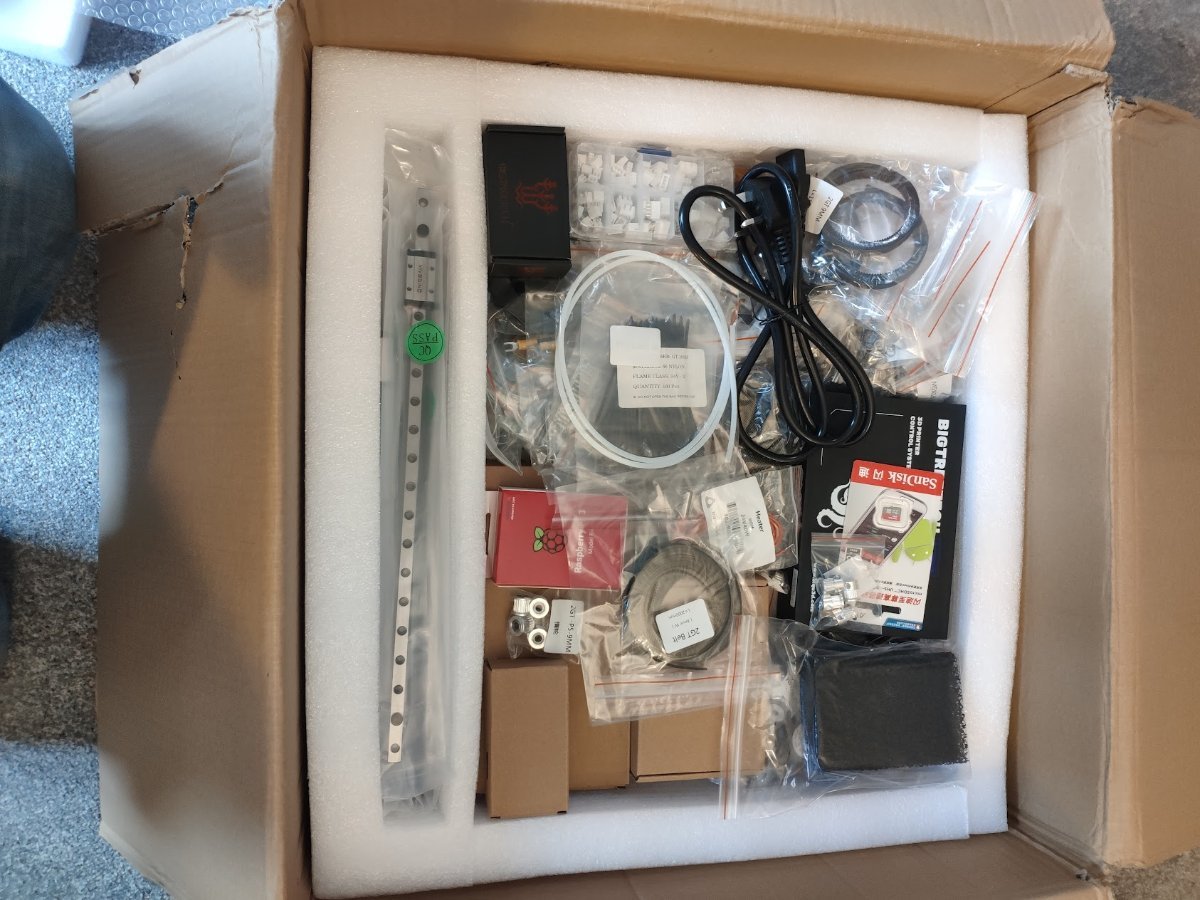
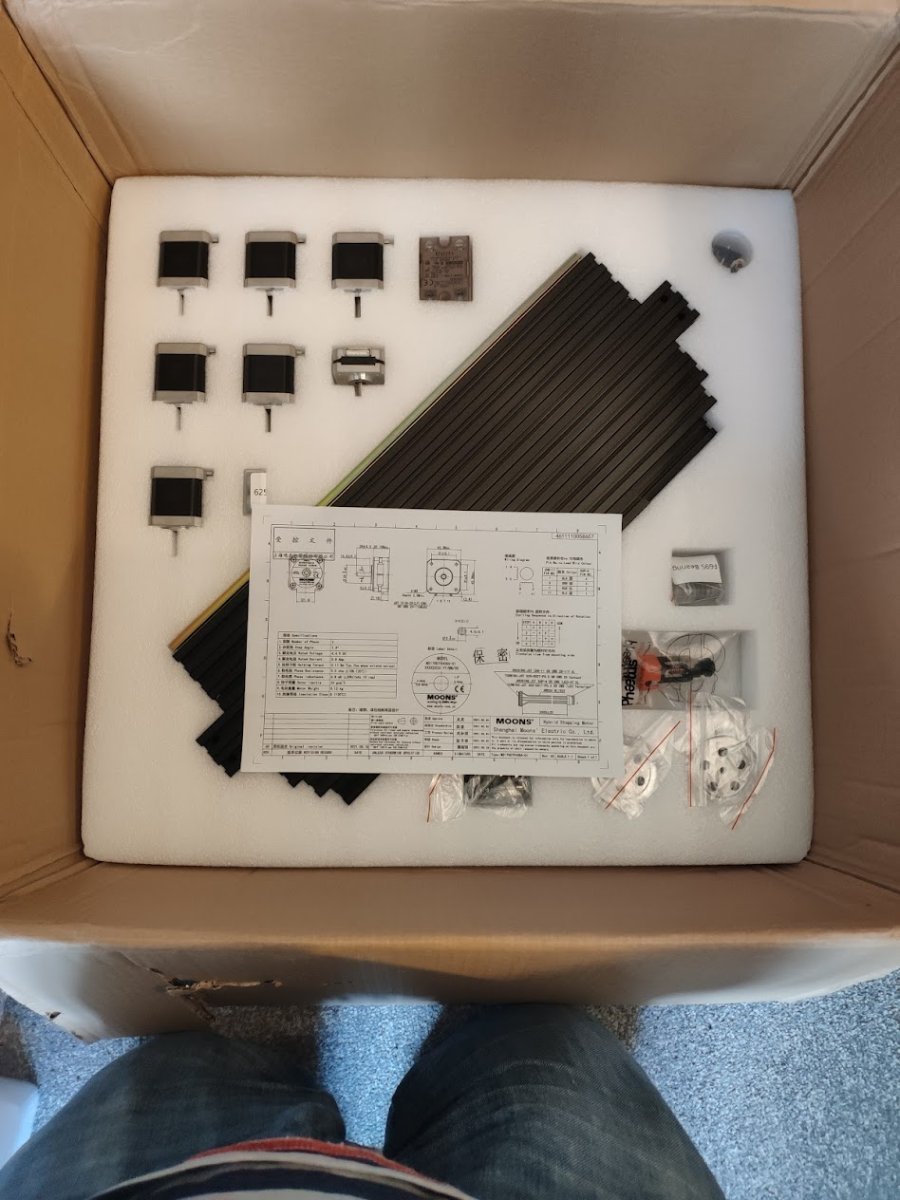
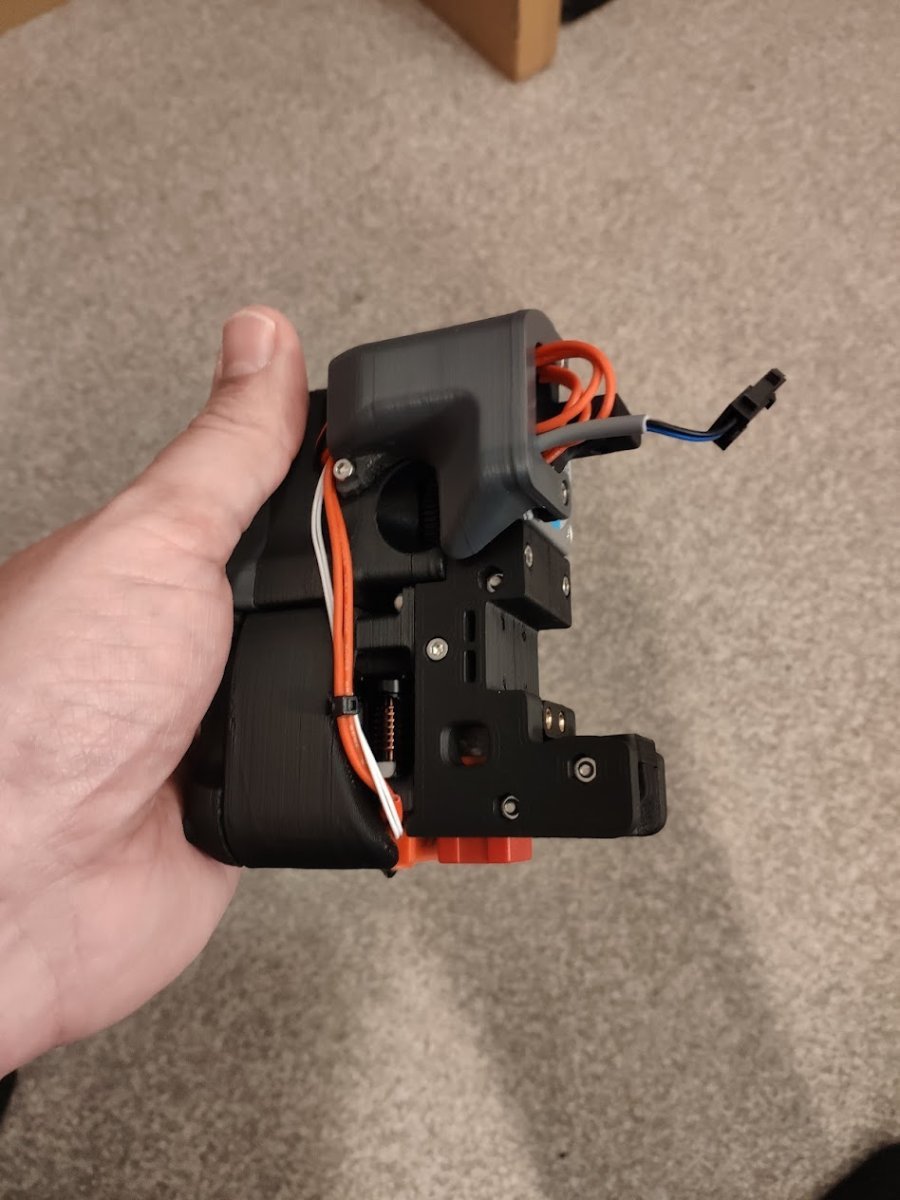
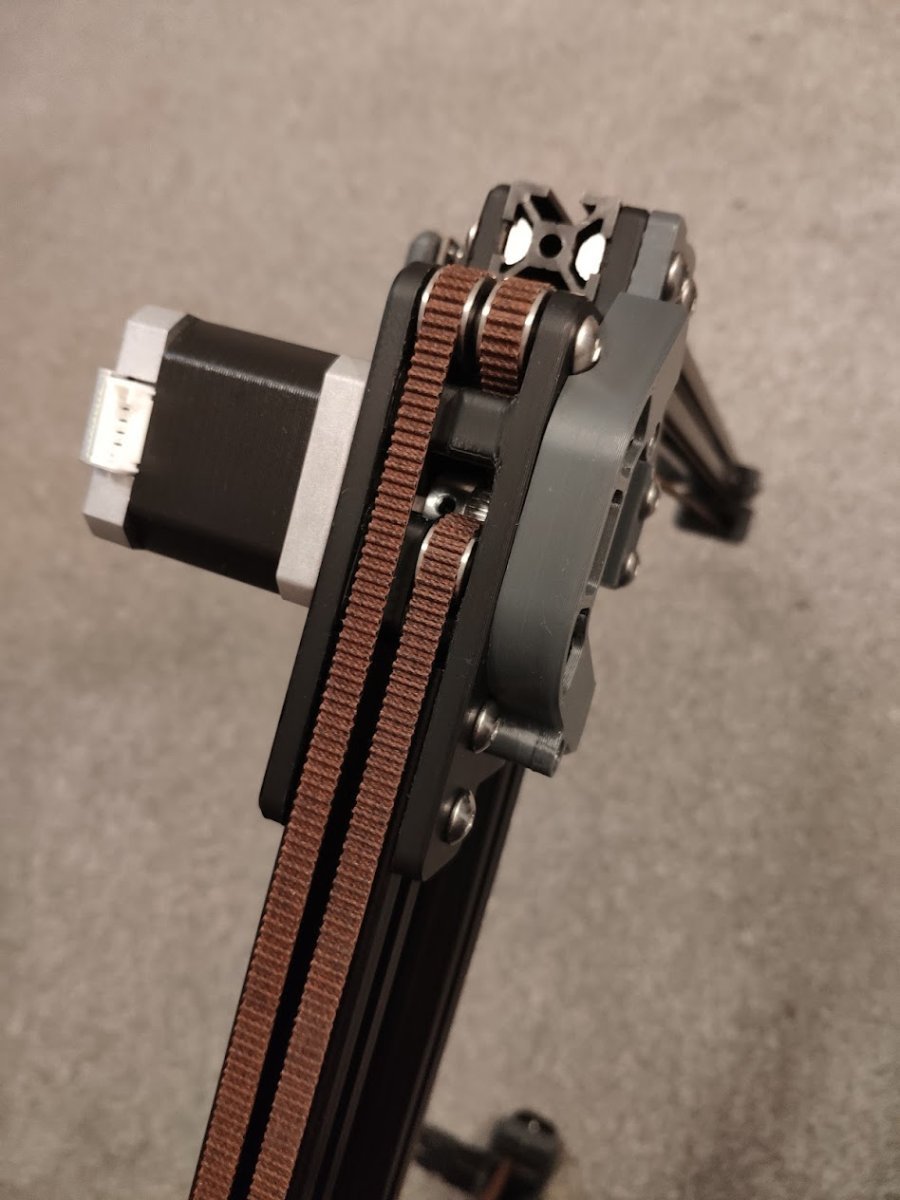
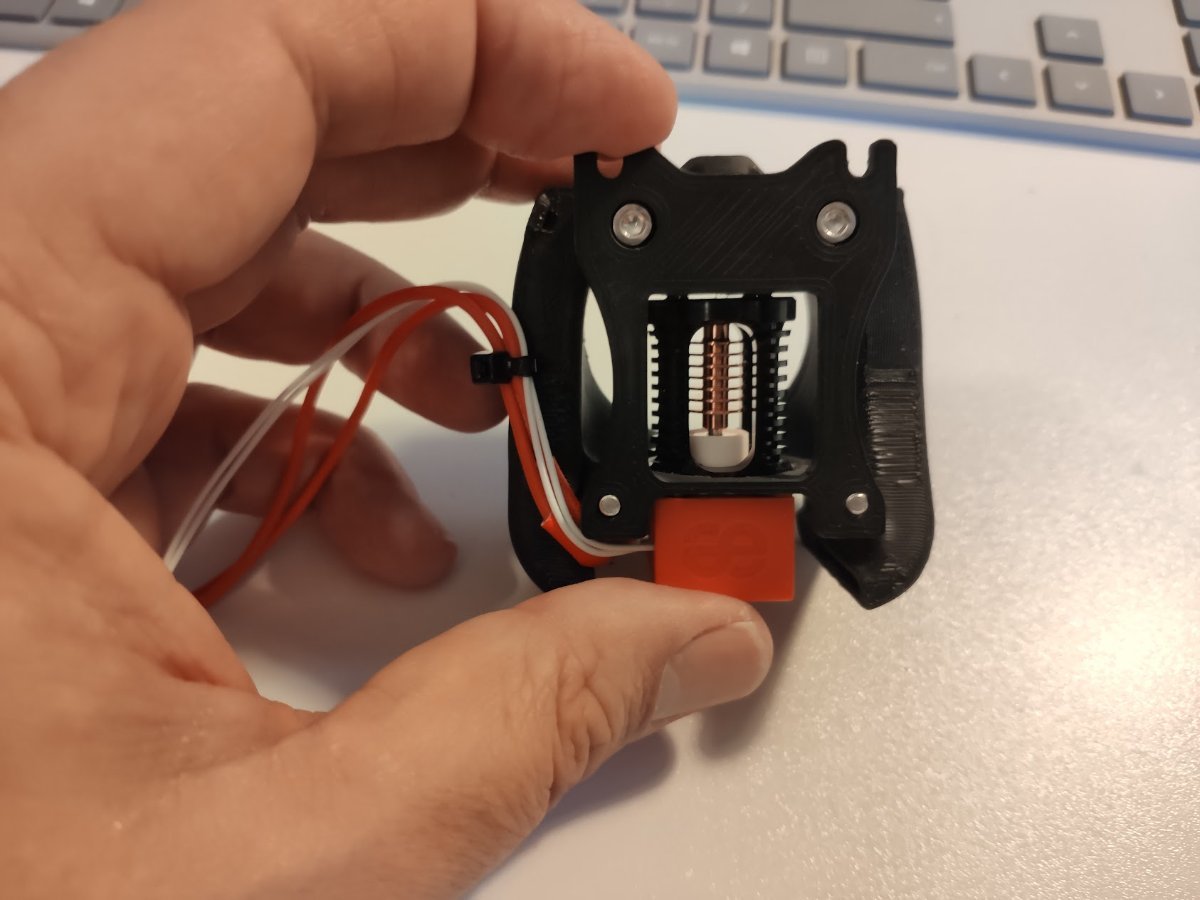
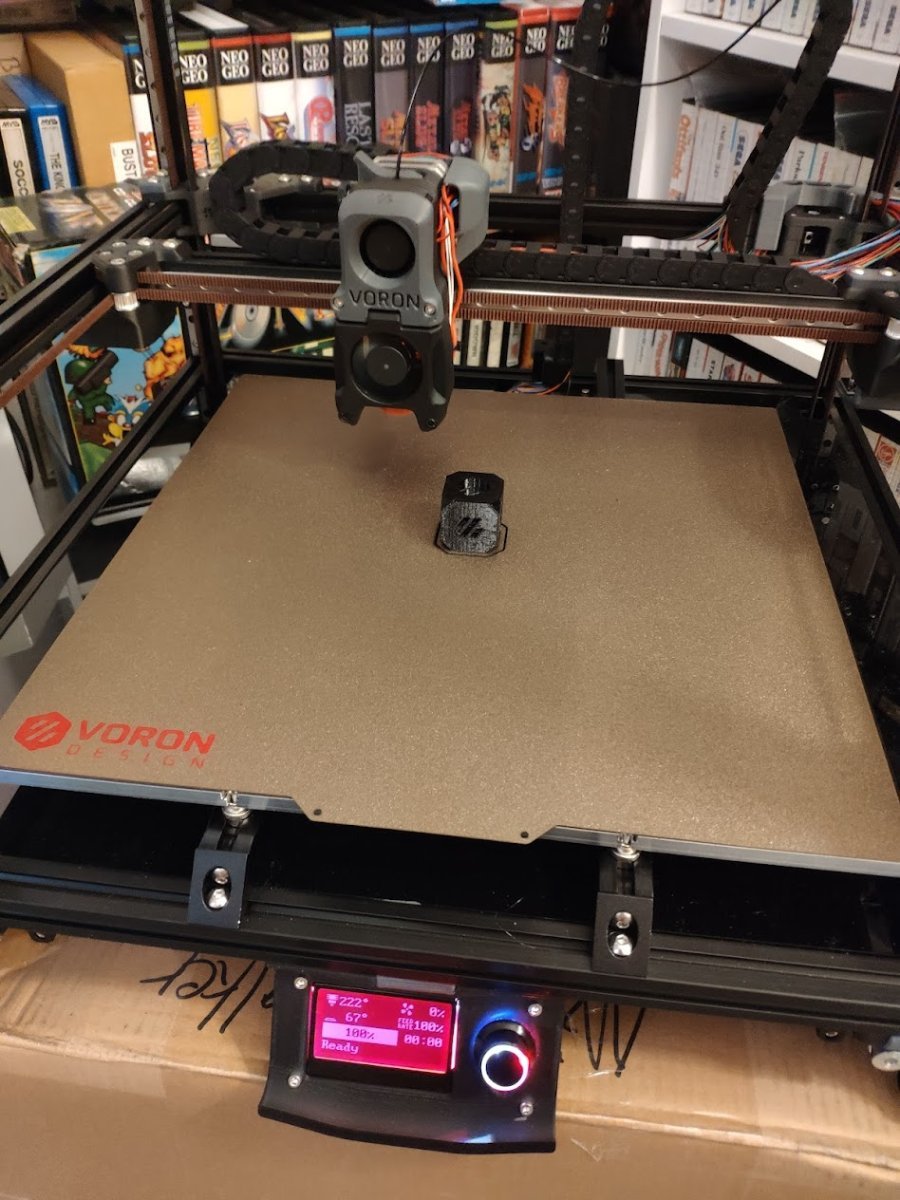
First build and I must say I'm pretty darned impressed with the Formbot kit. I only had a few issues with the kit. The supplied probe was for the older versions and with the r2 the probe sits level with the nozzle. No power wire supplied for the exhaust fan. One of the BTT TMC2209 quit working while tuning the printer for the first time but thats not really a Formbot issue. Other then that its been great... Lots of extra hardware and I even got lucky with a Raspberry pi4! I'll post some more pics as I finish things up a bit.
- 11 replies
-
- 5
-
-
- builddiary
- kit
- (and 1 more)
-
Just leaving these here for now. Details of my journey to follow soon! All the best, StalkS
-
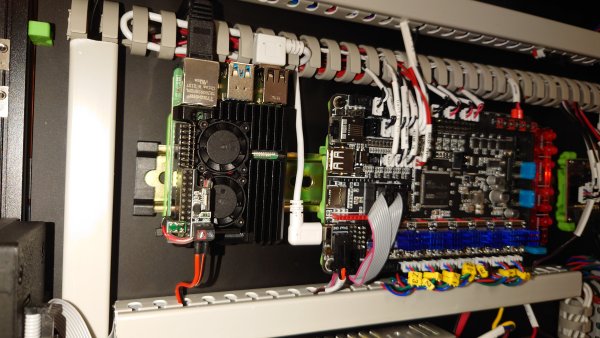
From the album: 2.4 Wiring Gallery
All done except z motors and led's -
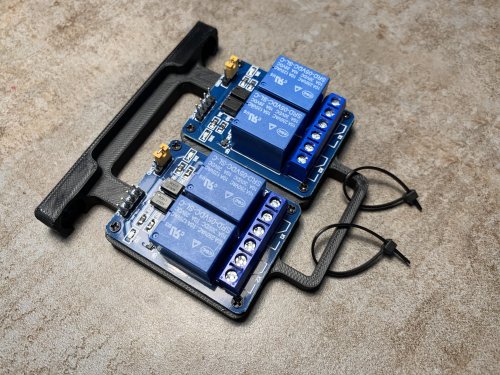
Version 0.1
6 downloads
Simple relay-mount for 2x 2 channel relay modules - e.g. for moonraker power plugin. Mount with two M5x8 screws and T- or hammerhead nuts to normal 2020 extrusions. 4x or 8x M2x8 self tapping screws to mount the relay module.