Search the Community
Showing results for tags '2.4r2'.
Found 5 results
-
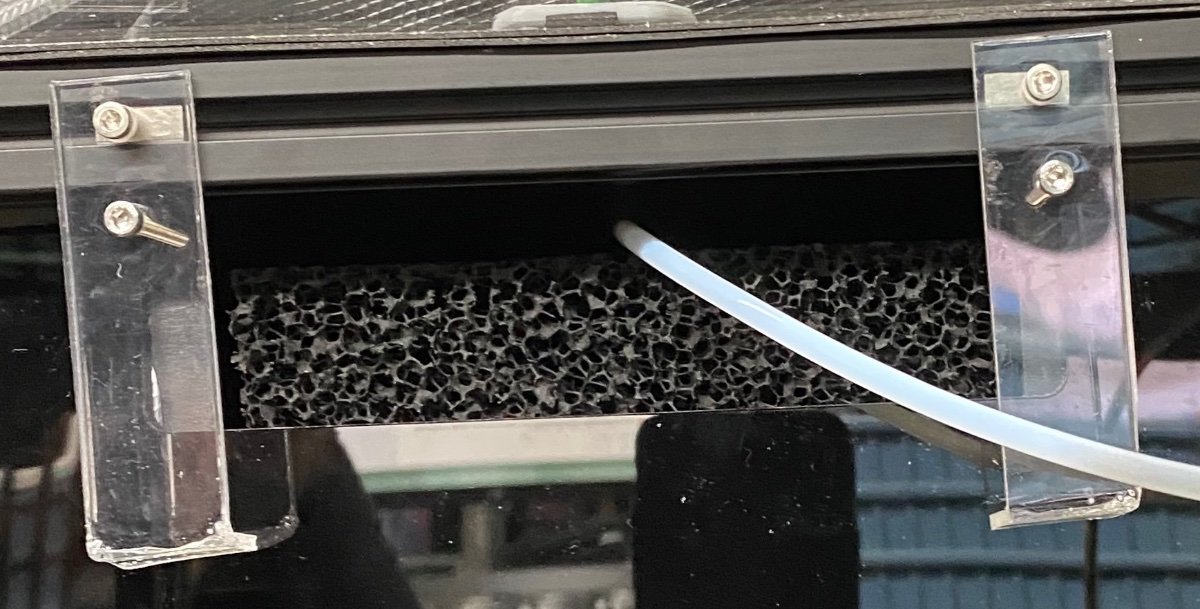
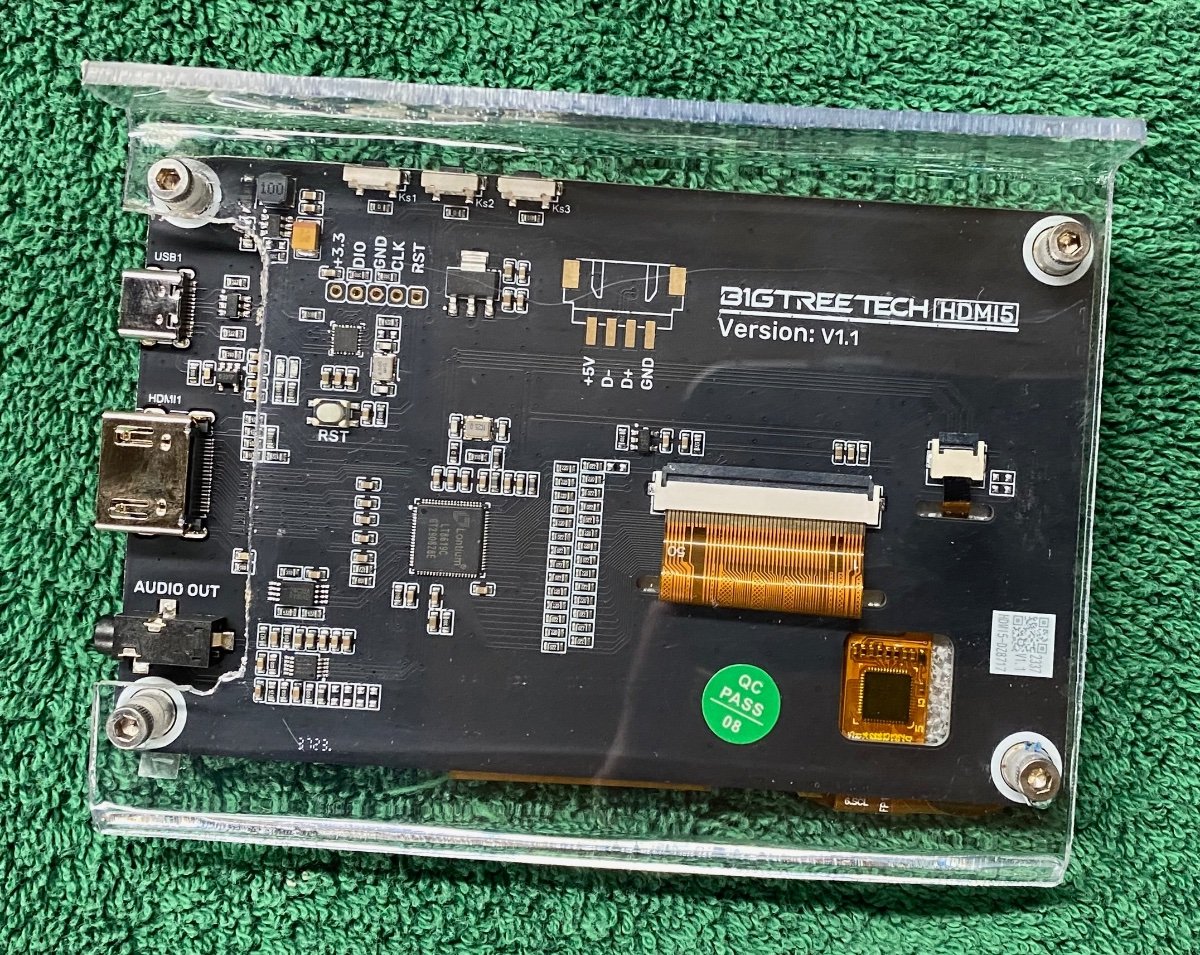
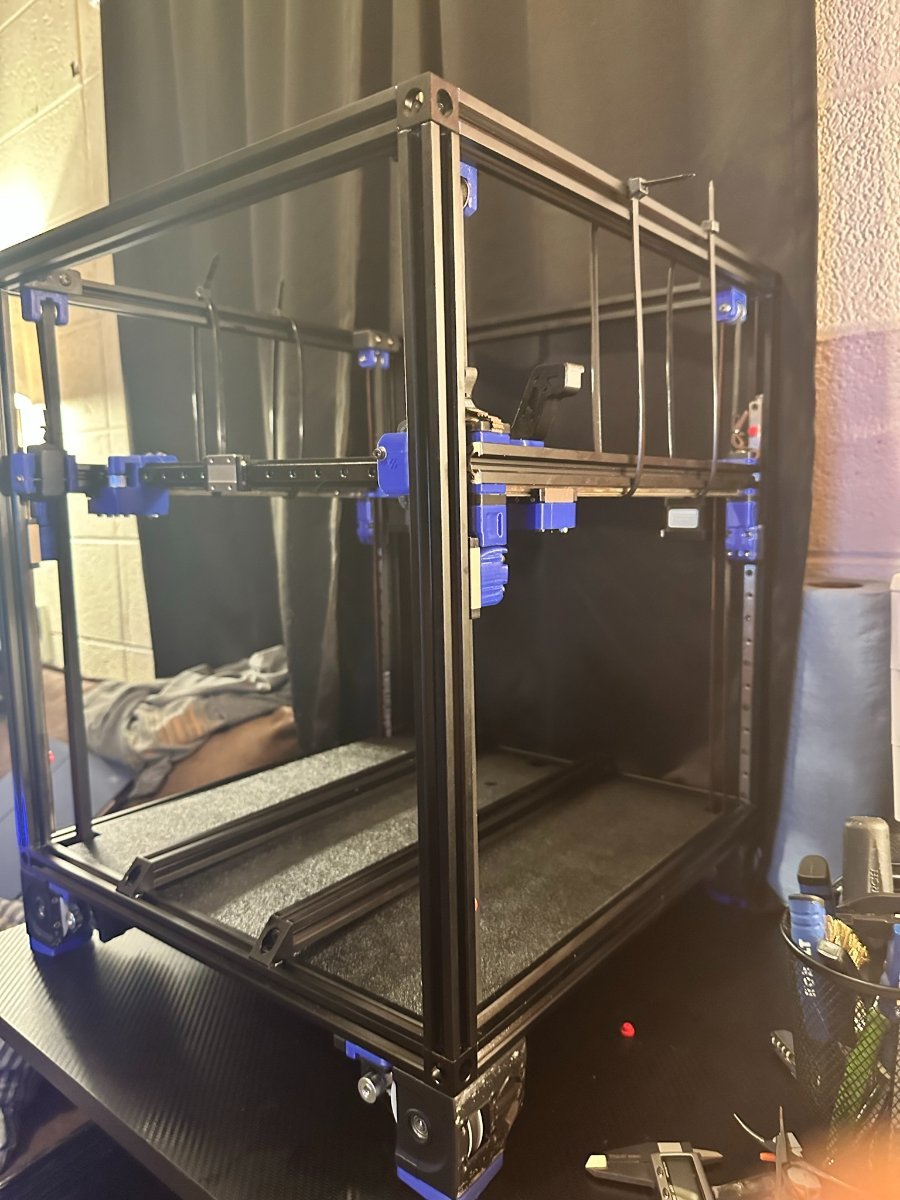
Hello again, Sorry for the delay in posting something since I did my introduction in January. < tossed longer and rambling message > The easy part is done with the frame, gantry, build plate, enclosure. Wiring is ran. The 3D printed parts kits I had ordered were missing parts. I initially bought "all the printed parts" as a kit from a vendor, to later on realize it did not have the skirts or the screen mount. Ordered the skirt kit from same vendor, only to discover it was not the screen mount for the touch display. Didn't see an option on that person's site to choose the proper screen display. And it did not have the enclosure pieces. Went with a different vendor and got my enclosure parts. Completed the enclosure to again find missing parts - the exhaust grill and hangers for the exhaust fan. Reached out to a few different vendors on etsy. Didn't get replies. I decided to improvise some temporary parts using acrylic. If I can get the printer up and running I can print the few remaining parts using models I found on this site. The 3rd and 4th pictures show the exhaust mount and the touch screen support. The display support will allow me run the printer while not shorting the display on my metal work table. The printer has the TAP option. I built the ABS mount for it. It doesn't feel right. Something with the magnets and the screws doesn't feel tight enough. I worry that when printing the print head will shift. Tried different magnets from McMaster-Carr, along with different contact screws for the magnets to latch onto. Still felt loose. Then I saw a nice aluminum frame for the TAP, bought that. Waiting for it to arrive - first "upgrade" to be installed before even using the printer. Now it is time for the part of the project I have been dreading - installing software. Already had a false start when I tried to install the wrong OS. I straighten that out and got the correct software for the BTTpi installed and running. I already erased the SSD once to start over. I am about to do the same once more as I try to find the right instructions/path. I feel like I have missed the correct path. When I assembled my Ultimaker over a decade ago there was one set of instructions to follow, and the OS and printer code was already on the controller board. Screwed everything together, loaded filament, got my first prints. This time around it has not been a straight forward path. Using the Voron instructions I was able to build the frame and the mechanical parts on the printer. When I started wiring it up I noticed the electronics parts were different from the Voron instructions. The substitutions seem to make sense, and using a few different youtube videos and other sites I am pretty sure it is wired up correctly. Bought the printer kit in mid September. Started to build it in mid October. Took a break to focus on the holidays, resumed in January. The mechanical build has been done for over a month. I think I should be done by now. The software feels more convoluted. I'll get thru this after I take a little time look around for the rosetta stone that has to be out there. Thank you for reading this far. And I hope I have posted this correctly

-

v2 First Build - Blooo Voron 2.4R2 with Mods, of course!
cjkennedy72 posted a topic in Build Diaries
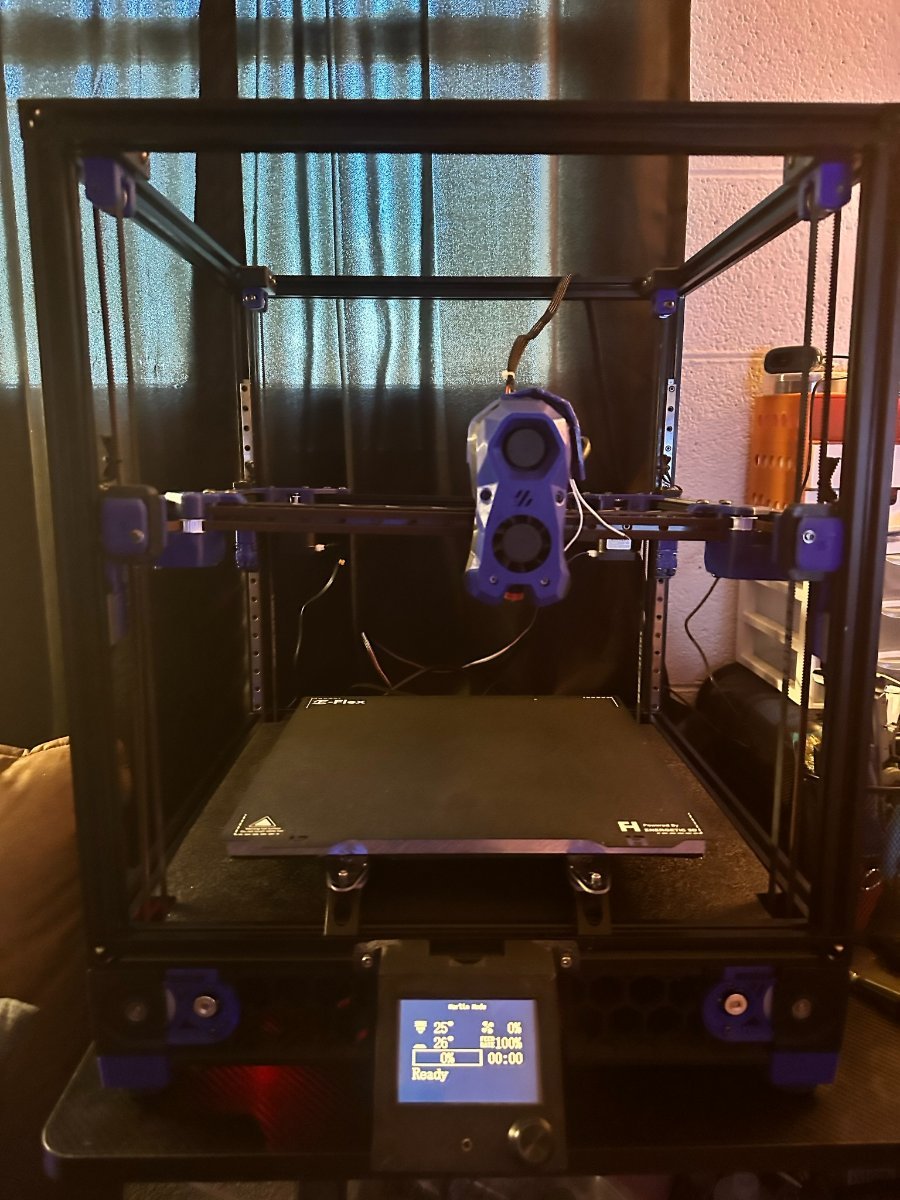
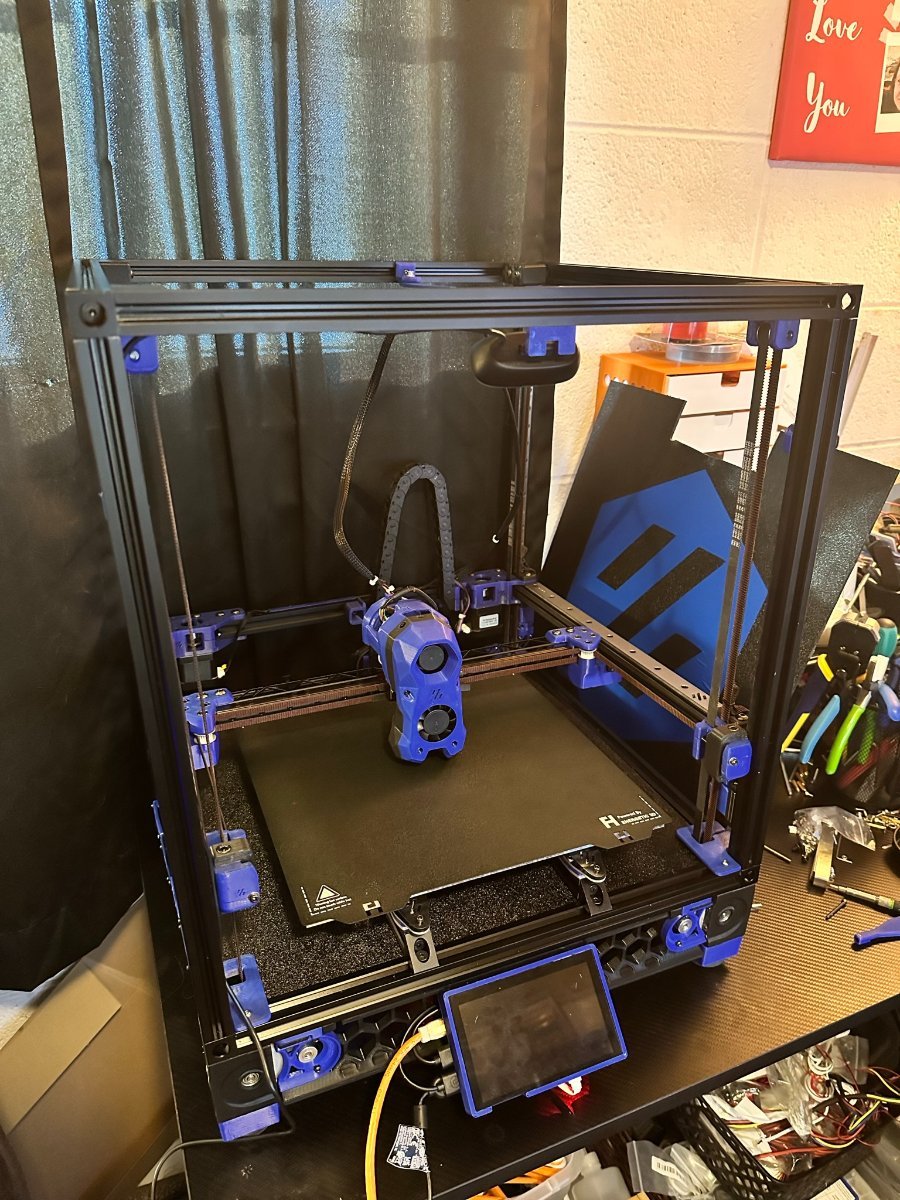
So after tweaking on my first printer, a Creality Ender 3 S1 and then errantly picking up a TronXY X5SA-Pro Kit (poor name, nothing pro about it). The constant fight to get more than 1 print before redoing all the leveing/bed-mesh, blah... blah.. Well... that lead me to building a Voron. Like many, I did a bunch of research, read articles, forum posts, the full manual for about ever open source printer on Github and felt I was on the right track... but then came the new set of decisions... Do I buy a CNC'd kit? Do I buy an LDO kit, or which controller, etc.... I finally settled on a mix of self-sourcing and kits, mainly the motion kit without rails, and the fasteners kit from Amazon. While I might have paid a little more, my time was worth it. So, I started printing my parts on that old Creality and TronXY... Soon, I found I was printing more on the Ender than the CoreXY because at least I could get the job printed first try almost every time. These are the earliest pictures I took as I was building... Lots has changed since then, and here are the latest pics... I replaced the heatbed because the first one was too thick and took forever to heat. I disassembled the Stealthburner and ditched any "lets see if this works" butt-connectors for nice shrink-wrapped soldering work. I installed LEDs, but am still figuring out what is up with those... I also got my camera mounted, the touchscreen with KlipperScreen added using a case from this site and a hack-job on a mount that worked out... I will come back to that later when I get a longer FPC cable. She is about get her back and side panels attached... Just waiting on a couple cable covers to finish printing... The TronXY X5SA-Pro is becoming a VZ-Bot 330 when this is done. I have already printed 80% of the parts while working on the Voron assembly, wiring, testing and all.
-
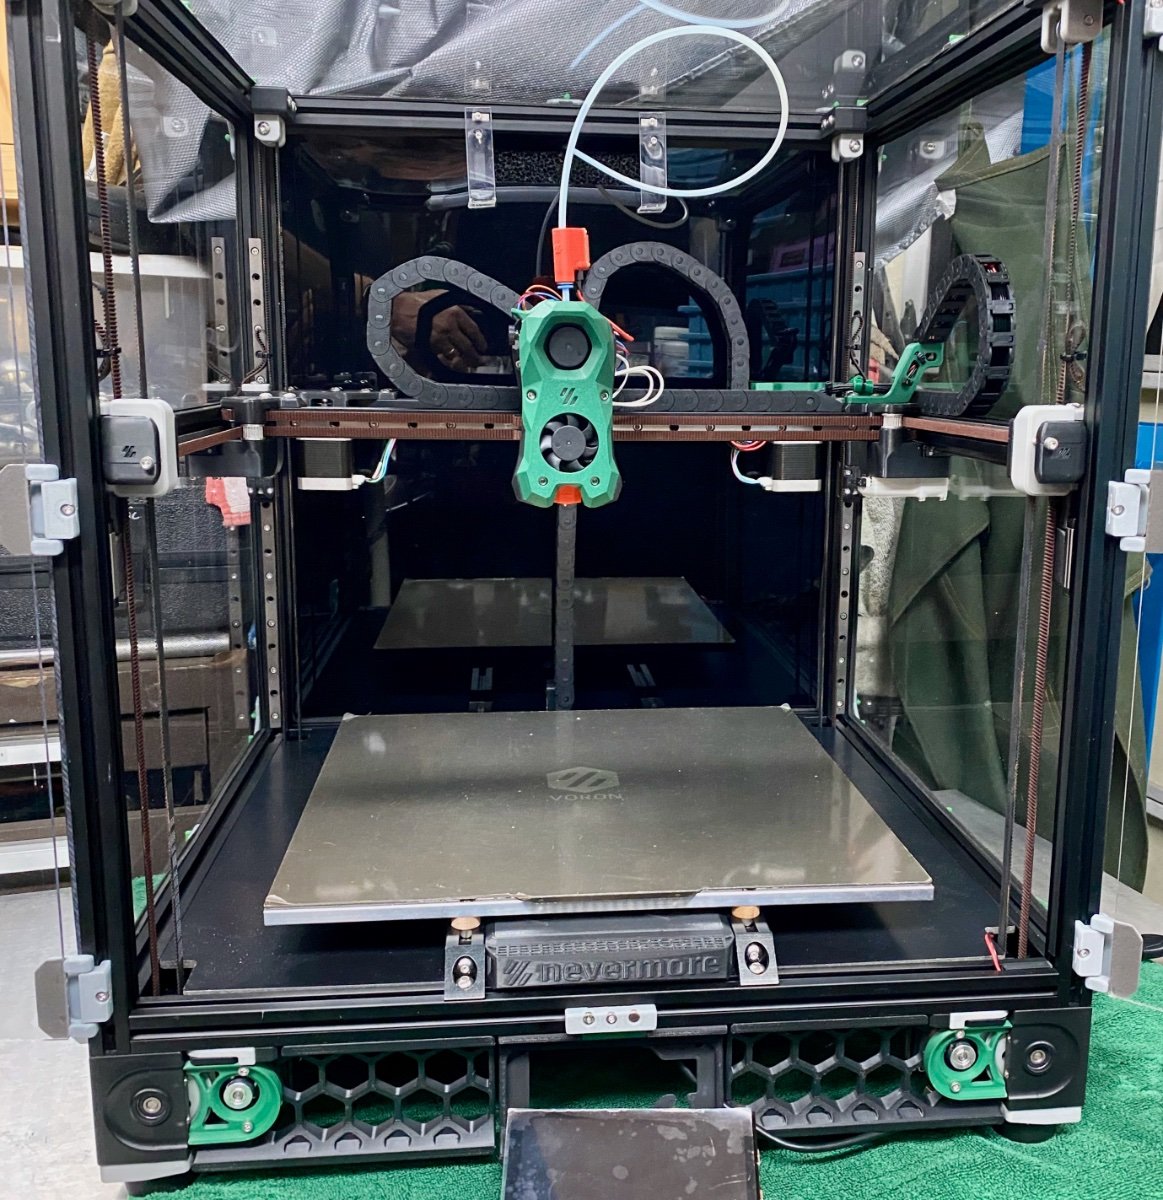
 Planning Phase: Hello me again. Still have the one kit that has been lying in storage for quite some time and decided to get it out and buiild the printer. Due to time constraints this may be a much slower build than the others. Will follow the same structure as the Trident build with mods incorporated into the build as I go along. Having built a 2.4r2, I hope this build will be quite straightforward - but then there are the mods: Octopus Pro v1.1 with Canboot and canbus connection Mellow Fly SB2040 Canbus toolhead PCB install Stealthburner Cover with integrated fanmount Umbilical mod Voron TAP (I just love this thing!) Orbiter 2 with filament runout sensor in Stealthburner Toolhead e3d Revo Voron Hotend VFach Filter (Thanks @Buurman) Silicone Nozzle brush with purge bucket Voron Pin Mod for A/B motors Pin mod for Z-Idlers Nero3D idler bearing stack Ramalama2 Front idlers (pinned) PTFE Bowden Tube guide for Umbilicus Dual Nevermore filters Ellis Bed fan mod Single door with Voron 2.4 hinge mod Logitech C922 Camera mount BTT PiTFT50 with Klipperscreen mount Revo Nozzle Holder skirt mod Panzer ball feet Chamber LEDs mount Extrusion Profile covers Z-Belt Cover mod Deck Panel Supports Engaged Rabbit feeder - (This one I know is going to be a b.....) I think that is it, but with me ----- you never know As some of the mods (Silicone brush holder, Orbiter 2 Mellow Fly combination for e.g) will involve some Fusion 360 work, it may take a while. Though I followed @claudermilkadvise and watched all the lessons from Paul McWorther, I still struggle with the more intriquite designs in Fusion 360. Might call on @Penatr8tor for some advice when the time comes. Next - Color decisions.
 -
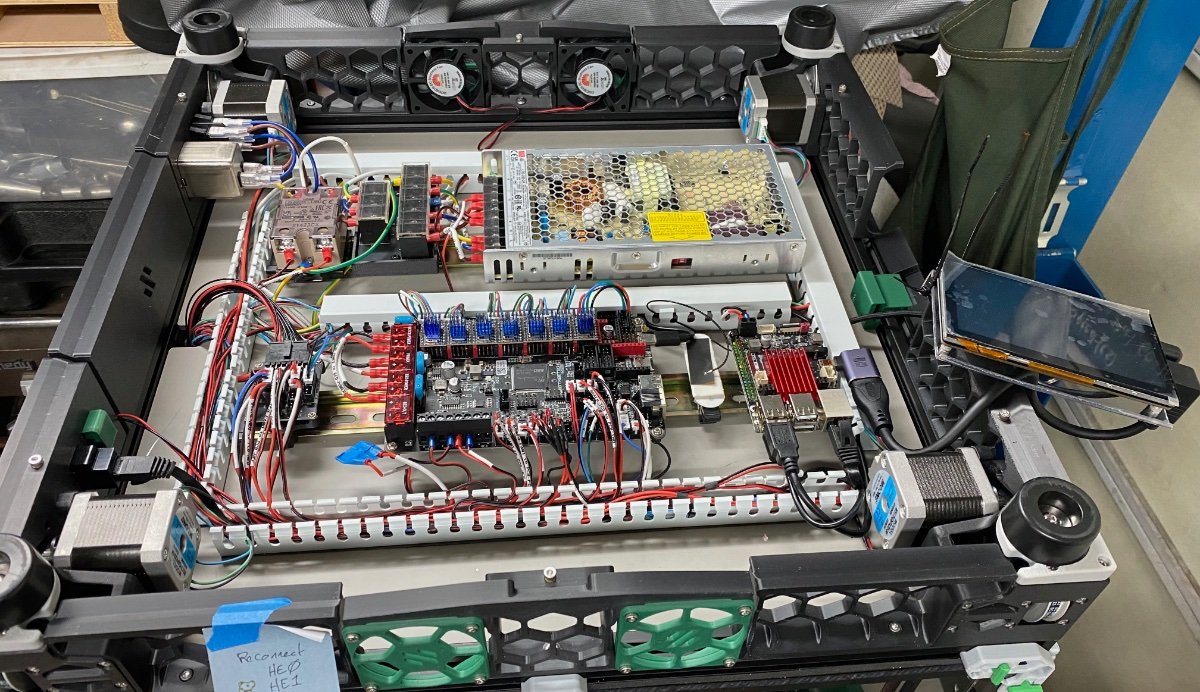
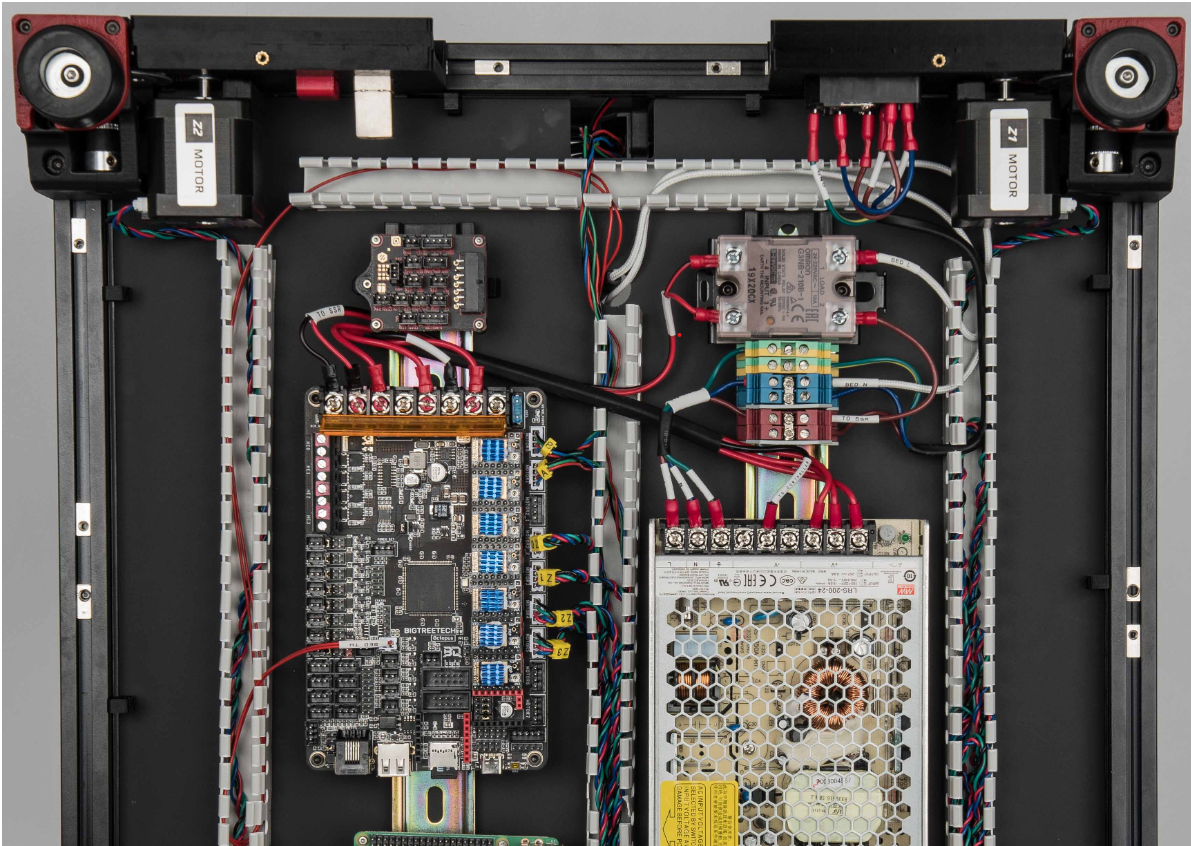
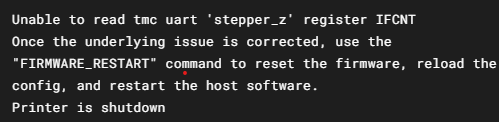
Hello Everyone! I'm building my first Voron 2.4 r2 LDO 350 kit with an Octopus 1.1 board, mainsail OS. I am getting hit with this error: I've followed the LDO wiring docs for this board found here:https://docs.ldomotors.com/en/voron/voron2/wiring_guide_rev_a It seems like the motors are not getting power. Pretty sure that im doing something silly, just not experienced enough to know what yet. for what its worth, the bed heater and rapido hf hotend DID heat up (yay, small win). (screenshot of documentation, but my board is wired the exact same way, just not a clean.) Does anyone have any thoughts? Happy to provide more info if needed! Sincere thanks in advance! Shifty
-
Hi all, Hello for California. I have a Prusa mini and MK3s, new to klipper and Voron. I have printed my parts and am starting building an LDO 300mm 2.4 r2 kit. Thanks, Dave