-
 11
11
-
 3
3
-
 1
1
-
 1
1
What's New in Version 1.0.0 See changelog
Released
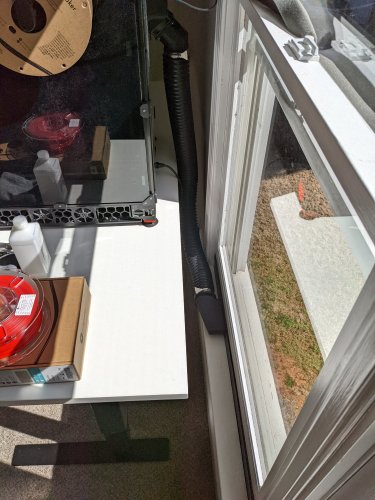
I wanted to be able to print ABS and ASA in my house without having to move my printer to a well ventilated area, so I started looking into ventilation options. I wasn't able to find anything that seemed to mount cleanly to my machine and look decent running to my window, so I designed this system for my printer.
BOM:
-
Parts to order
- 2.5" Hose Clamps x2
- 2.5" Flexible Dust Collector Hose (3ft in picture) x1
- Weather Stripping (10ft in picture)
- Plastic Sheet w/ Medium Flexibility (1.5mm-2mm thick)
-
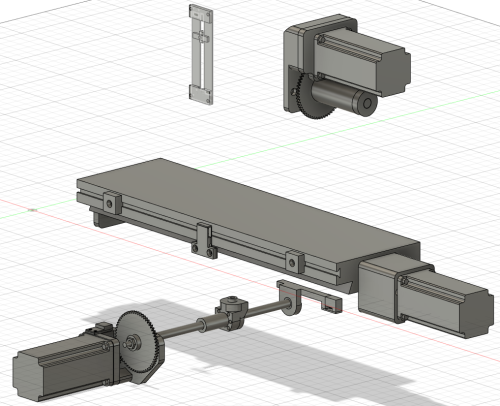
Parts to Print
- 60mm Fan to 2.5" Hose Adaptor x1
- Hose Adaptor x1
- Hose Adaptor Mount x1
- Hose Adaptor Draft Blocker
- Left Link x1
- Right Link x1
- Center Link x? (You will need to measure your window for the proper number of links)
Printing:
- 40% infill
- Supports needed
- 4 line walls
- Filament: Polymaker's Polylite ASA
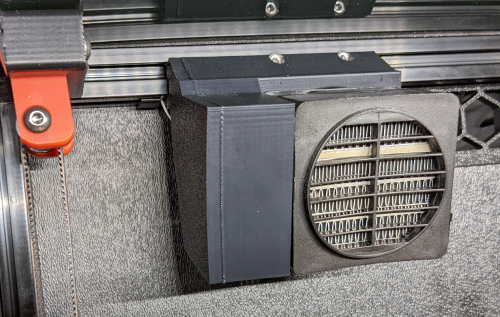
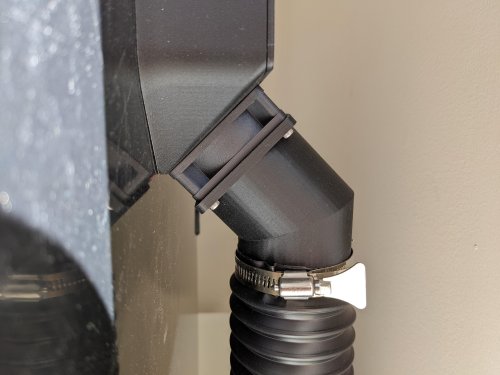
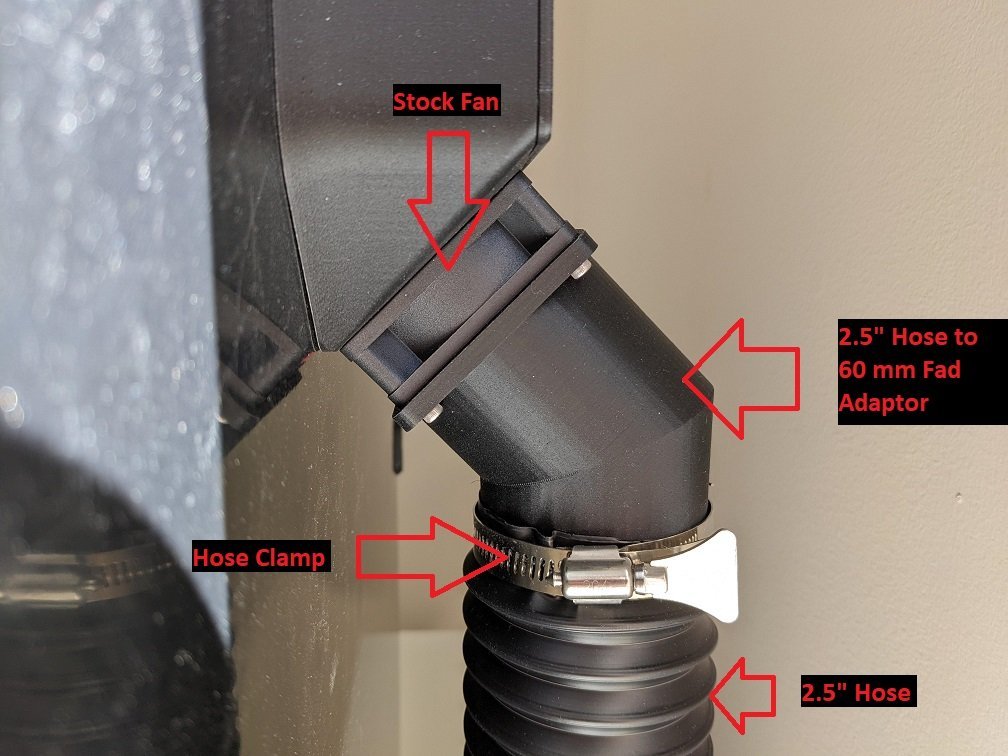
If you are using the stock Voron 2.4 exhaust system, you can attach the hose adaptor directly to the rear fan using the screws already holding the fan in place.
Cut a piece of the plastic sheet to the size of the smallest outside diameter of the one-way valve. Use the M2 self-tapping screw to attach the cutout to the center of the one way valve's smallest diameter's end. Before attaching the hose adaptor to the hose, insert the one-way valve into the hose adaptor with the plastic sheet towards the window end of the hose.
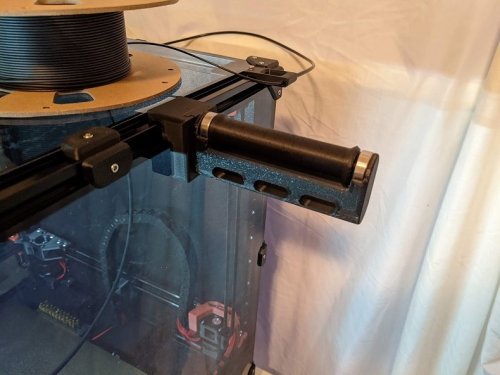
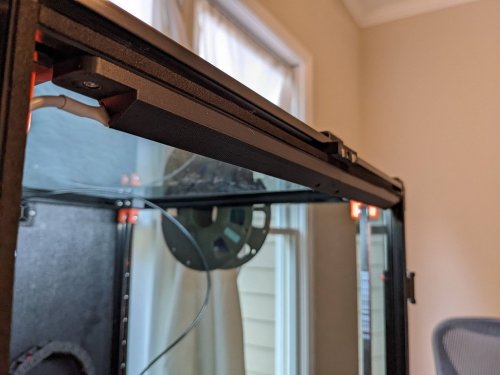
All of the links snap very tightly together and may require pliers to fully seat the lock. Then just attach all of the other pieces according to the images below:
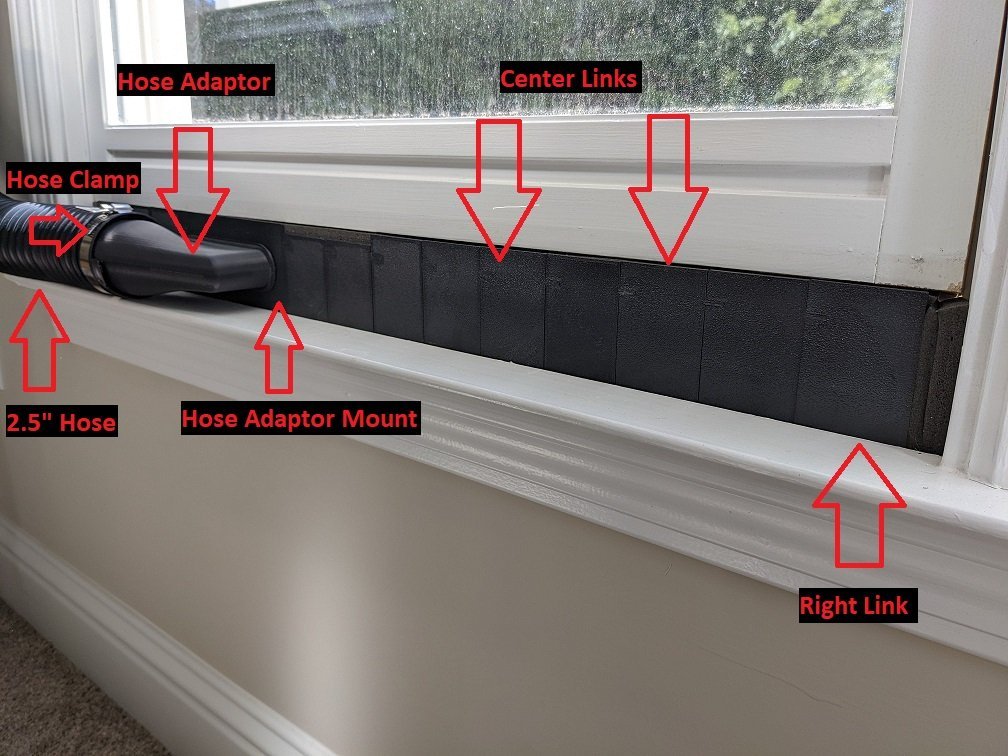
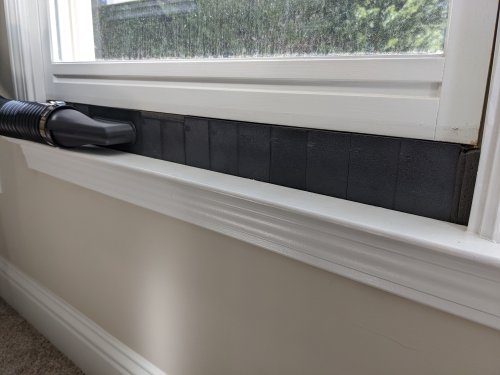
Once you have everything hooked together your can wrap the window vent that is now sized for your window with the weather stripping to get a good seal on your window.
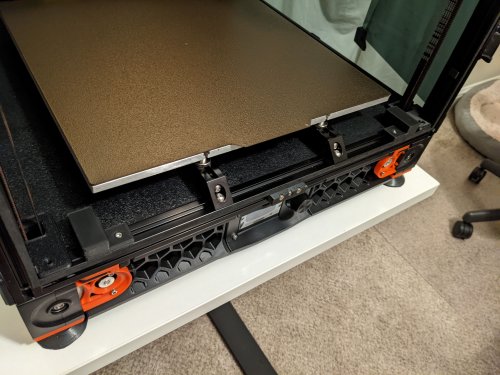
One note, I was printing several test versions of this before I got to a full system. There are couple links you will see in the center of my image that have a smaller lip on them. I just reused these from previous test pieces so I didn't waste more plastic. Your center links should be consistent all the way across the middle section of the window vent.
UPDATES:
3/9/2020 - I have added a one-way valve that you can insert into the hose adaptor to keep back drafts from going back into your printer when the exhaust fan isn't running. This was causing my room to smell like ASA after prints were completed.