Search the Community
Showing results for tags 'afterburner'.
Found 12 results
-

Version 1.0.0
147 downloads
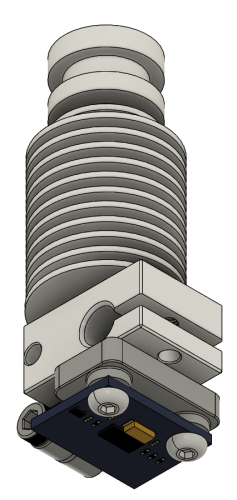
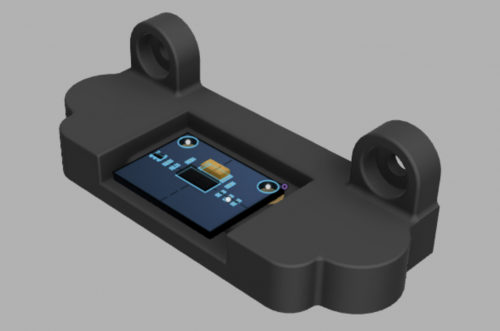
I was shocked to see a significant difference between the results measured with the built-in accelerometer on the EBB36 board and those obtained using this nozzle mount. Here are the results: the sensor built into the EBB36 board X-axis shaper type: mzv, frequency: 62.4 Y-axis shaper type: mzv, frequency: 43.6 with this nozzle mount X-axis shaper type: 2hump_ei, frequency: 99.4 Y-axis shaper type: 2hump_ei, frequency: 87.8 What are your thoughts on this? Are these measured values really necessary for my printer? Required Qty 1 - M3 insert nuts Qty 1 - M3 x 10 socket head screw Qty 2 - M3 x 6 socket/button head screw- 1 comment
-
- 3
-

-
- voron
- stealthburner
- (and 2 more)
-
Version 2021.11.13
494 downloads
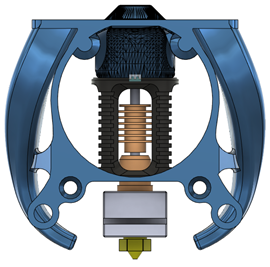
Last update 11/13/2021 Quick author disclaimer: I am not a CAD expert, I have limited experience, but I manage to make functional pieces that I’m happy with. Beta testing from a few Voron users have confirmed excellent results, as such I’ve decided to share this design. This duct is currently not officially VoronMods approved based on design criteria listed on the Voron Discord, however I continue work to make it compliant with Voron design principals. Introducing the Halo Duct for the Voron Afterburner, this duct was created from my personal need to get better cooling during PLA prints. Available versions: Dragon v1.1 - weight 20.5 grams Dragon v1.1 with hotend ducting - weight 24.5 grams Mosquito v1.1 - weight 20 grams E3d-V6 v1.1 - weight 19.1 grams Goals for this duct were: Adequate cooling to enable high speed PLA prints Directed airflow across the nozzle Lightweight design to limit ghosting Compatibility with stock Afterburner 2.4 fan assembly and some mods (5015) Compatibility with the Dragon / Mosquito / V6 Hotends Future goals: Compatibility with other HotEnds VoronMods design principal(s) compliancy CFD tuning Recommended Printing guidelines: Material – ABS or better 0.16 Layer height Supports under ducts (select supports for “touching build plate only”) suggest some part cooling - between 10-50% depending on your cooling setup 3 sec minimum layer time Support removal should be easy, no tools required: https://youtu.be/1iqqhB1m5gw All testing was performed with a single 5015 fan, using the below Fan mod by Greg191134: https://github.com/Greg191134/Voron/tree/master/Afterburner%20Optimisation/5015%20fan%20mod If you find my (Greg191134's) work helpful, or it's made life a bit easier, consider a tip/donation, it is appreciated, but not required: https://camo.githubusercontent.com/cd07f1a5d90e454e7bbf69d22ebe4cdbd3a0b3dcf56ba0b6c2495a8e99c776be/68747470733a2f2f6b6f2d66692e636f6d2f696d672f676974687562627574746f6e5f736d2e737667- 7 comments
- 1 review
-
- 7
-
-

-

-
- greg191134
- haloduct
- (and 5 more)
-
Version 1.0.0
72 downloads
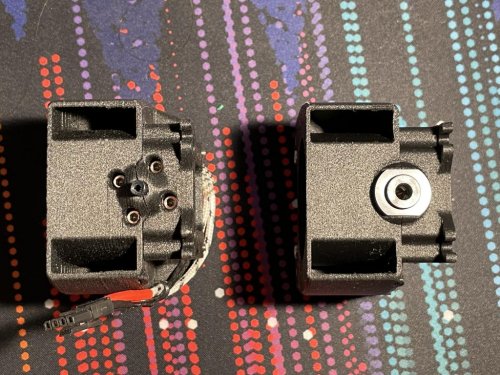
I make this mod to acomodate the E3D Revo Six hotend wiring on afterburner setup.In adition i create a adxl345 mounting option.-
- 2
-
-
- paulthealien
- afterburner
- (and 1 more)
-
Version 1.0.0
786 downloads
This is the latest version of the afterburner hot-end assembly manual, compiled from the latest V2.4 documentation. This file, and any archived versions was originally sourced from https://vorondesign.com/ and is a subset of the full Voron 2.4 Manual. You can view the GPL3 License at the official Voron GitHub Repository https://github.com/VoronDesign/Voron-2/blob/V2.4r1/LICENSE.md -
Version 2021.10.10
260 downloads
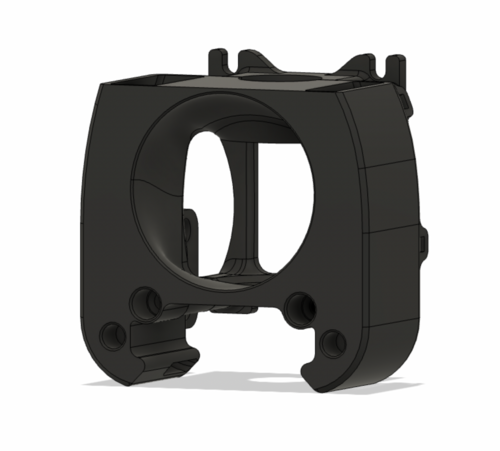
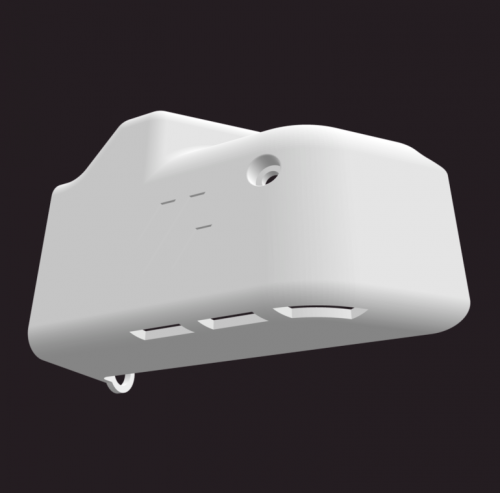
Afterburner Toolhead Cover - Clockwork-
- 1
-
-
- afterburner
- clockwork
- (and 3 more)
-
Version 2021.10.10
144 downloads
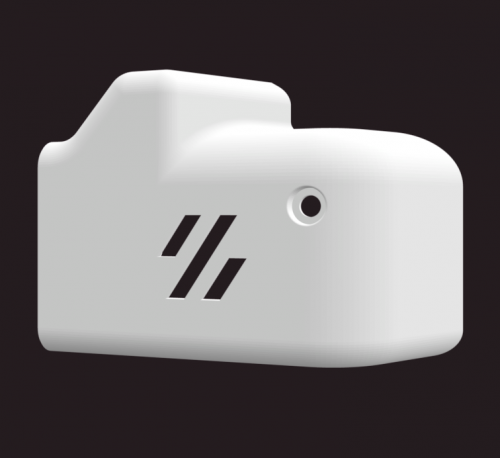
Afterburner Toolhead Cover - Galileo-
- 1
-
-
- afterburner
- galileo
- (and 1 more)
-
Version 2021.08.29
94 downloads
Afterburner Toolhead for the Dragonfly BMO Phaetus Zodiac-
- 1
-
-
- christophmueller
- dragonfly
- (and 1 more)
-
Version 2021.06.30
73 downloads
This mod is for mounting the input shaper printed part in front of the afterbuner, but also mounting on the bed for the SW using the magnets. The threaded inserts are for securing the input shaper on the printed part. BOM 2 Threaded inserts (stock) 2 M3x16 BHCS or SHCS 2 M3x6 BHCS 2 round magnets 8x4 Input Shaper ADXL345-
- 4
-
-
- input shaper
- mount
- (and 2 more)
-
Version 2021.06.16
141 downloads
This is a remix of the Dual Bowden but for filaments/extruders. M4 is the recommended extruder.-
- 3
-
-
- afterburner
- bowden
- (and 1 more)
-
Version 2021.02.06
43 downloads
This replaces the screw-mounted hotend fan cover with one that is held by magnets, for a clean front face and easier access to the toolhead. Works with an unmodified toolhead. Inspired by ModCables101's magnet mod. Required hardware 6x3mm round magnet (2x) M3x8 SHCS — steel, not stainless (2x) Instructions Press the magnets into the new cover. Screw the M3x8 screws into the toolhead until they bottom out; the heads should protrude 4mm from the surface.-
- 4
-
-
- afterburner
- arkeet
- (and 3 more)
-
Version 2020.08.02
42 downloads
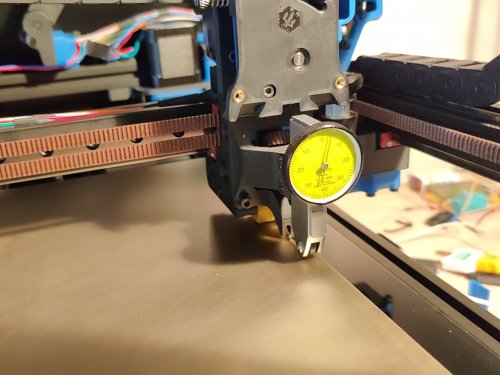
This replaces the Afterburner toolhead with a dovetail mount for a dial test indicator (such as a Mitutoyo 513-404, which this was modelled on). The indicator point is ideally located at the same position as the nozzle (the precise Y position may vary depending on the length of the tip). There is a protrusion where the nozzle would be located, so that Z homing can be done normally as though a nozzle were present. This can be used, for instance, to verify whether a mesh reflects the true form of the bed surface: sweeping the bed with the mesh enabled would ideally show no movement on the indicator. Required hardware M3x8 SHCS (4x) M3 hex nut (2x) -
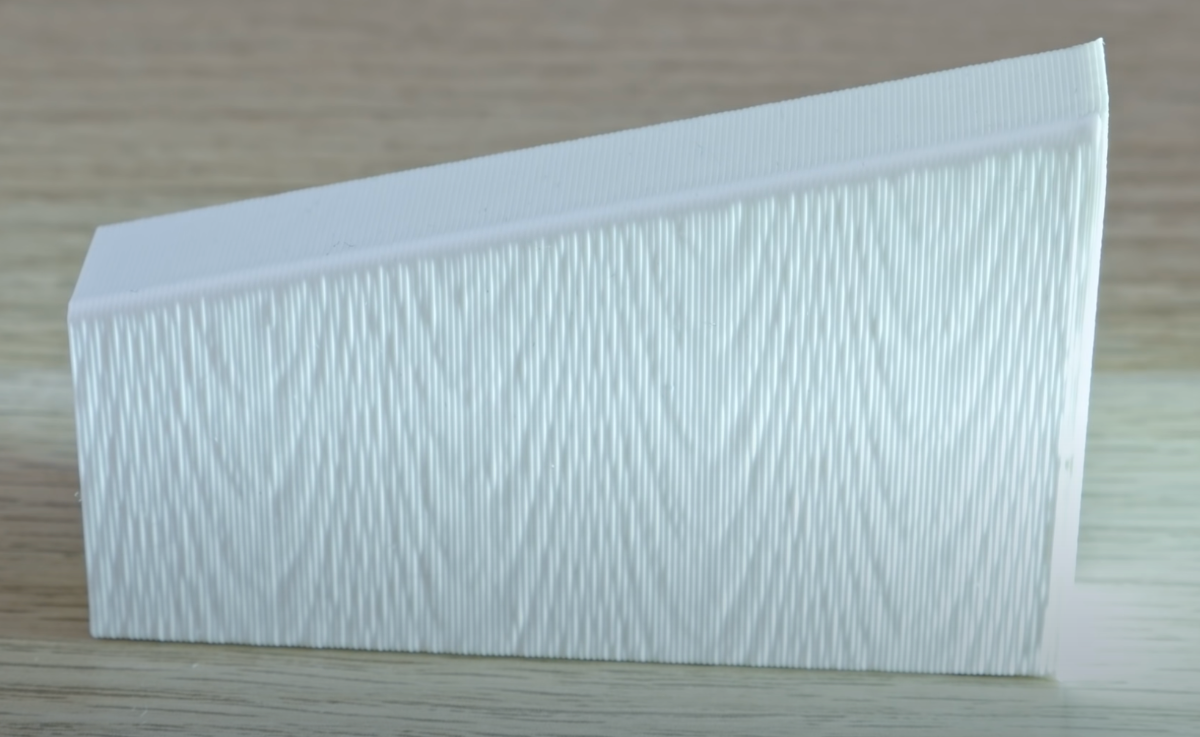
I was reviewing 3d printer videos on youtube and ran across this really informative video by MihaiDesigns. He specifically looks to identify the root cause and possible fixes for a "Wood Grain" type pattern exhibited on Dual Gear extruders, which from my understand is something that could be an issue with the Voron Afterburner design. Long story short, with some measurements, mathematics, and ruling out other issues MihaiDesigns was able to identify the root of the problem, and it led him to play or slop in the Dual Gear extruder design. Example "Wood Grain" pattern... Has anyone experienced this issue with their Voron? If it is indeed a possibility, any ideas or existing Voron UserMods on how this could be modified to reduce the play in the dual extrusion gears without limiting the torque provided by the afterburner design?