-
 14
14
-
 1
1
About This File
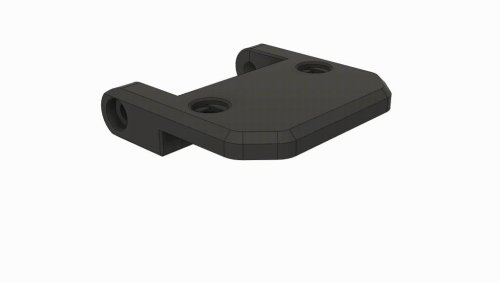
270 Degree Clamping Hinges
The design of this hinge is based on chrisgonzales already incredible 270 degree hinges. The main goal of this remix was to have the front panels mounted in a way that didn't use any VHB tape or holes that needed to be drilled into the acrylic, and of course, use minimal amounts of additional hardware. After many design iterations and improvements I came to a solution.
Important Notice
If you're going for a super sealed enclosure, then these hinges are not for you. In testing ( at the moment with only 2 hinges per panel ) I found after opening and closing the doors several times, they would slowly lose alignment ( only by fractions of a mm ) and just need a little push to re-align so the panels would close properly and not collide. This means you'll probably have a gap of a couple mm between the panels at the front if you don't want to be driven crazy by them not staying super aligned. A potential fix would be to print 3 hinges for each panel but I am yet to test this although I strongly recommend you do use 3 hinges per panel if you have a printer larger than 250x250 ( what I'm testing them on ).
Update Log
11.12.21 - Made subtle changes to dimensions to hold panels closer together whilst having them fully seated in the clamps for maximum strength, also changed recommended print settings for stronger face_plate_bottom.stl.
Using Foam Tape
At the moment I have only tested using 3mm thick foam and that works well, you may be able to get away with 4mm foam, but for anything thicker, you'll need to modify part of the hinge to accommodate this.
Keeping The Doors Shut
I am currently using clamps designed by v6cl
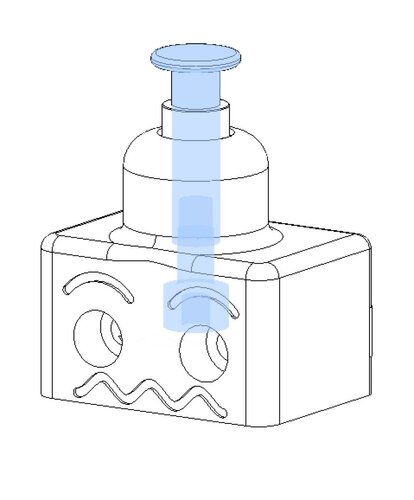
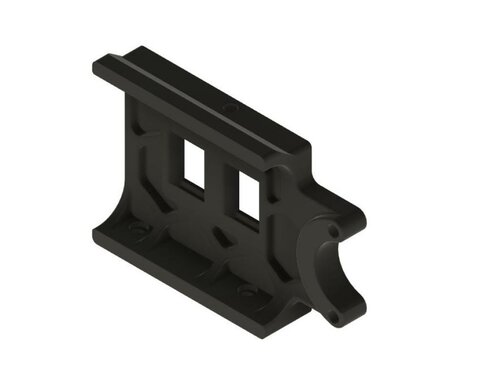
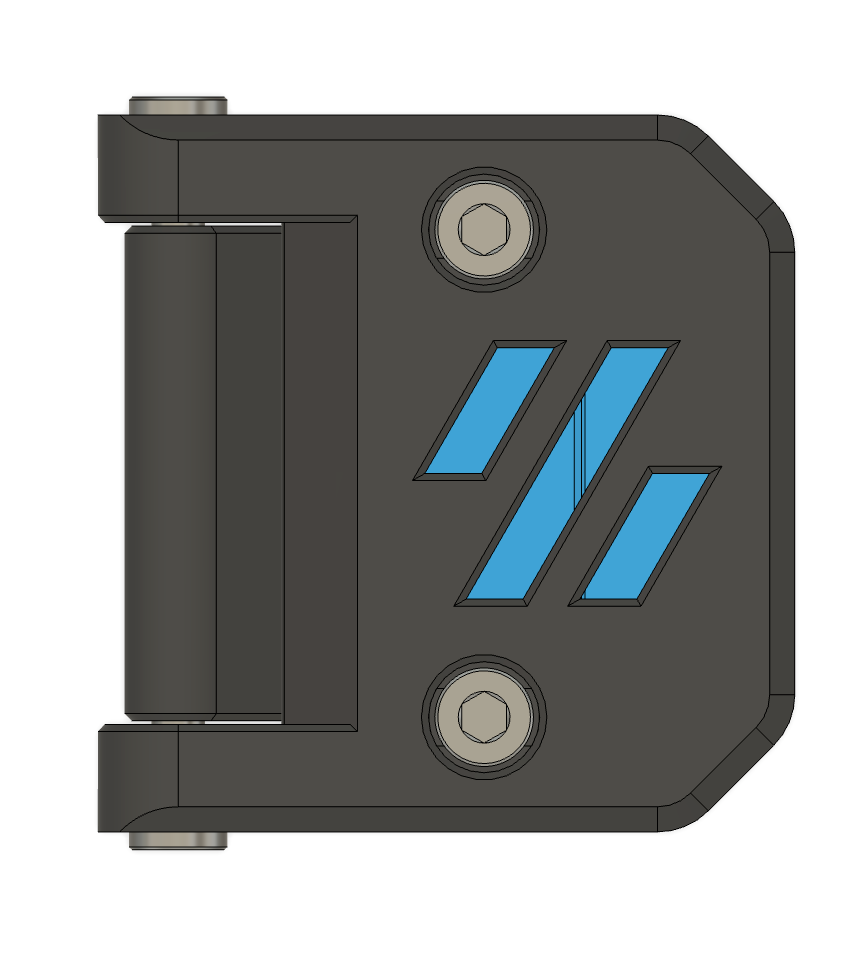
Different Styles Of Face Plates
The file names match up with the digrams below.
| Face Plate No Logo | Face Plate Embossed Logo | Face Plate Through Logo |
|---|---|---|
|

|
|
BOM - Per Hinge
Printed Parts
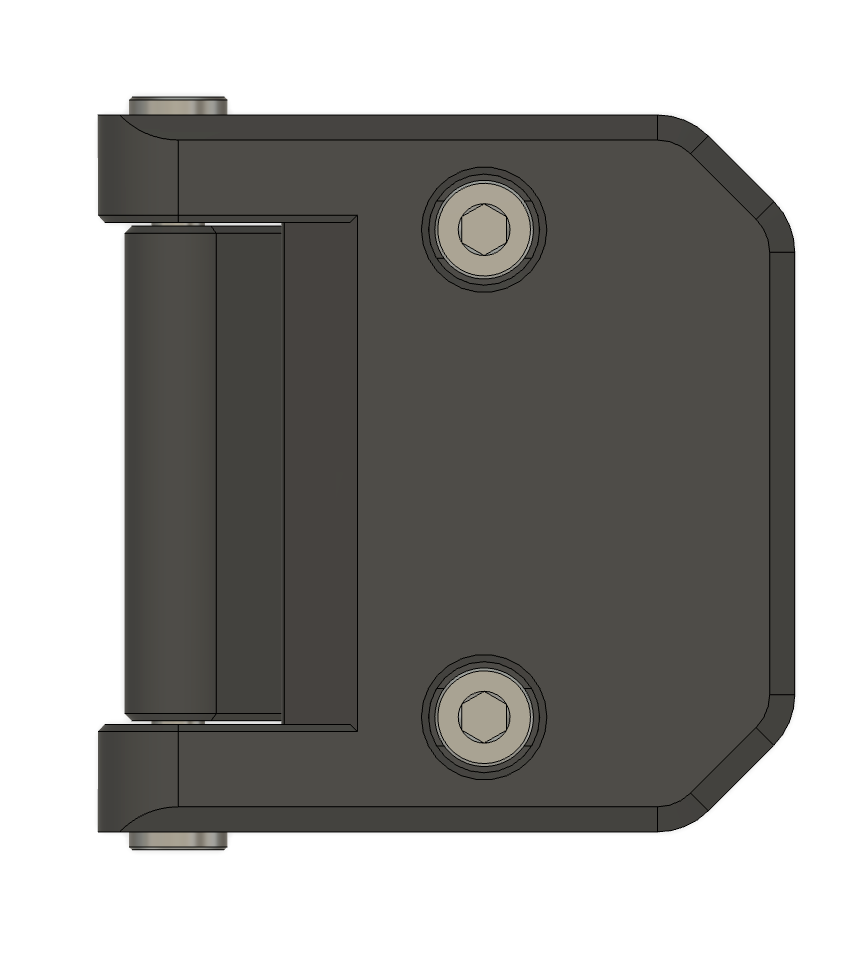
 face_plate_top.stl     [x1]
 face_plate_bottom.stl  [x1]
 side_mount.stl         [x1]
Additional Hardware
 M3 x 8mm SHCS          [x5]
 M3 Hex Nuts            [x2]
 M3 T-Nut               [x1]
Printing
I recommend following the default settings for Voron Parts, and none of the parts require support material.
 Layer Height       : 0.2 mm
 Extrusion Width    : 0.4 mm
 Infill             : 40 % ( 100% For face_plate_bottom.stl )
 Perimeters         : 4
 Solid Top/Bottom   : 5
 Supports           : No
 Brim               : Optional
Assembly
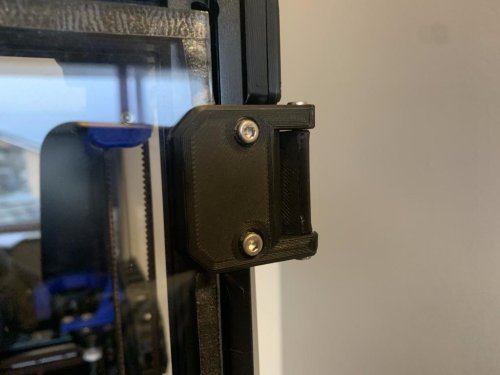
Better photos will come in good time 
- Attach the _face_platebottom to the _face_platetop using 2x M3 x 8 mm Bolts and 2x Hex Nuts - Keep the bolts loose for now
- Attach the faceplate assembly to the _sidemount using 2x M3 x 8 mm Bolts - Again, don't overtighten these so the hinge moves easily
- Install the finished hinge assembly to the frame using 1x M3 T-Nut and 1x M3x8mm Bolt - Position them now to your liking
- Once all the hinges are on the frame. Slot in a panel on one side, before tightening down the M3x8mm Bolts in the faceplate assembly. And repeat for the other panel.
- Loosen the panel's clamps and position accordingly, repeat for the other panel.
-
For the handles, I just re-used the correct ones that chrisgonzales made :).
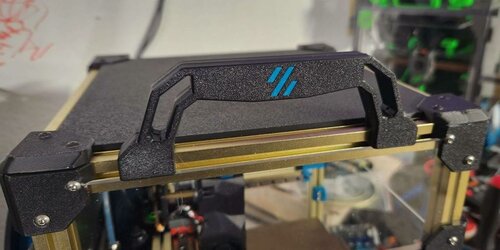
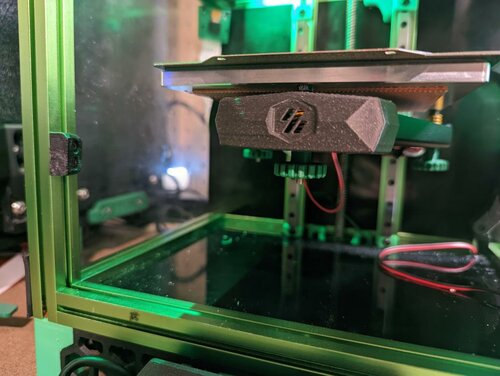
Installed On My 2.4

-
Better photos will come in good time