
-
 1
1
About This File
Overview
In the initial Afterburner beta, I found that I had an inconsistent first layer height which I could not fix with bed_mesh or QGL. I suspected a twisted x extrusion. I found it is possible to very slightly misalign the x rails to produce an apparent extrusion twist, and I was able to fix it using simple tools and a few printed parts.
The Dozuki article goes into a lot more detail, but here you will find the broad strokes and the tools I used.
I take no responsibility for anything happening to you, your printer, or anything else should you follow what I did.
The Issue

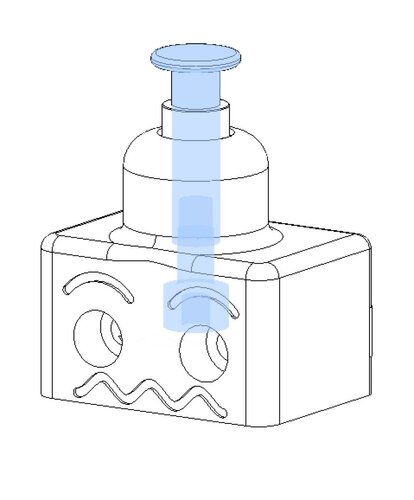
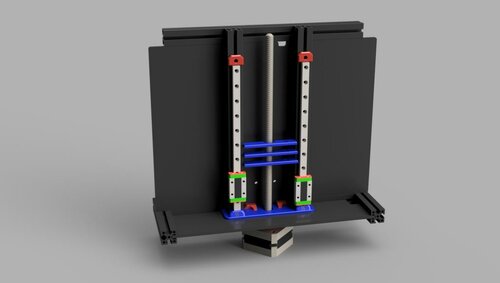
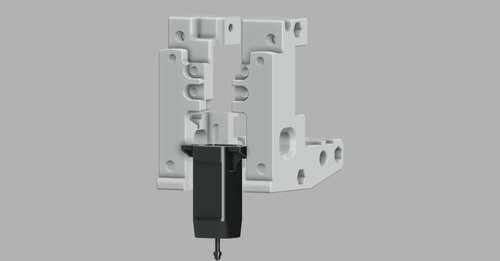
This diagram shows what I think is going on. In the AB beta, you align and install the front rail, then align the bottom rail to it. If the front rail is slightly misaligned higher on the left/lower on the right (black arrows), it will pull up on the carriage (blue arrow pointing up) when moved to the left (green arrow). The bottom rail is constrained in that direction, so it moves forward(red arrow).
It is the combination of the blue and red arrows which cause the apparent twist, tilting the carriage away from the build plane. Quad_Gantry_Level can and does correct for a single rail misalign (such as on a V2.2) but once there are 2 rails perpendicular to each other, they impart twist which QGL cannot fix.
From my measurements I was approx. 0.07mm higher on left than on the right. Over the length of the rail, this can impart a twist of approx 0.4 degrees. At the nozzle I had a variance of .12mm in layer height over approx. 150mm
Requirements
- metal ruler/light
- Dial indicator (1 inch travel, .001 resolution)
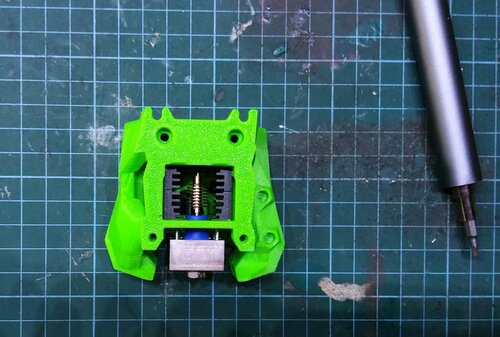
- Printed Dial Indicator adapter (this mod)
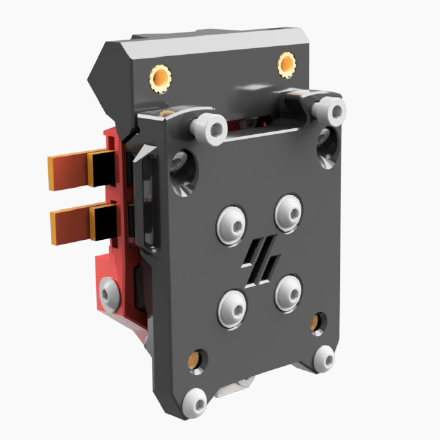
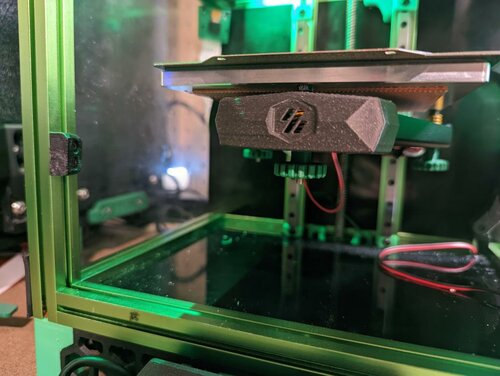
- Printed adjuster assembly (this mod)
If you do not have a dial indicator it may be possible to test for this using a z-height/paper gauge test. in this case you won't need the dial indicator stl, just the adjuster stls
Detection
The Dozuki article has the detail here, but the general idea is to use either a dial indicator or paper test the nozzle height at different x locations. Since we are at QGL, and assuming the bed is flat, there should be little measured change.
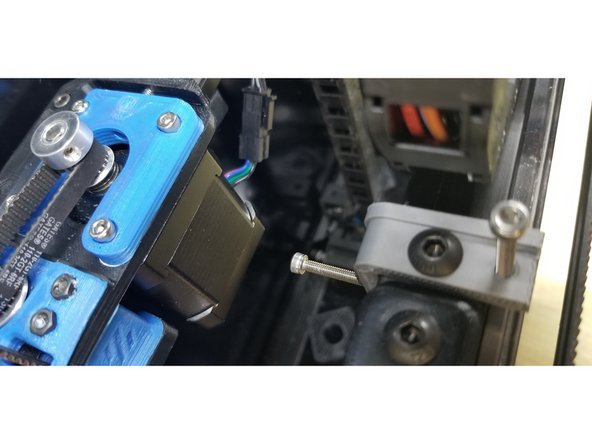
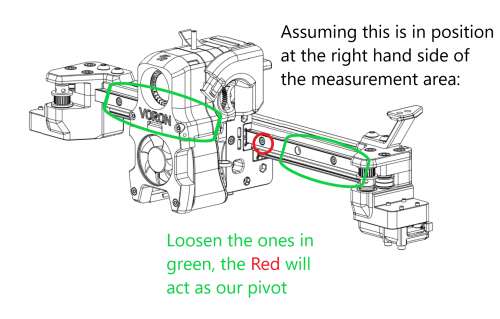
The Fix (Dangerous)
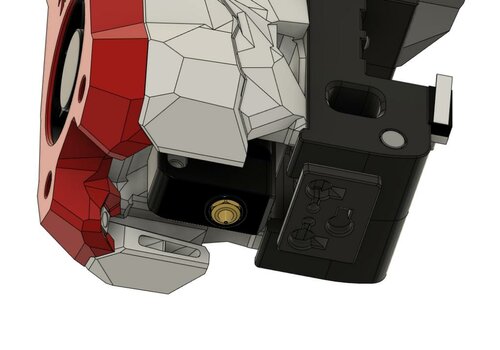
Assemble the "adjuster" like so:

DO NOT INSTALL YET DANGER! If you install this and then do a home, bad things will happen as the adjuster will hit the stepper long before the y switch activates. be very very careful when this is installed.