-
TeamFDM.com is an UNOFFICIAL companion site for the DIY Voron 3D printer community. For official docs and final source of truth, visit the Official Voron Discord or the Voron Github
-
 Welcome to TeamFDM.com
Welcome to TeamFDM.com, your premier destination for dedicated Voron support, guides, and discussions focused on the highly popular Voron 3D printers. As the largest Voron forum on the internet, we pride ourselves on being an independent resource for comprehensive tutorials and guides, providing an alternative to the Official Voron Discord or Official Voron Reddit.
Please note that we are not officially affiliated with or endorsed by the Voron Design team.TeamFDM.com is the perfect place for enthusiasts of all ages and skill levels to come together and explore the world of Voron Designed 3D Printers and accessories. Our thriving community, now over a year old, invites you to join us in welcoming fellow hobbyists as we work together to build, troubleshoot, and celebrate the incredible capabilities of Voron 3D printers.
Begin your Voron journey by visiting our forum (or bulletin board), where you can search for answers, ask questions, and receive support for your build. Discover the value of TeamFDM.com and the vibrant Voron community today!
-
Featured Topics
-
- 45 replies
- 40,643 views
-
- 5 replies
- 11,723 views
-


-
Vendor Forum Feed
-
- 53 replies
- 51,801 views
-
-
Latest Activities
-
 1
1Klipper runtime warning MCU 'mcu' configured for 180Mhz but running at 270Mhz!
"mcu" normally refers to the printer board - the BTT Octopus. Have you tried reflashing the Octopus board? The above would be the settings for your Octopus board designate [mcu] in the printer.cfg file - see theOctopus v1.1 GitHub page. The nighthawk will then have to be flashed separately with the settings you showed which is [mcu nhk] -
 1
1Klipper runtime warning MCU 'mcu' configured for 180Mhz but running at 270Mhz!
Hello All! I have tried everything that I can think of to get rid of the warning in klipper "Klipper runtime warning MCU 'mcu' configured for 180Mhz but running at 270Mhz!", but the darn thing is still hanging on there. I suspect there is a mismatch between my printer.cfg [mcu] clock settings and what the STM32F446 is actually seeing, but I'm not sure where to verify or adjust that. Heads up, I couldn't get the printer to include my nitehawk.cfg file, so I had to integrate it directly into printer.cfg (I'm going to attach that here at the end along with the klippy.log and system loads. It's going to look funny, so just figured I'd get ahead of that). So far here is what I've tried. Hardware Raspberry Pi 4 Model B (Rev 1.2) Nitehawk-SB Rev A (Batch 2403) BTT Octopus v1.1 (Chip STM32F446ZET6) mcu configuration [mcu] ## Obtain definition by "ls /dev/serial/by-id/*" then unplug to verify ##-------------------------------------------------------------------- serial: /dev/serial/by-id/[REDACTED_SERIAL_ID_1] restart_method: command ##-------------------------------------------------------------------- [mcu nhk] ## Obtain definition by "ls -l /dev/serial/by-id/" then unplug to verify ##-------------------------------------------------------------------- serial: /dev/serial/by-id/[REDACTED_SERIAL_ID_2] restart_method: command Updates: I made sure that Klipper and the other Mainsail components were up to date. crowsnest v5.0.9-1-gf92045ac klipper v0.13.0-707-gf604aeee mainsail v2.18.2 mainsail-config v1.2.1-1-gff3869a6 moonraker v0.10.0-31-gd5ee1712 sonar v0.2.0-1-g0d1d7c89 System OS-Packages Configuration Adjustments: I modified the printer.cfg to include the [mcu nhk] information directly. I tried adding "baud: 250000", which I later removed since it didn't work. (see example below) [mcu nhk] ## Obtain definition by "ls -l /dev/serial/by-id/" then unplug to verify ##-------------------------------------------------------------------- serial: /dev/serial/by-id/[REDACTED_SERIAL_ID_2] baud: 250000 restart_method: command Firmware Recompilation: I followed the LDO guide for the Nitehawk-SB: selecting Raspberry Pi RP2040 & 16KiB bootloader offset, enabled "extra low-level configuration options", and added the !gpio8 pin to the "GPIO pins to set at micro-controller startup". Clock frequency is not an option in the menu connfig. Performed make clean and make cycles to ensure a fresh build of the firmware binary. Flashing Process: I used the manual make flash FLASH_DEVICE=2e8a:0003 command while the Nitehawk-SB board was in BOOTSEL mode. Verification: I verified the connection using ls /dev/serial/by-id/, which confirmed both my main board and the Nitehawk-SB are being detected by the host. Ensured that Klipper software on my Raspberry Pi is fully updated so that the host and MCU are running the exact same version. Many full power cycles and Firmware restarts were made just to try to get the machine to play nice (no dice). Things I havn't tried: Switching the USB port on the Raspberry Pi (seems like a long shot) Contacting LDO for support. Has anyone experienced this and found a solution? I've been through the Voron discord to no avail, and I'll post this there later if you all are stumped as well. What are my options here? Attaching pictures of the make menuconfig, octopus v1.1 board, system load information, as well as my printer.cfg (combined with nitehawk.cfg, and klippy log. printer-cfg.txt klippy-redacted.txt -
 4
4KIT or self-source? (I really need your personal experience!)
I agree with this, having just assembled my first Voron v2.4r2. I purchased the DHM kit that is split in 9 different steps, and it was great.- 1
-

-
 4
4KIT or self-source? (I really need your personal experience!)
You'll most likely spend more self sourcing. To 'save money' you'll have to buy the cheapest of cheap everything on aliexpress, and you'll probably get some questionable quality parts along the way.- 1
-
-
 13
13Bondtech INDX released
I thought I saw a design for the 2.4 that had the hot-end tools on an arm that moves up and down on the front so you don’t lose space. I can’t seem to find it though so maybe a fever dream of longing for the INDX lol
-

-
Member Statistics
15,920
Total Members806
Most Online
-
Available Subscriptions
-
Who's Online (See full list)
-
Our picks
-

Top Picks for FDM Printing Enthusiasts This Week on Team FDM
At Team FDM, we always keep a keen eye on what our community is buying. It’s fascinating to see which tools and materials are becoming essentials in your toolkits. This not only helps us understand your needs better but also allows us to discover new and exciting products that we might not have considered before. I wanted to share all of this with everyone in the community to get some feedback and hopefully give you insight into what is popular with others in the community!
Here’s a look at this week’s most popular items, ranked by the quantity ordered, to give you a glimpse of what fellow enthusiasts are using:
Engineer Square Machinist Square Set: A must-have for ensuring precision in every project, this tool has been a top choice for its reliability in checking the right angles on frames and parts.
iCrimp IWS-3220M Micro Connector Pin Crimping Tool: Essential for those involved in electronics within FDM printing, this tool has been widely adopted for its versatility in handling a range of wire sizes, making custom wiring setups easier than ever.
YIHUA 926 III 60W Digital Display Soldering Iron Station Kit: This comprehensive kit provides all the essentials for soldering, proving indispensable for making or repairing 3D printer parts and other electronic components.
FLASHFORGE ASA Filament 1.75mm: Known for its durability and high UV resistance, this filament is perfect for outdoor or functional prints, with the Burnt Titanium and Sparkle Sky Blue variants proving particularly popular.
WERA 05118066001 2054 Screwdriver for Hexagon Socket Screws: Precision is key in FDM printing, and this screwdriver is highly valued for its exactness in fastening and adjustments.
Arducam for Raspberry Pi Camera Module 3 12MP IMX708: A fantastic tool for integrating high-quality imaging with 3D printing setups, allowing for detailed monitoring and time-lapse creation of prints.
VISEMAN 6" Mini Needle Nose Pliers: These pliers are perfect for manipulating small and delicate parts, a frequent necessity in FDM printer maintenance.
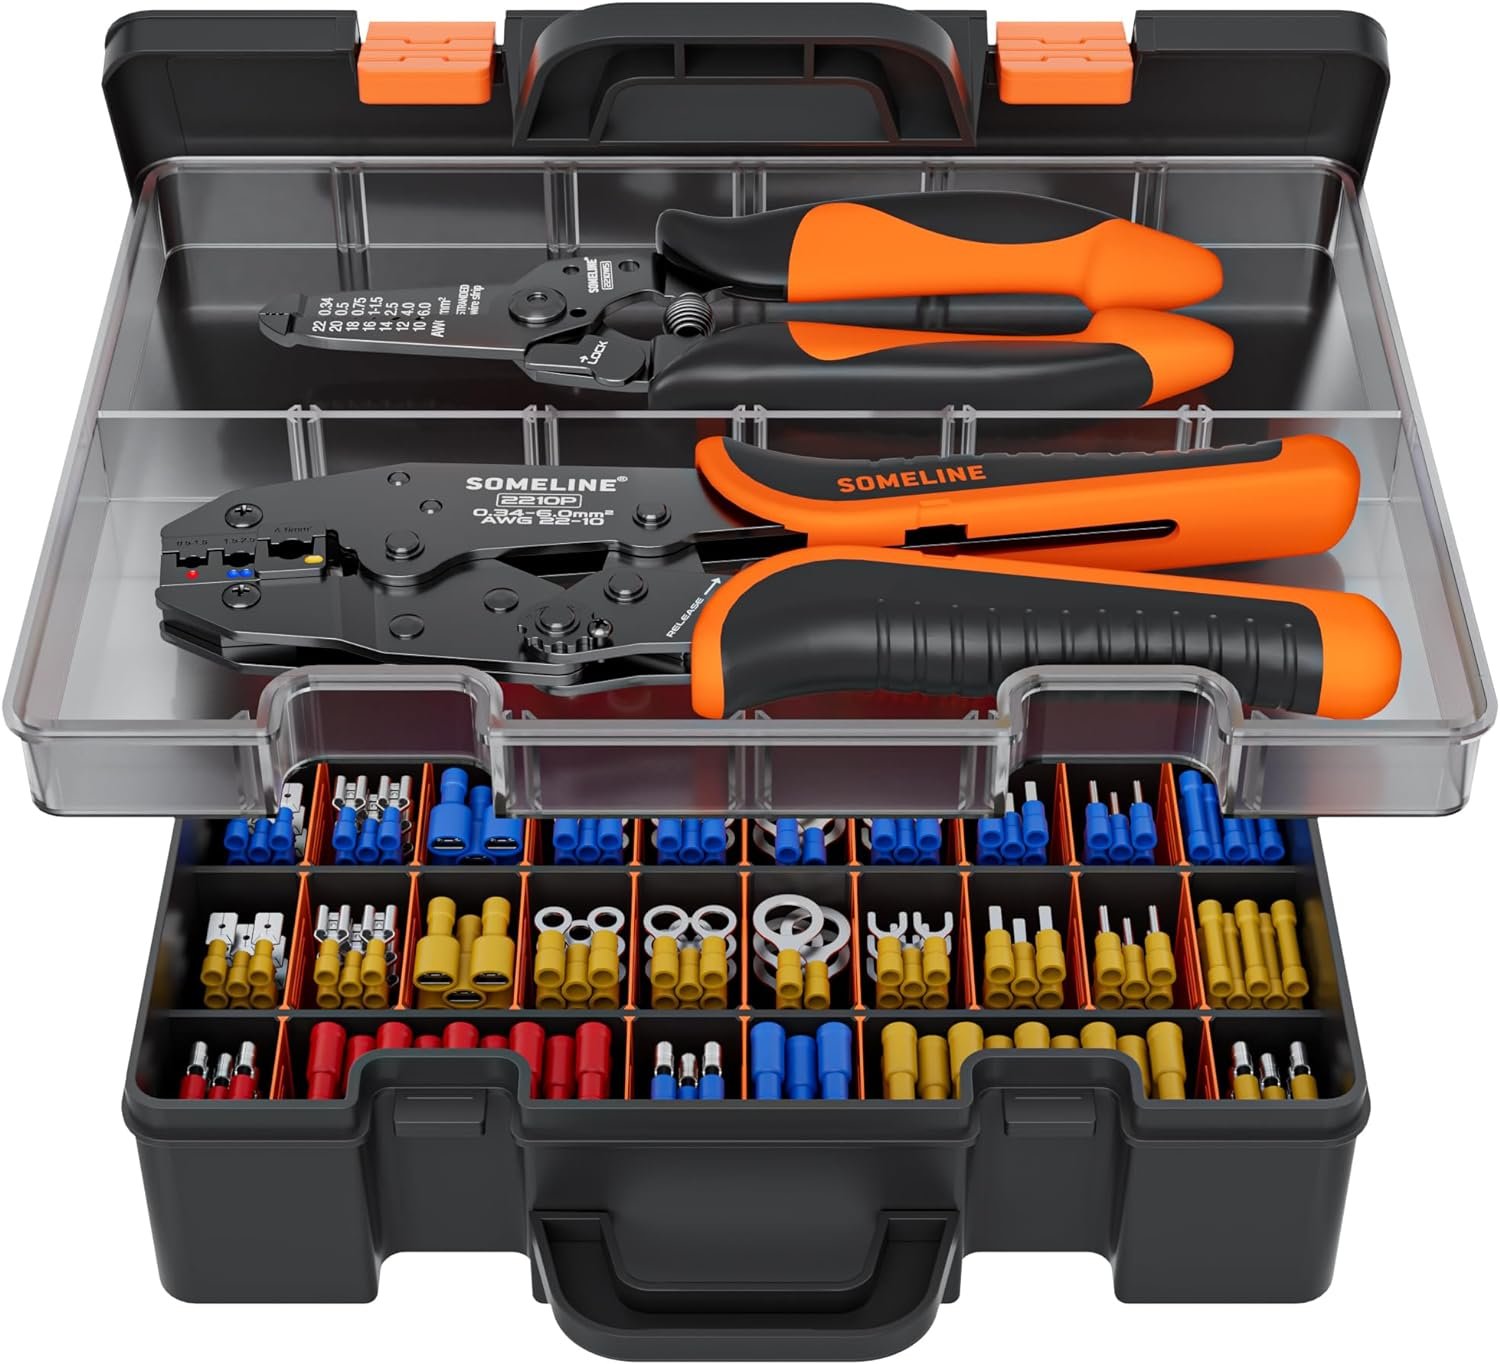
SOMELINE® Electrical Connectors Crimping Tool Kit: With a variety of connectors included, this kit is essential for anyone needing to manage electrical connections safely and efficiently.
Nano Polymer Adhesive (120ml): This adhesion solution is becoming increasingly essential for achieving perfect first layers in 3D prints, minimizing warping and adhesion issues.
By tracking these purchases, we not only cater better to your needs but also occasionally stumble upon gems that might have otherwise gone unnoticed. Each product here has been chosen for its proven utility and popularity within our community. Whether you're upgrading, replacing, or just starting, these tools are sure to enhance your 3D printing experience.
-
-
- 5 replies
-
-
New Voron 0.2 Release
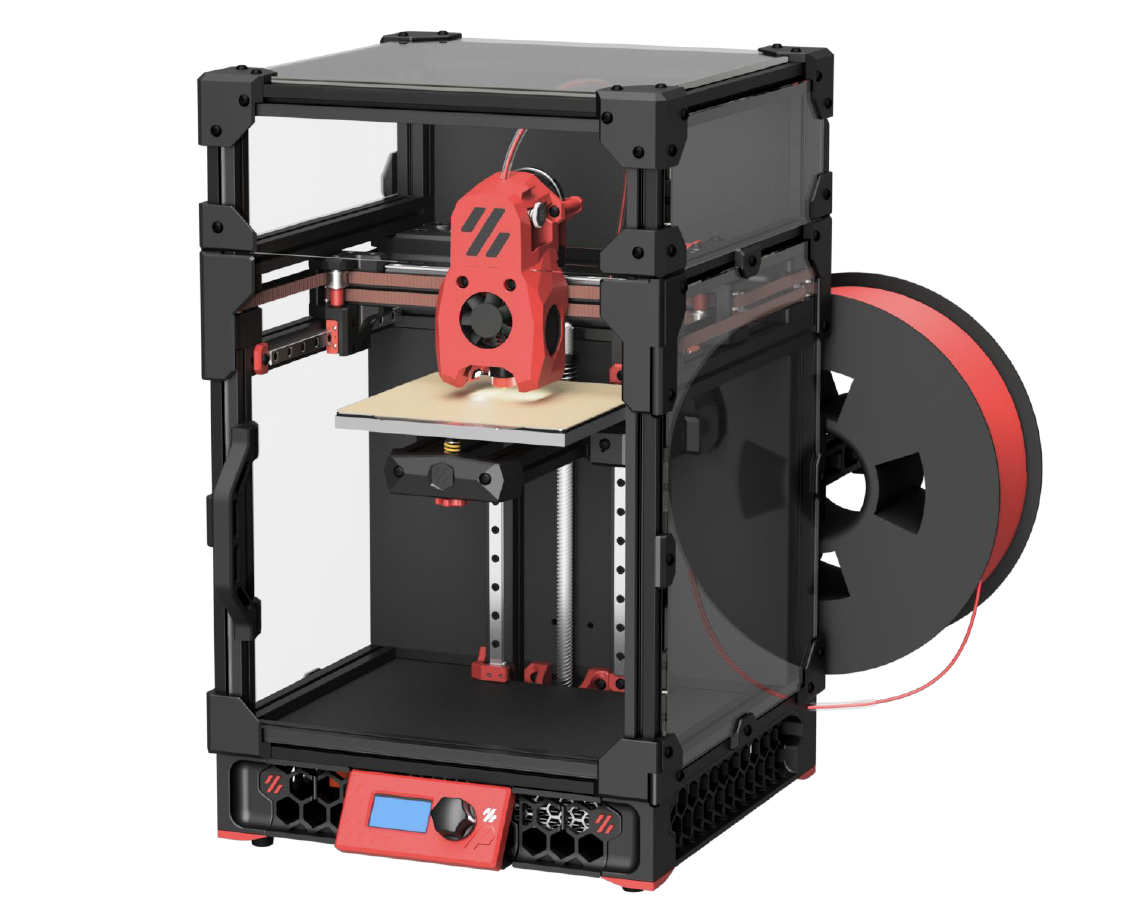
Voron Design just announced the official release of the Voron 0.2 3D printer. This compact and portable machine has a 120x120x120 build volume and utilizes a CoreXY design. It features a low mass direct drive extruder and an enclosed chamber, as well as a 24v DC bed and Klipper firmware.
One of the major highlights of the Voron 0.2 is the new Mini Stealth Burner toolhead, which supports the Revo VORON, Dragon, Dragonfly BMO, DropEffect XG, and Creality Spider Pro. The drive units have also been updated with a reduction in motor screw count and the removal of the endstop for sensorless homing.
In terms of the frame, there have been no changes from the previous version. However, the tophat has undergone some significant updates, including an extrusion-based design with hinged panels and cam locks to secure it in place. All panels are 3mm thick and the side panels are now identical.
The X/Y joints have also been modified, with the tops becoming 1mm smaller to accommodate the Mini Stealth Burner and the endstop block removed for sensorless homing. The bed assembly has undergone some changes as well, with the printed parts being updated and the bed position moved 3mm to the rear.
Finally, the feet/skirts have been updated with the inclusion of the Trident skirt community mod, and the front idlers now have cam locks added.
If you are upgrading from the V0.1 version, be sure to check out the configurator on the Voron Design website for a list of necessary parts.
We hope you enjoy the new and improved Voron 0.2 3D printer!
-
- 8 replies
-
-
Voron Build Tools Mega-List - 2024 Edition
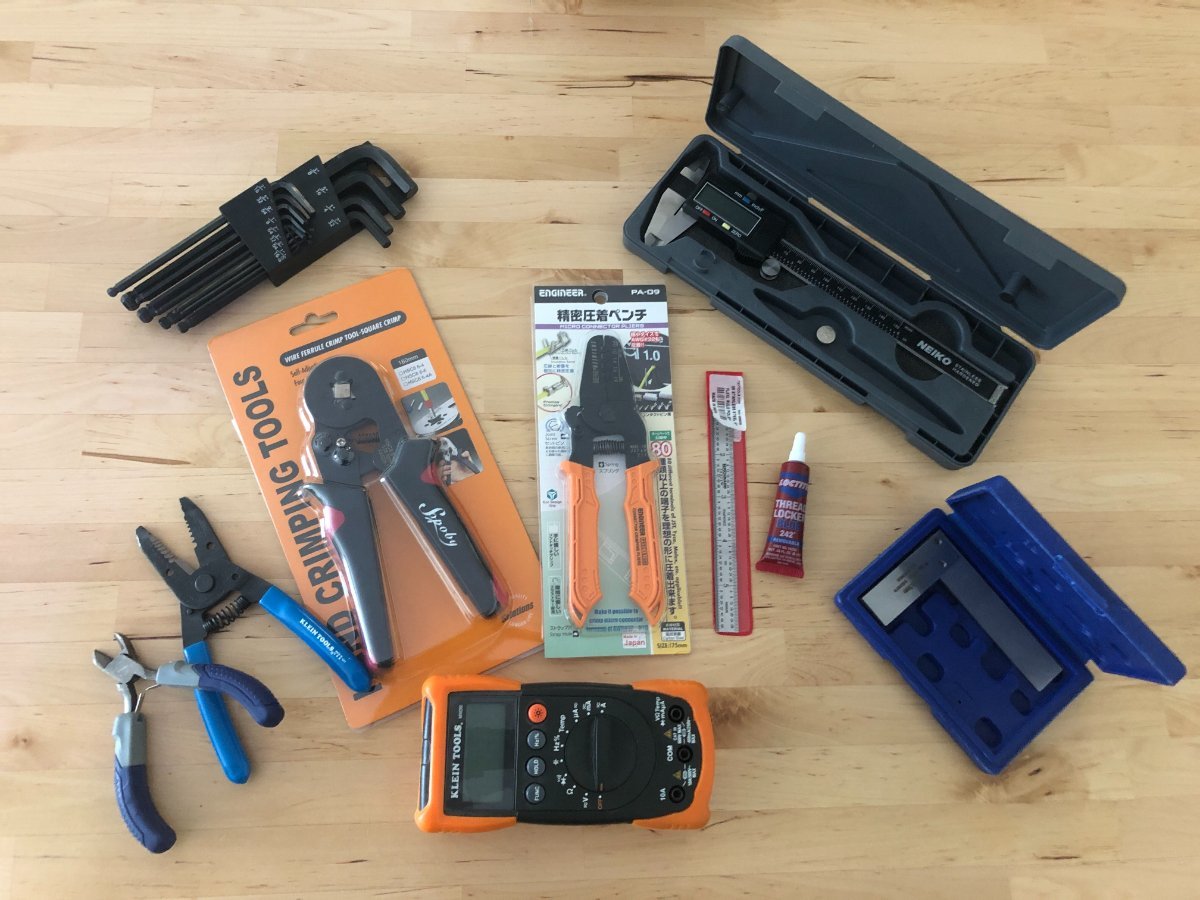
Researching, purchasing the printer parts of the build list and waiting for parts is only half of the battle. While many Voron builders have many of these tools on hand, and we hop most have familiarity with soldering, there are some tools that make the job MUCH easier, safer, and provide professional quality results.
This is the Mega List for all the recommended or required tools for your Voron build.
First and foremost, crimper are really important for your Voron build. With the amount of wiring required, you will thank yourself to invest in high quality crimping tools. Frequently users ask if tinning and soldering joints is an alternate option. While it may work short term, this is a much greater risk of the joint failing. Typically this is due to the stress of movement, or weakening from the heat created inside the enclosure and around the hot-end during printing.
-
-
- 84 replies
-
-
Voron Kit Recommended "Suppliers"
This post will be continually updated with the latest and great known information regarding available Voron "Kits". As, clearly defined in any communications, The Official Voron Design does not recommend or prefer any of these vendors. The list here is only identified as those vendors who have been identified as successful builds and full kits that are available.
Purchase kits at your own risk, knowing that parts can change, often times for the worse, and as is true with my Chinese parts, Meanwell PSU labelled as such, does not mean it's a legitimate Meanwell PSU, same thing with other popular components (like Gates belts) and fasteners.
While these are not in any specific quality order, they are in order of popularity and availability.
Note: for best results order from AliExpress from user who have the MOST sales - likely they are the best sourced Kits with the fewest flaws.
Additionally, and perhaps most importantly for this thread - Yes, sourcing your own parts will increase your build quality, and verify proper function and fitment. This thread is NOT a discussion on pro's and cons of sourcing parts vs buying kits 😃. Let' try our best to stay on topic!
Voron 0
Formbot - AliExpress
Voron 1.8
MagicStudio - Direct Website
Voron 2.4
Formbot - AliExpress <- Most Common 2.4 AliExpress Kit
Fystec - AliExpress (Pre-Order)
DigiMach - https://store.digmach.com/collections/voron-kits
Voron SwitchWire
Formbot - AliExpress
Voron Legacy
Funssor - AliExpress
If you have any direct experience or would like to suggest another kit for this list please respond in the thread and the thread will be updated!
-
-
- 37 replies
-
-
-
Latest User Mods
-
Manuals
-