Search the Community
Showing results for tags 'cw1'.
Found 3 results
-

Version 1.0.0
462 downloads
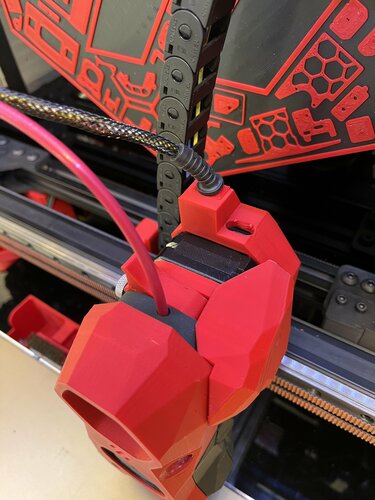
ebb42 mount for cw1 nema17 pancake with umbilical strain relief Decided to go to canbus umbilical for my stealthburner on cw1 and remove both x and y cable chains. As the ebb42 is a new product there had been no mounts that have been released at that time so i came up with this design. The mount sits comfortably on the rear of my extruder nema17 pancake motor and spaces the ebb42 nicely away from the rear of the motor, the m3 motor screws i have are slightly to long so i used spacers on top of the ebb42 to counteract this, also i used a cable strain relief to protect the 4 wires to the ebb42 which the dimentions are 5mm hole, 28mm length, diameter 11.8mm, slot diameter 7.55mm x2.1mm which goes into a little slide in wedge to hold into place and also used expandable braided sleeving size 3-9mm which protects the wires and sits nice and snug in the strain relief. i also modified the original stealthburner cw1 pcb cover by Demosth to fit with this mount (https://www.teamfdm.com/files/file/535-stealthburner-cw1-pcb-cover).- 10 comments
-
- 6
-

-
- stealthburner
- ebb42
- (and 3 more)
-
Version 1.1.0
52 downloads
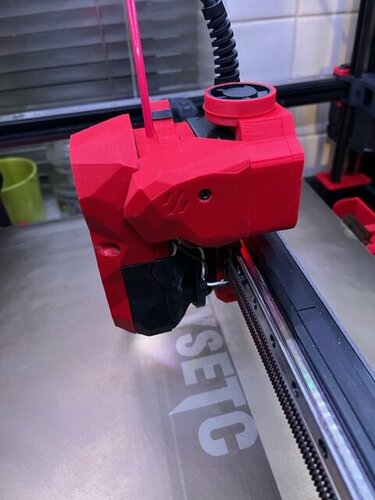
I wanted to use Tap instead of Klicky/euclid probe on my V2.4 but i only had CW1 with Stealthburner so i set about seeing if it was possible to modify CW1 to fit TAP as CW1 motor mount fixes from the rear which TAP can't do. I managed to find a solution so now this CW1 mod fixes from the front instead of the rear. The left side mounting screw now fixes the CW1 Extruder Motor Plate from the front with an M3x8 SHCS screw going through to the heatset in the Tap Upper as in Pic1, the same as designed for CW2. The right side screw now goes through the font of the CW1 Extruder Body with an M3x30 SHCH screw going through to the heatset in the Tap Upper as in Pic2, again the same as designed for CW2 Once the two parts of CW1 are mounted to the TAP then the Printhead Rear/Front can be mounted on the Tap as per Tap instructions for CW2 printhead mounting, the CW1 Extruder Body has access cut outs in the front for alen keys to be able to tighten those little screws that hold the printhead in place, the rest of the build is as per TAP SB fitting instructions. I have had this mod on my V2.4 with SB and CW1 for a couple of months now and it works great....-
- 6
-

-
-
- tap
- stealthburner
- (and 3 more)
-
Version 1.0.0
82 downloads
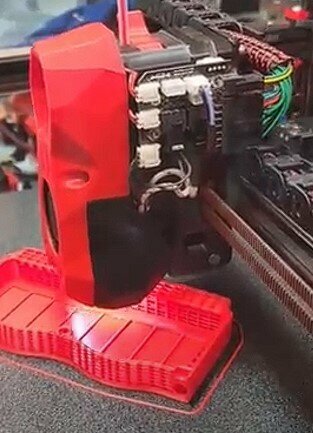
While building my V2.4127 350mm Printer I wanted to use the SB PCB but I could not find a mount to attach it to the CW-1 extruder. Hence the remix of the two mounts so that you can transition from a SB with CW-1 using the SB PCB to the full SB with CW-2 tool head. you will need to us a 3mm heat insert in the middle mounting hole which is counter sunk in the back of the mount.-
- 1
-
-
- stealthburner
- sb
- (and 2 more)