-
 3
3
About This File
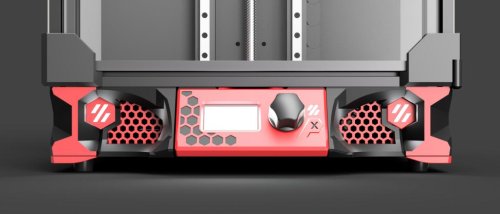
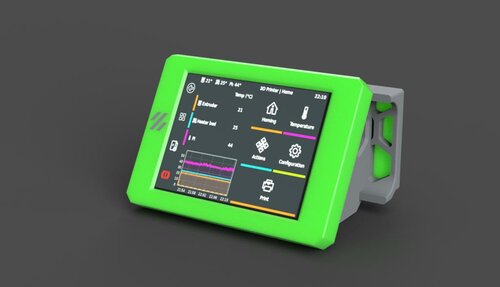
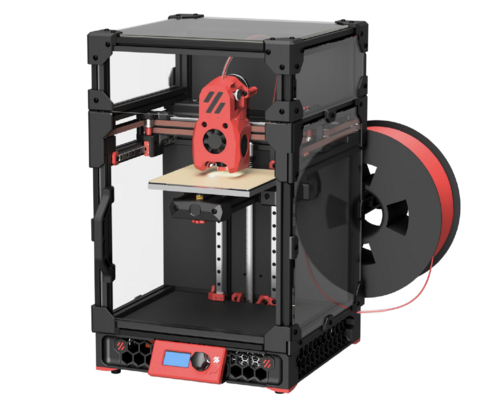
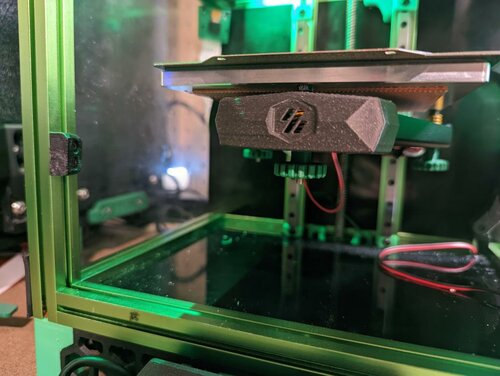
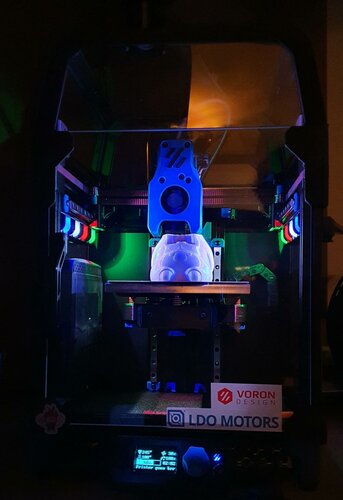
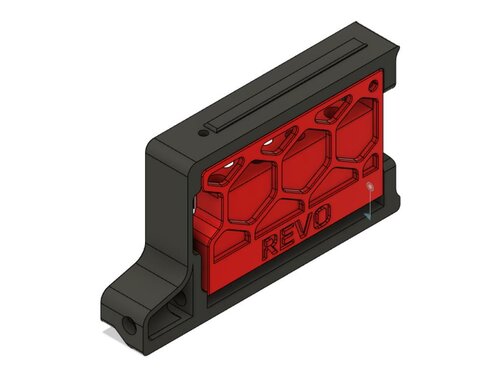
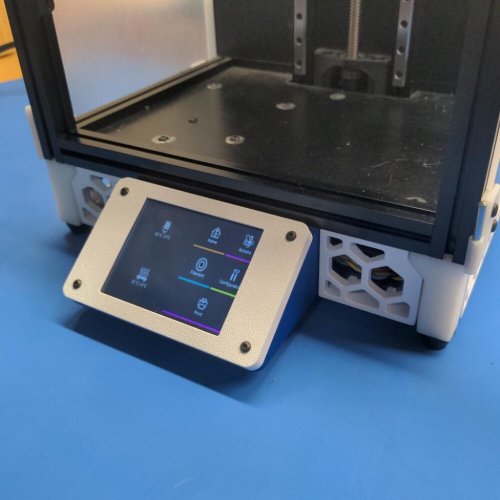
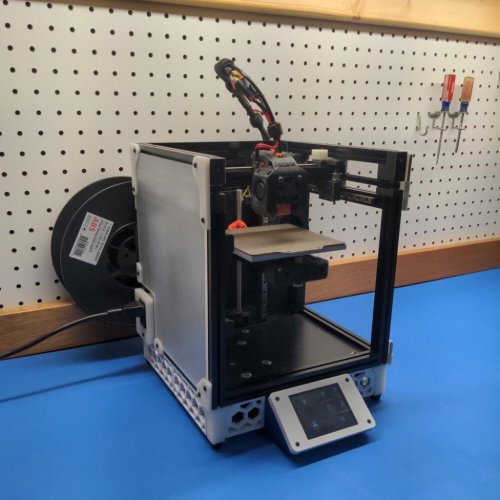
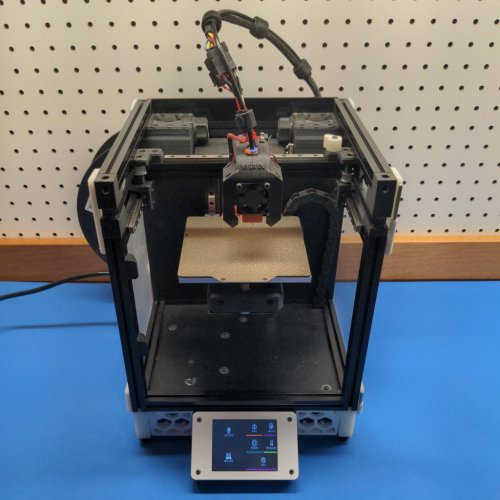
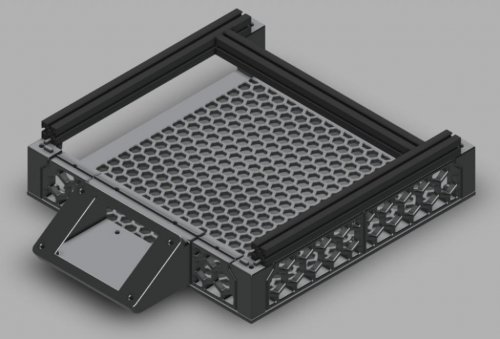
Voron 0 LCD Touchscreen Skirt
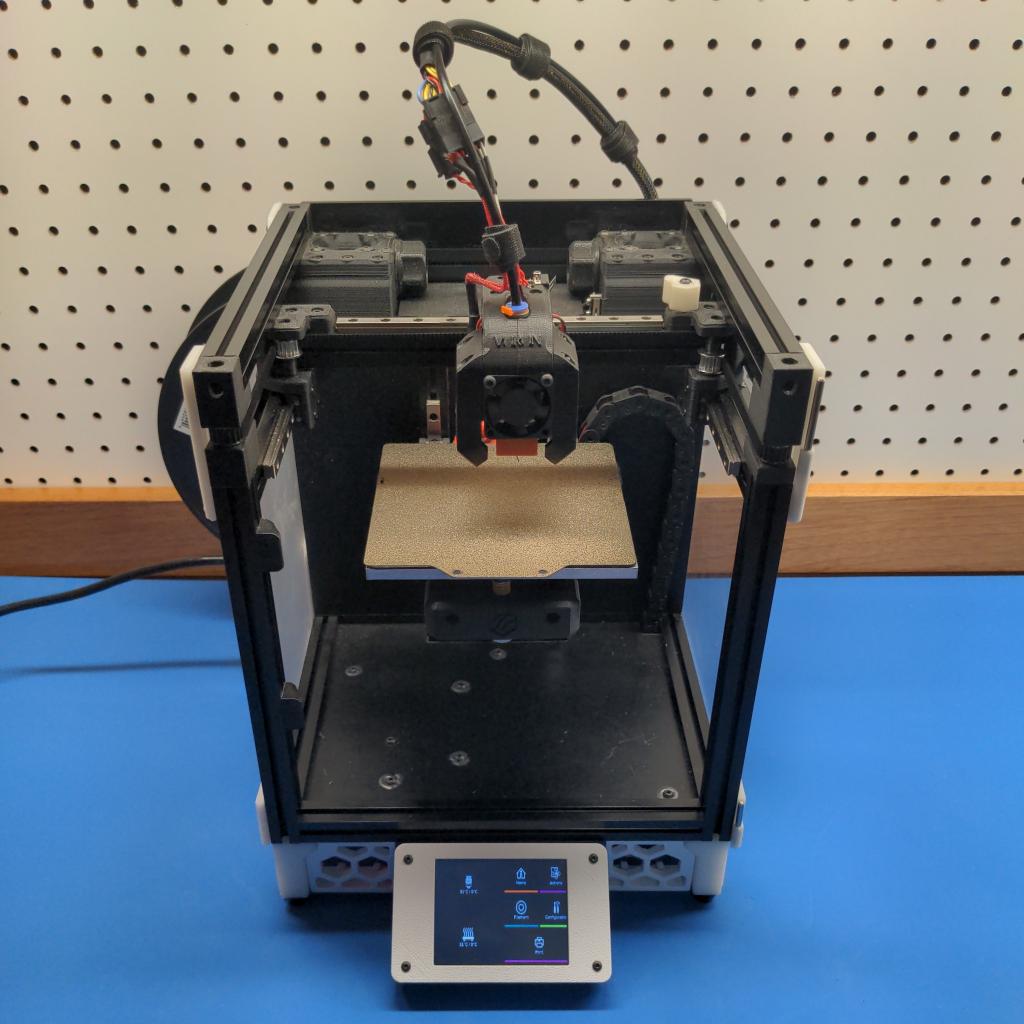
A large LCD touchscreen for OctoScreen or OctoDash.
Bill of Materials
All required parts are listed below. Supplier examples are provided for convenience.
Non-Printed Parts
| Additional Non-Stock Parts: | Qty | Description | Supplier Links |
|---|---|---|---|
| 1 | Adafruit PiTFT Plus 3.2 Touchscreen | Adafruit | |
| 1 | M2.5 x 3.0 mm Heat Set Inserts | Alliexpress, McMaster Carr | |
| 1 | M3 x 50 mm SHCS | Alliexpress, Bolt Depot | |
| 4 | M2.5 x 10 mm BHCS | Alliexpress | |
| 1 | 40-pin IDE Extension Cable | Amazon |
| Repurposed Stock Parts: | Qty | Description | Supplier Links |
|---|---|---|---|
| 12 | M3 x 8 mm BHCS | Alliexpress, Bolt Depot | |
| 12 | M3 Makerbeam 1515 T Slot Nuts | Alliexpress, Amazon | |
| 4 | Rubber Feet (14 x 11 x 9) | Alliexpress |
3D Printed Parts
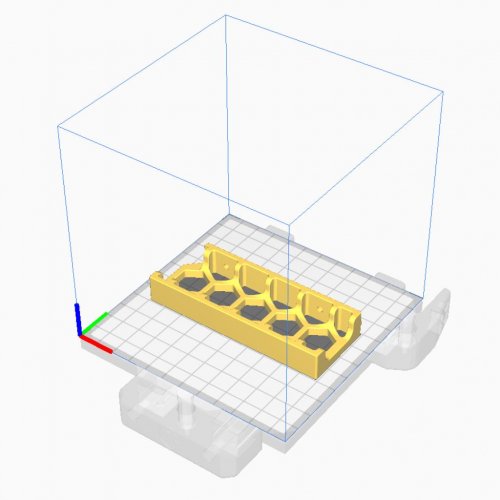
| Qty | Description | STL Slicer Image |
|---|---|---|
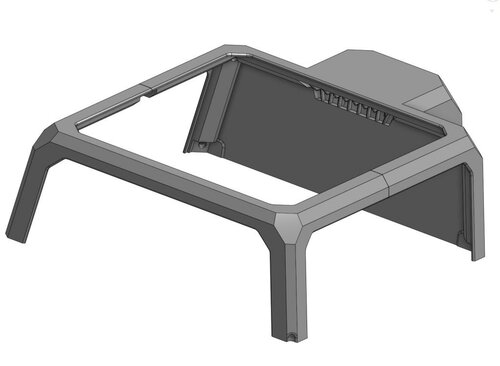
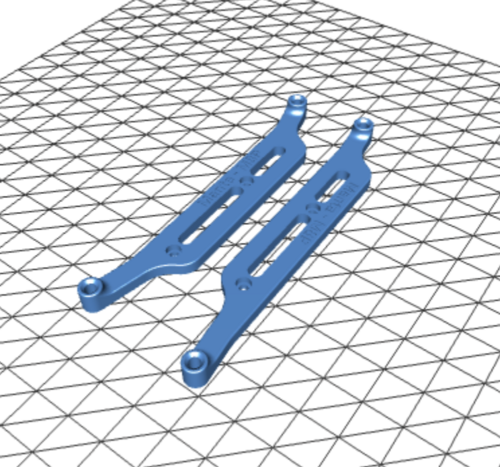
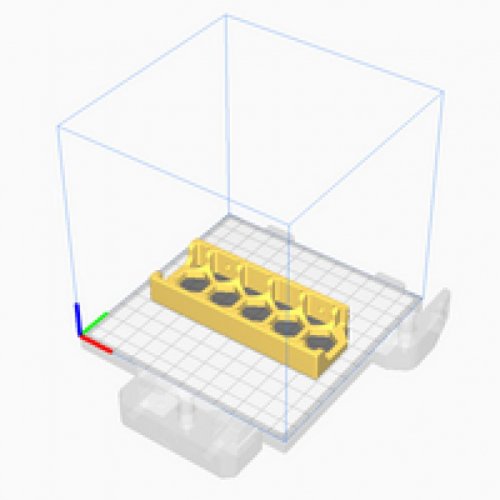
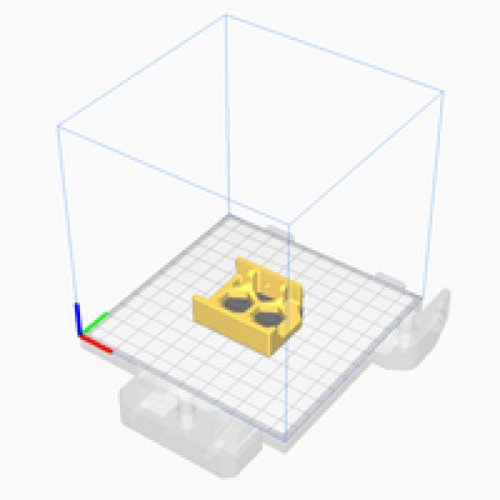
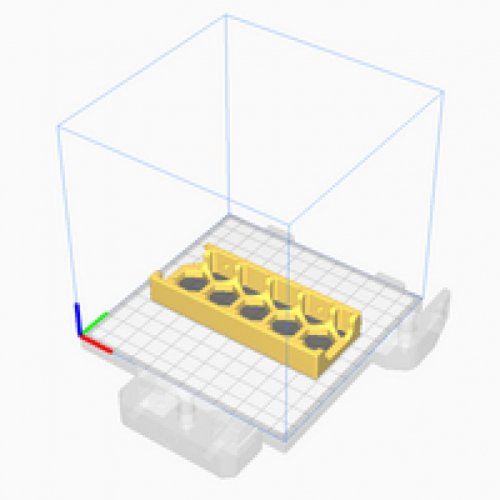
| 2 | Skirt Side A |
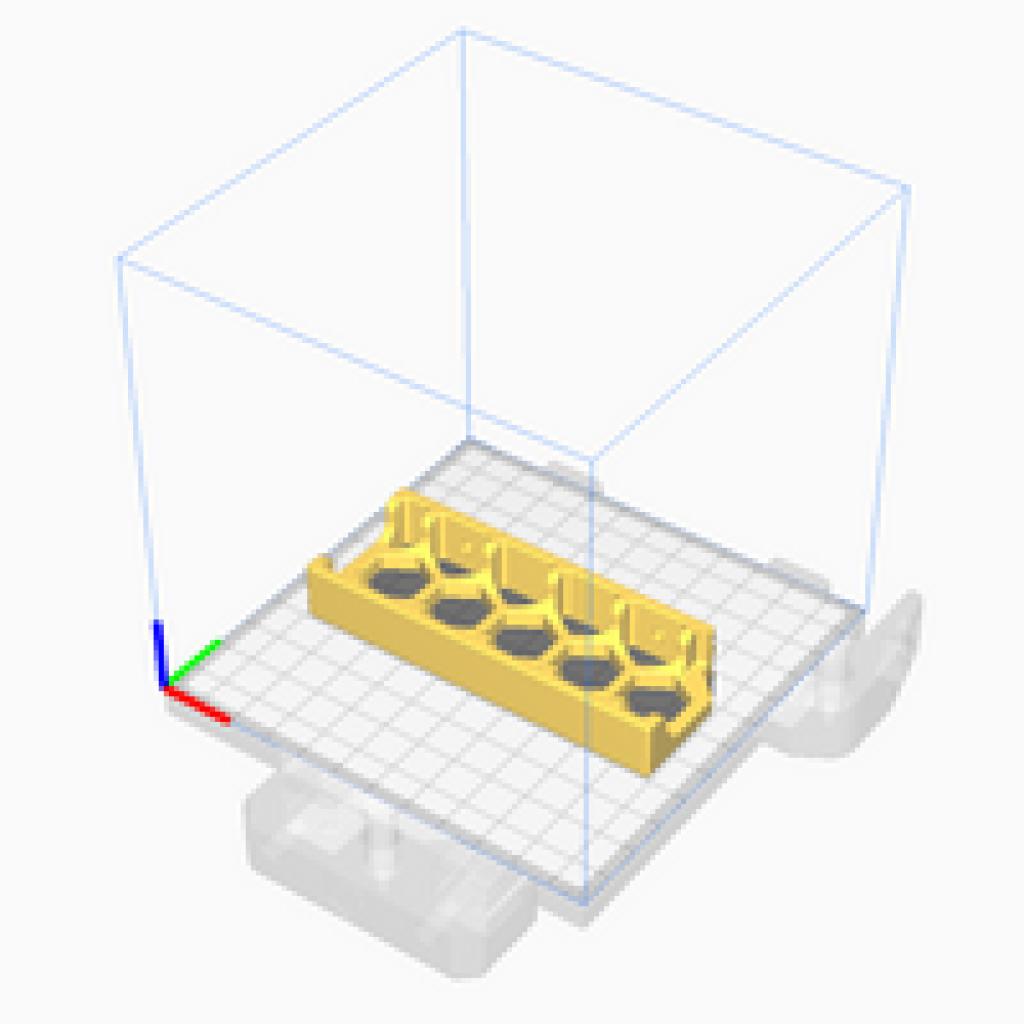
|
| 2 | Skirt Side B |
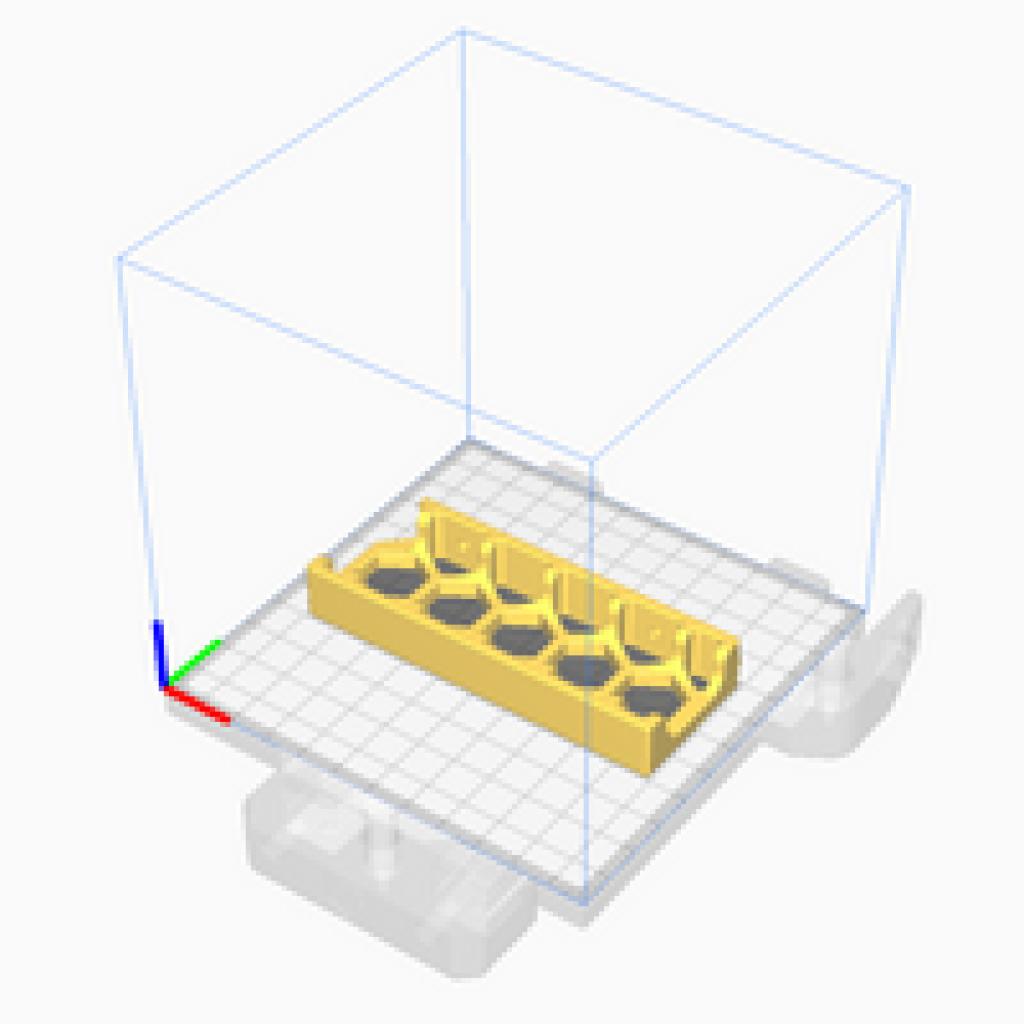
|
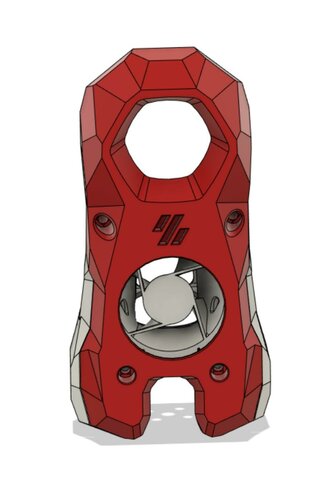
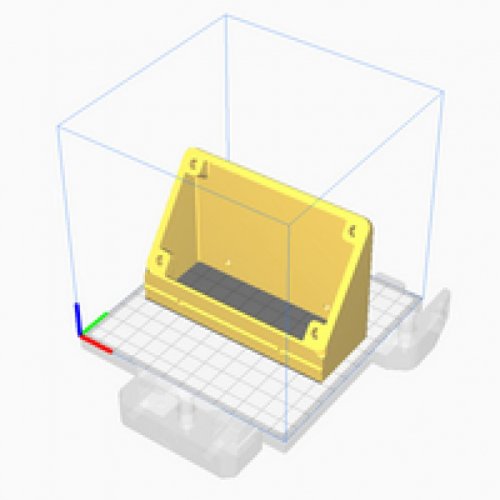
| 1 | Skirt Front Left |
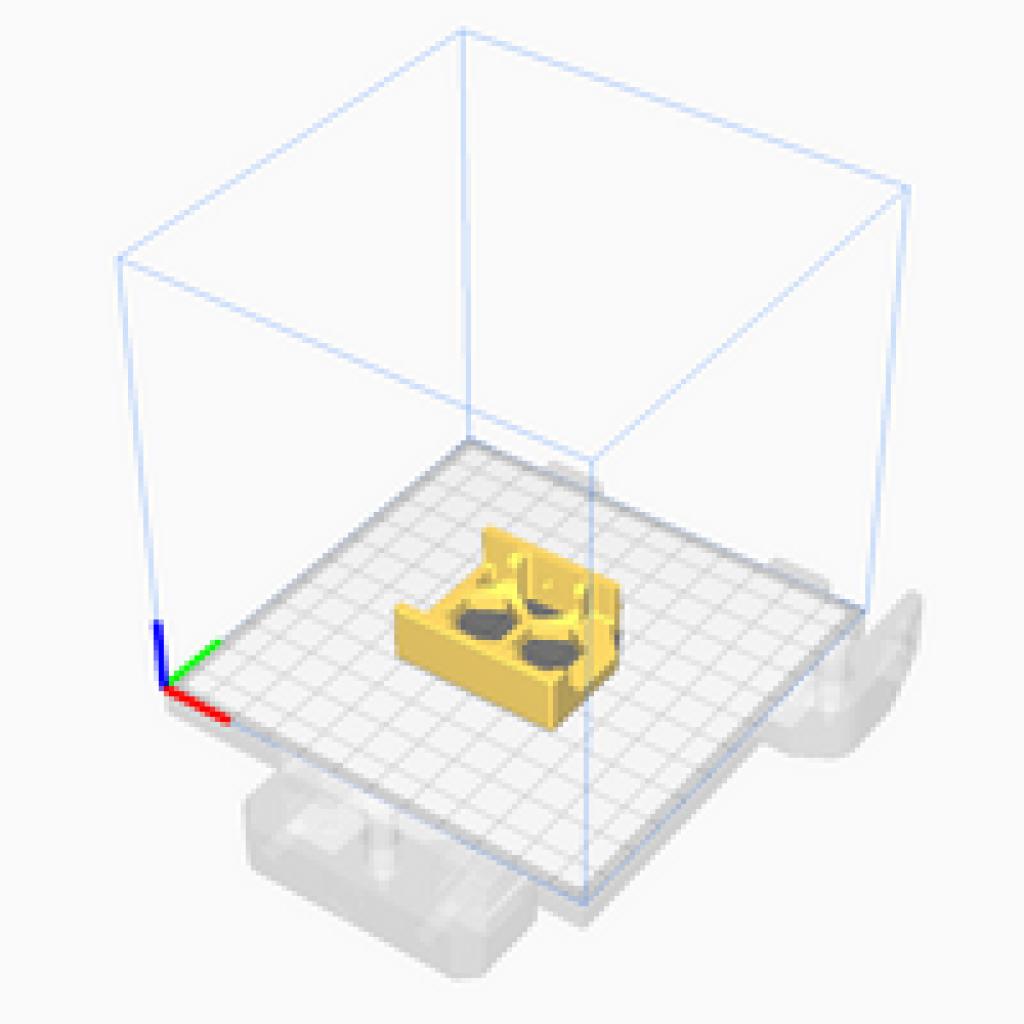
|
| 1 | Skirt Front Right |
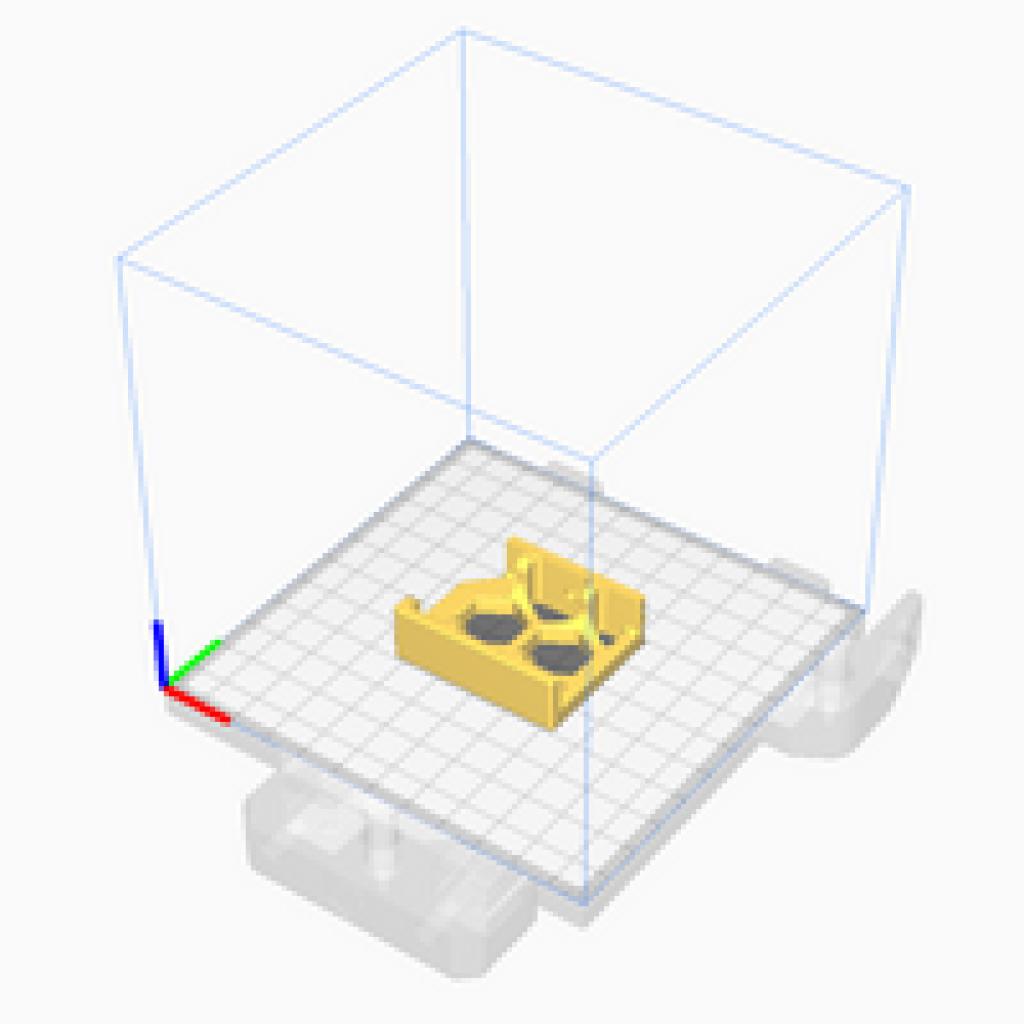
|
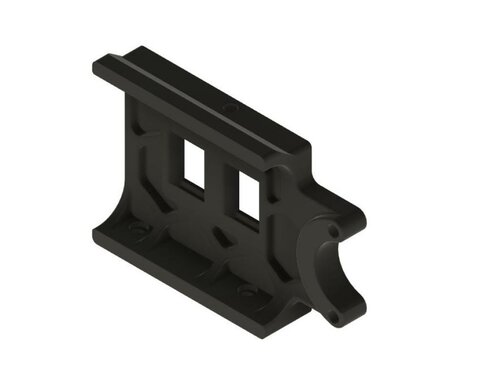
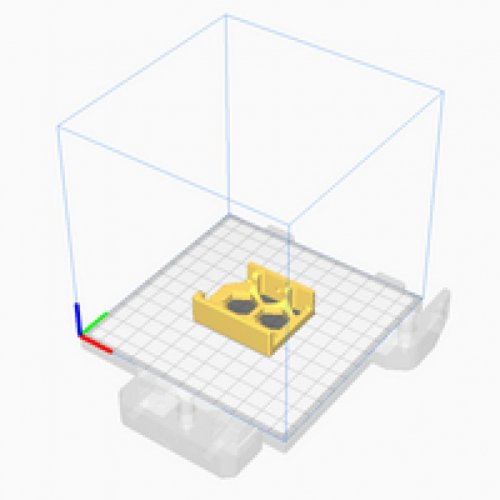
| 1 | LCD Mounting Bracket |
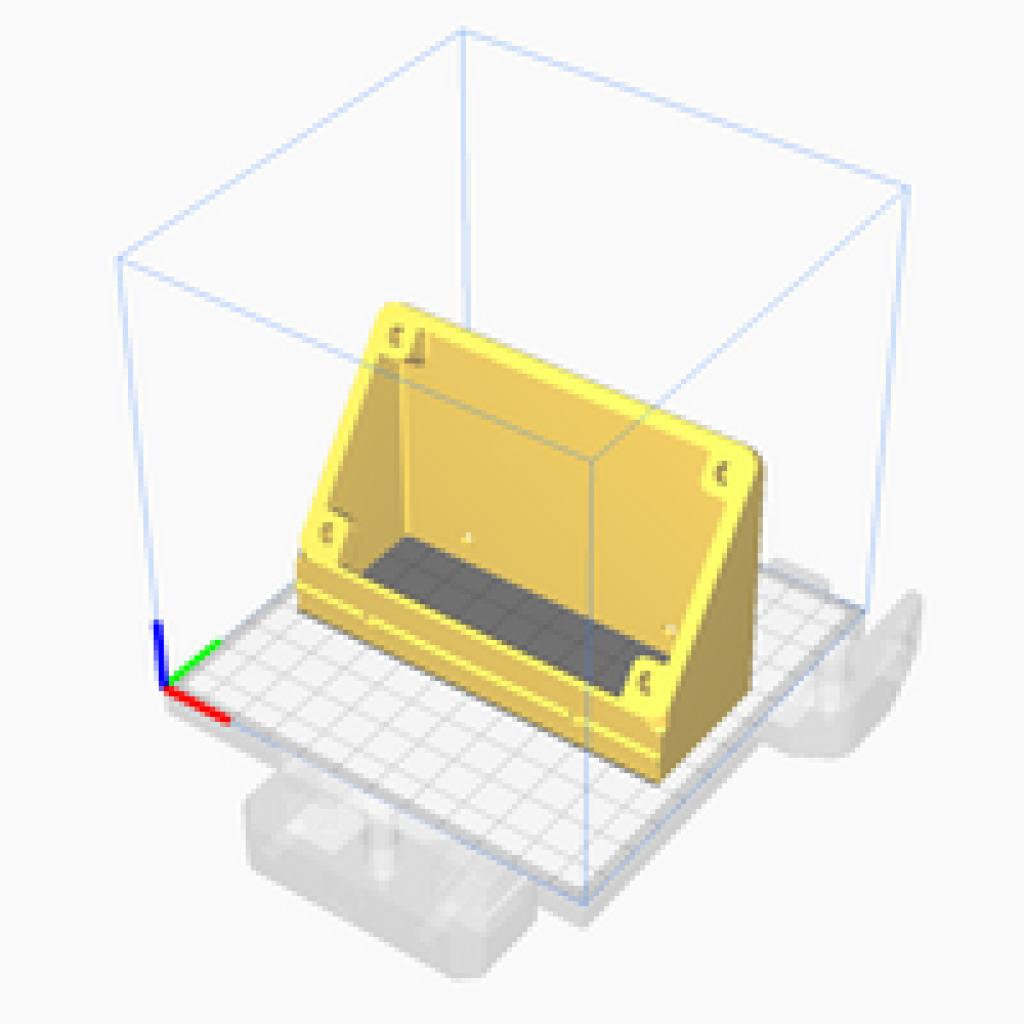
|
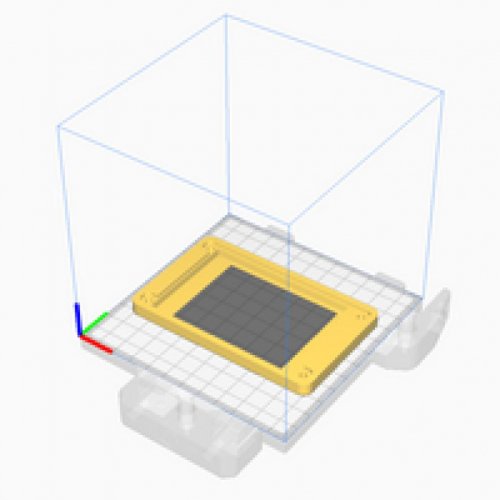
| 1 | LCD Face Plate |
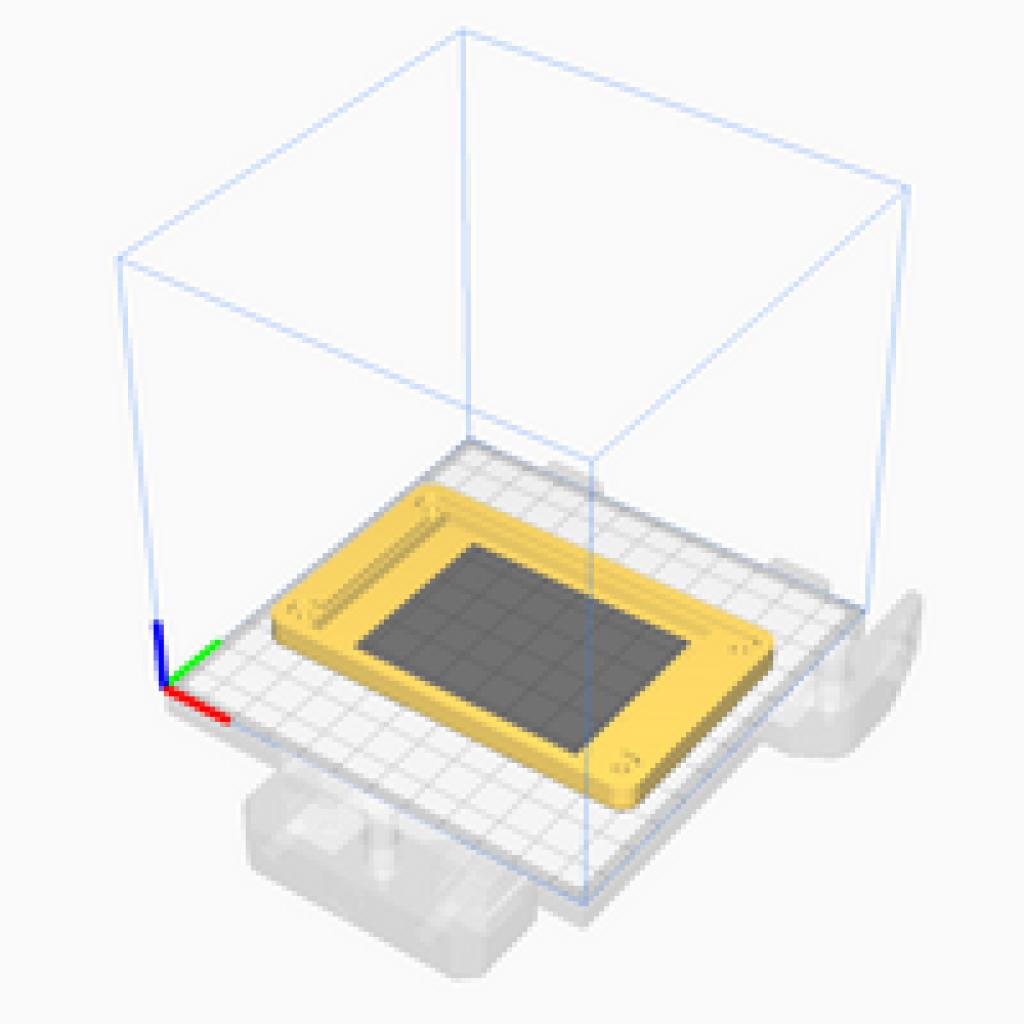
|
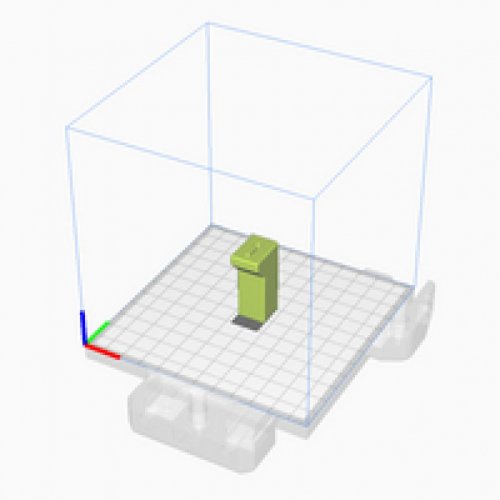
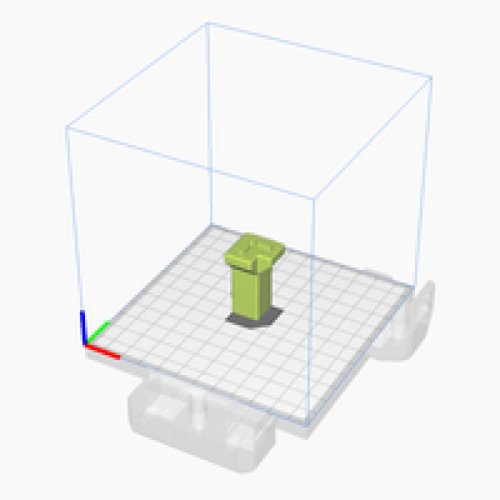
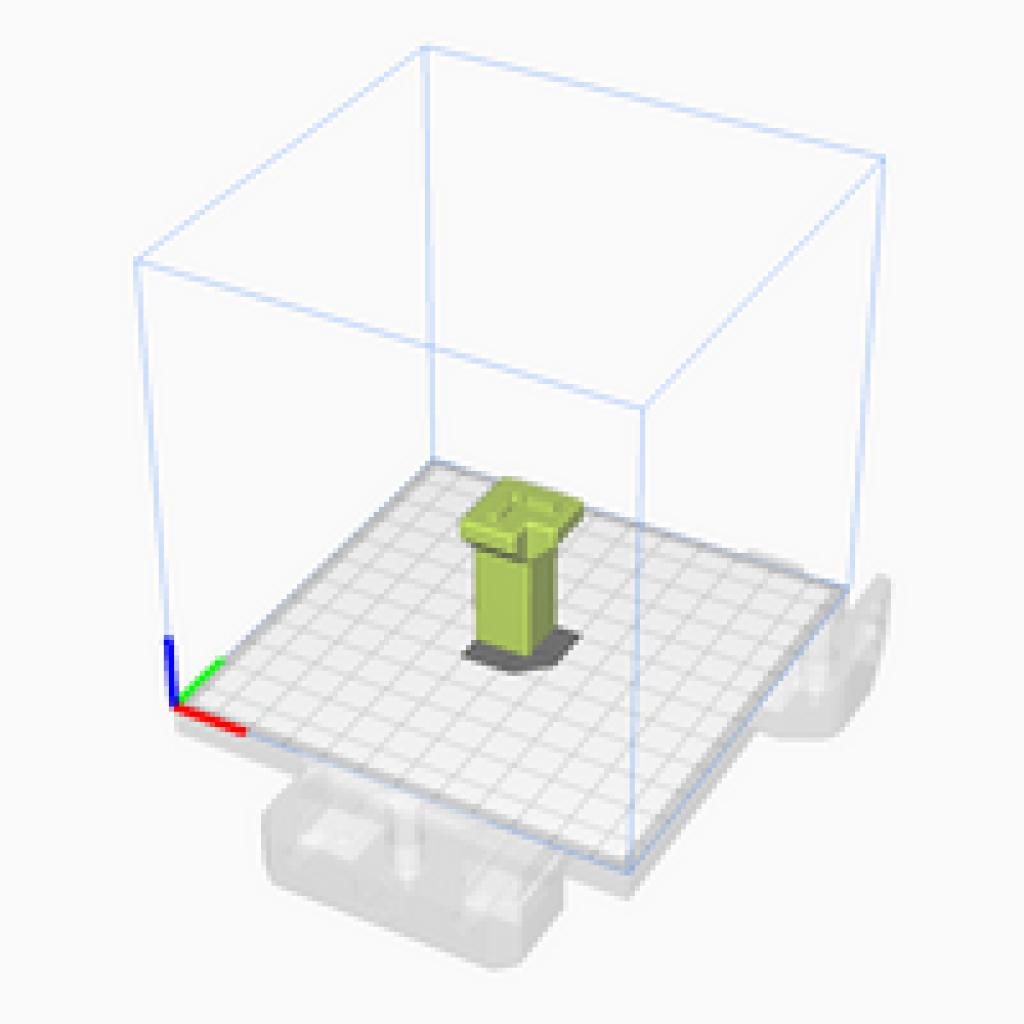
| 2 | Foot Front |
|
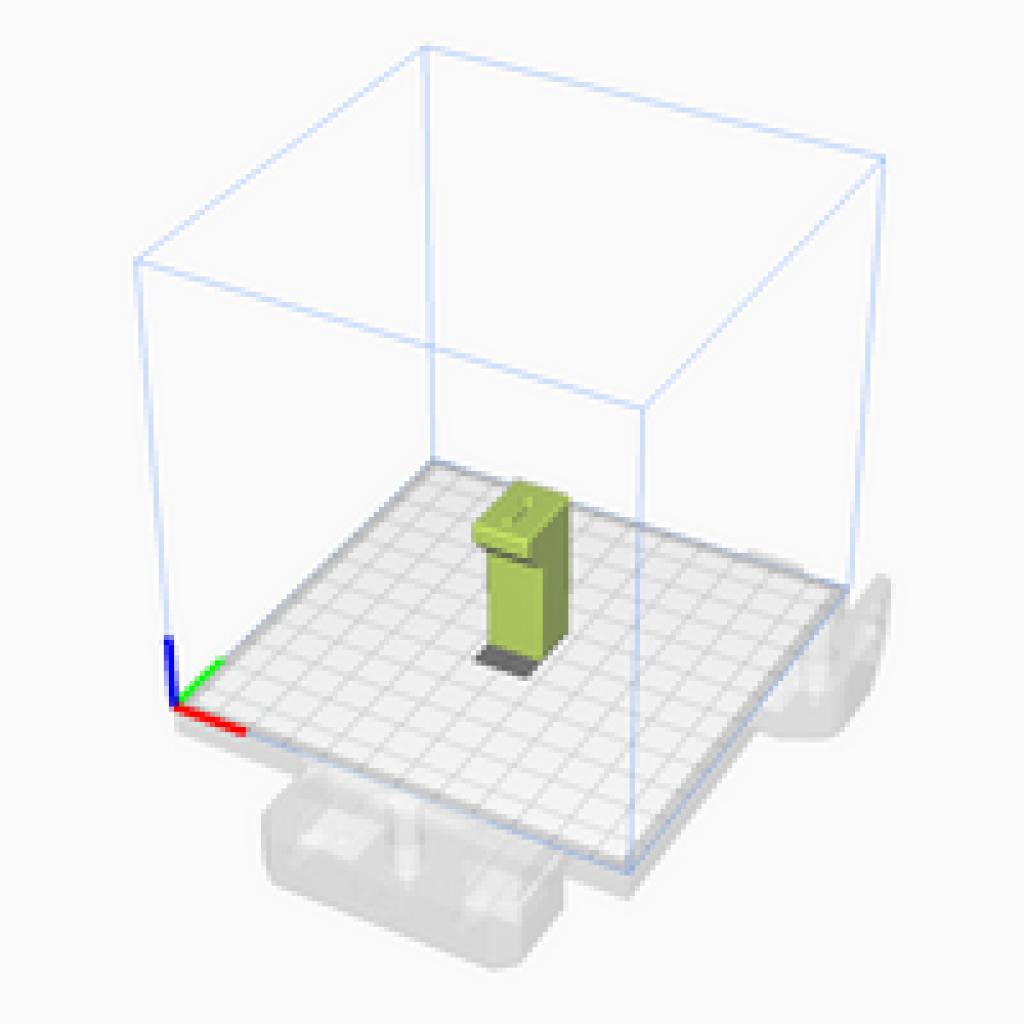
| 2 | Foot Rear |
|
All 3D Parts can be printed without support material: ABS, 0.4 mm nozzle, and 0.2mm layers.
Assembly Instructions
-
Install 4 M2.5 heat set inserts into
LCD Mounting Bracket - Remove the stock V0 skirt and feet.
- Install extended feet with 50mm M3 SHCS.
-
Install all
Side Skirt A/Bparts using the stock mounting T-nuts and M3 x 8 screws. -
Install the
LCD Mounting Bracketusing the middle two T-nuts on the front extrusion. -
Install
Front Skirt Left/Rightusing the remaining two T-nuts on each side of the LCD. -
Connect the 40-pin ribbon cable to the
Adafruit PiTFT Plus. -
Place the
Adafruit PiTFT Plusinto theLCD Face Plate. -
Route the ribbon cable through
LCD Mounting Bracketto Raspberry Pi. -
Secure
LCD Face Platewith four M2.5 x 10 screws.
Software Configuration
Follow the Adafruit LCD Installation Instructions.
The 3.2