


About This File
Astrodyne IEC 320 C14 Power Inlet Housing for V0.1
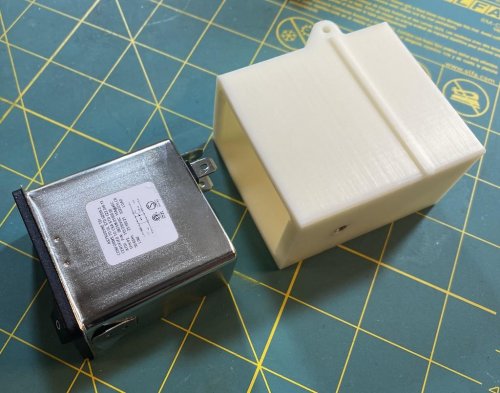
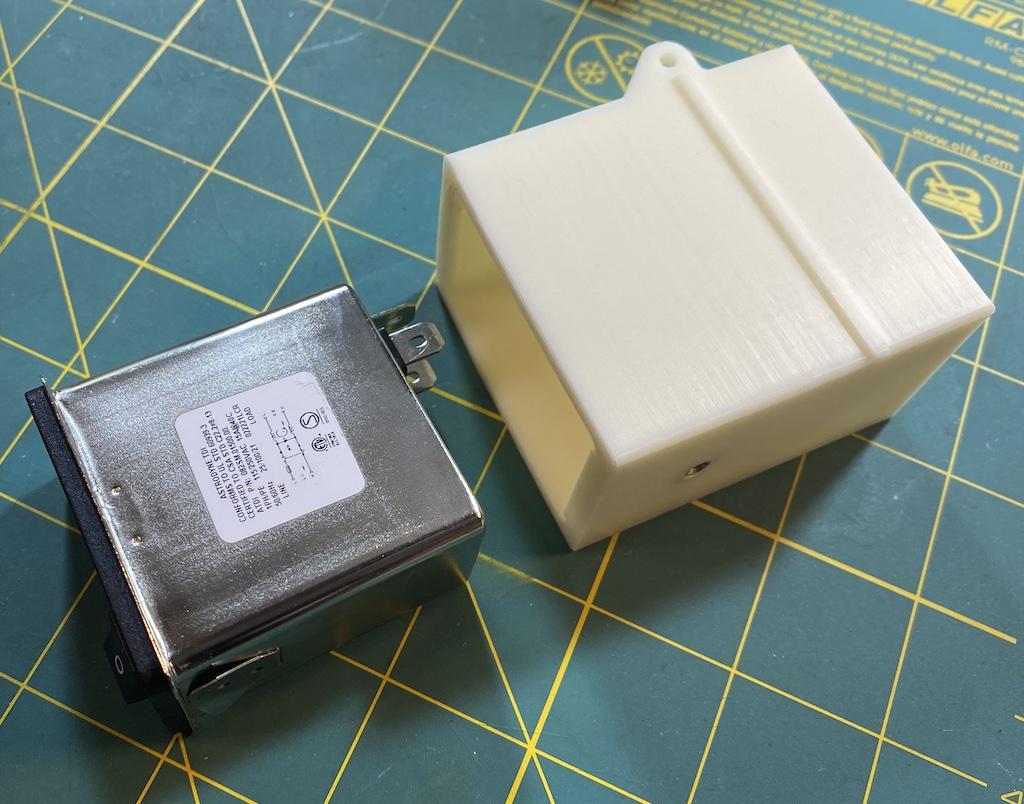
This mod is a replacement housing for the stock v0.1 power inlet, replacing the Adam Tech IEC-GS-1-100 (which has been on back-order at Digikey for quite a while at the time of this writing) with an Astrodyne/TDI 082S/082SM.
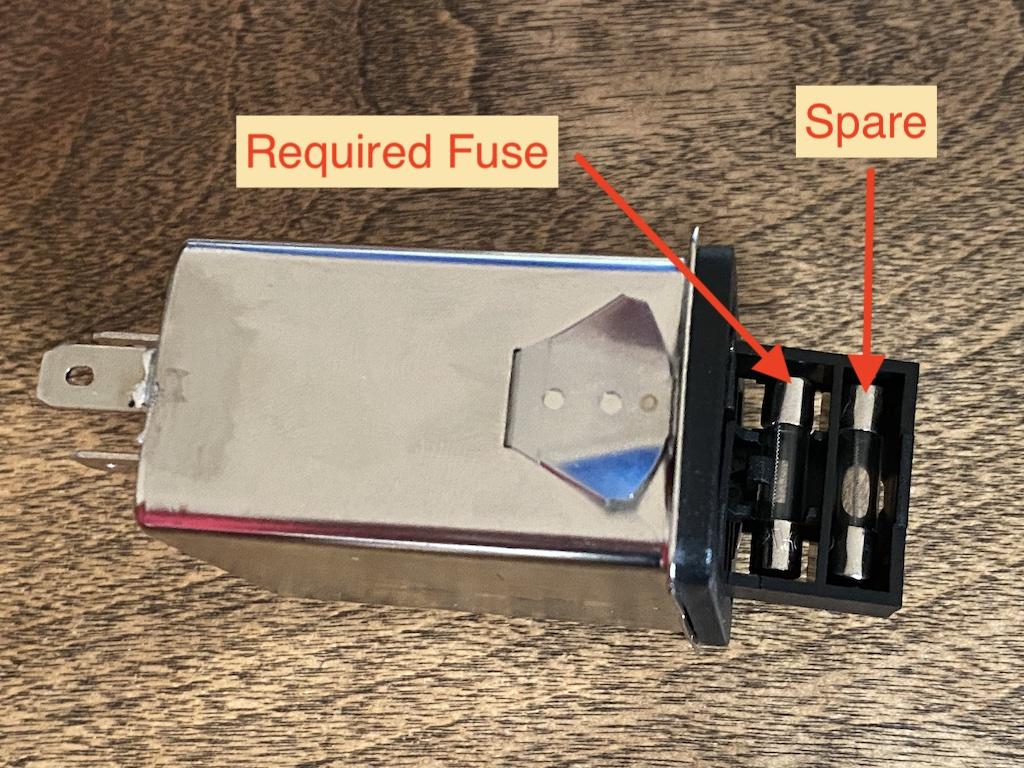
In addition to the power inlet you will also need to acquire some inexpensive 5 mm diameter X 20 mm long 250V fast-acting fuses (see the v0 sourcing guide for details).
Files
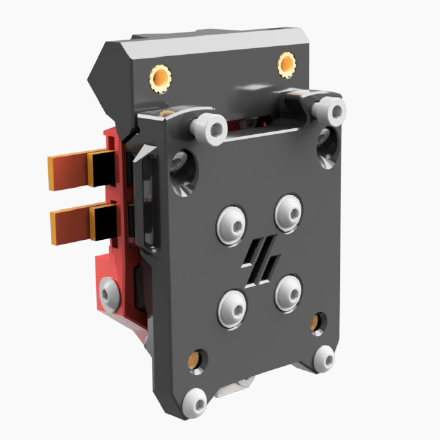
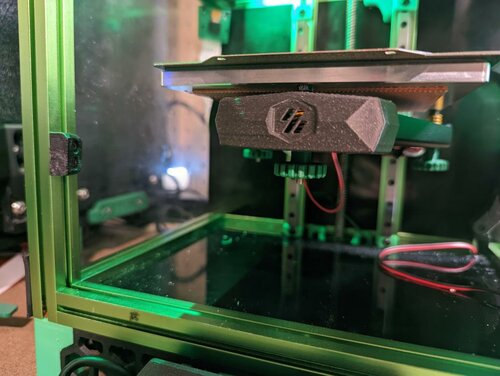
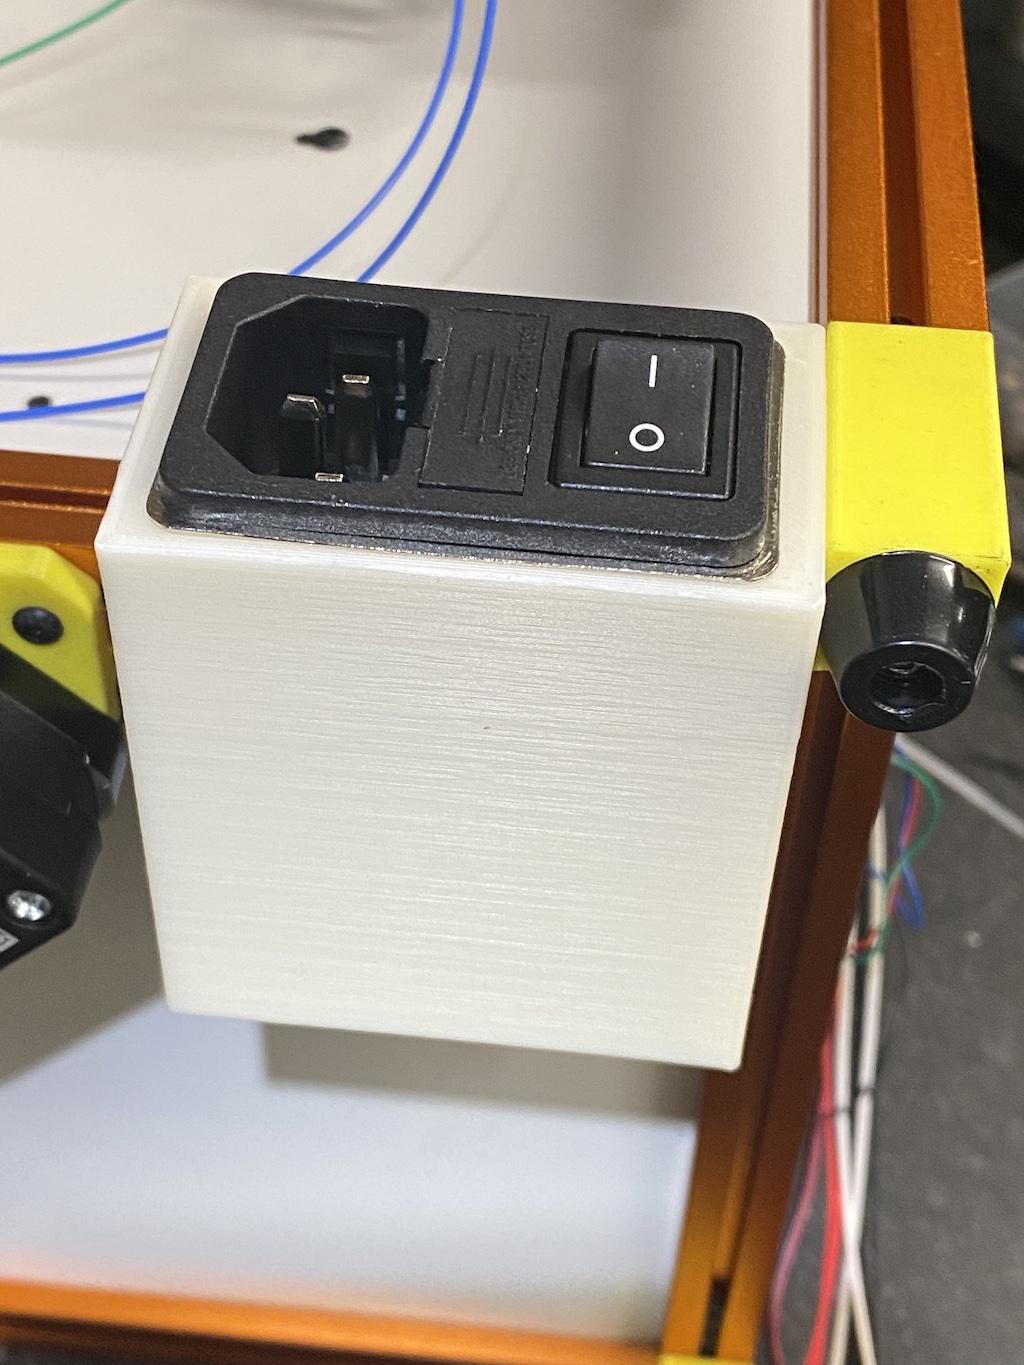
Assembled view
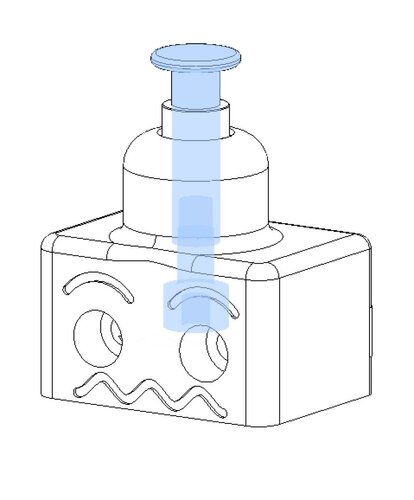
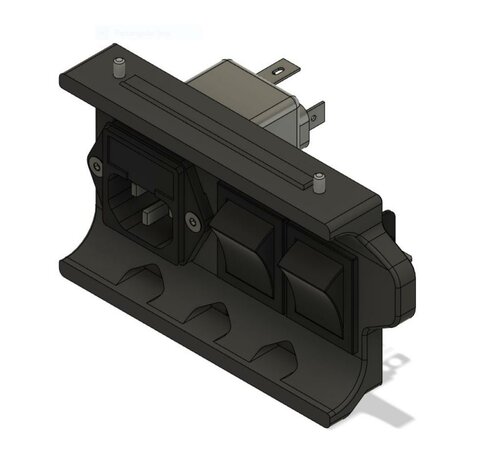
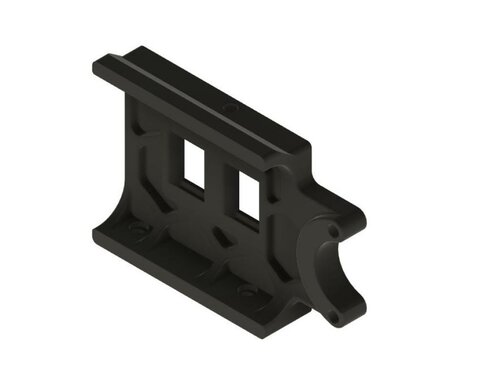
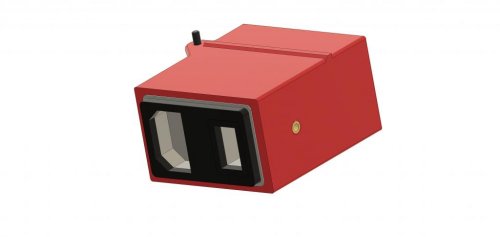
Printed part render

Unassembled view
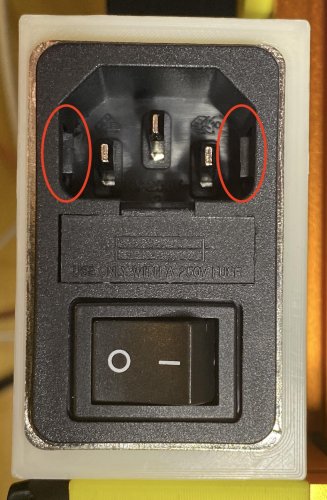
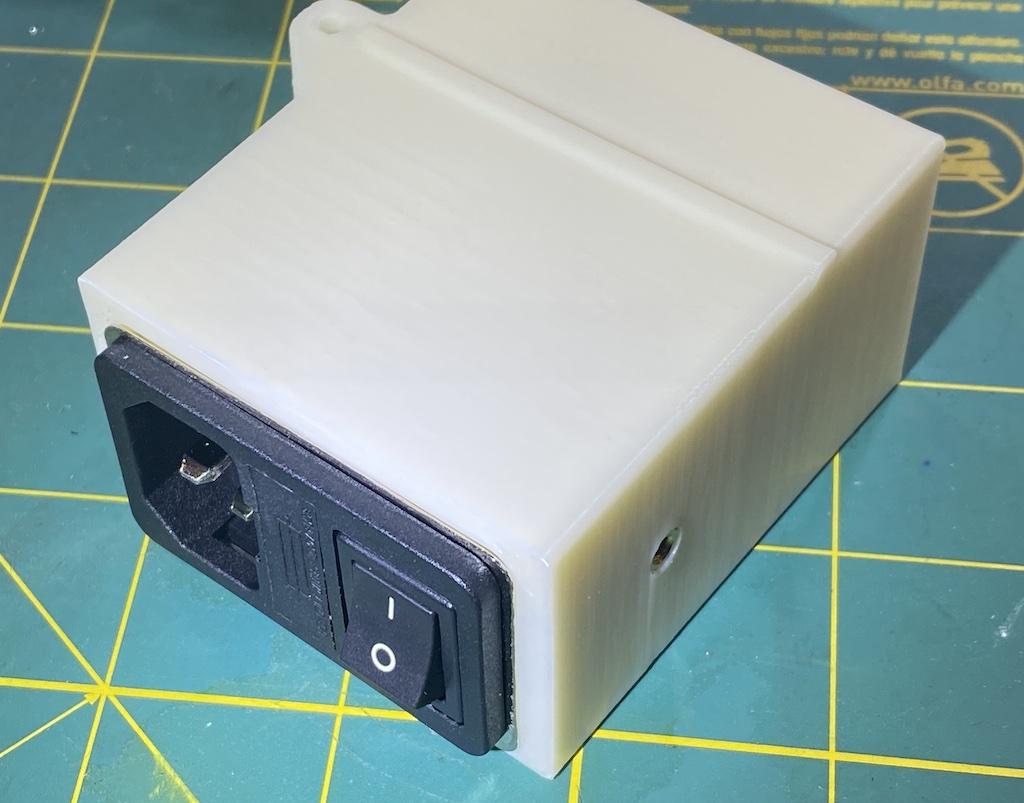
Front view
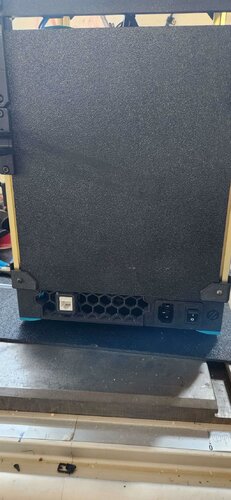
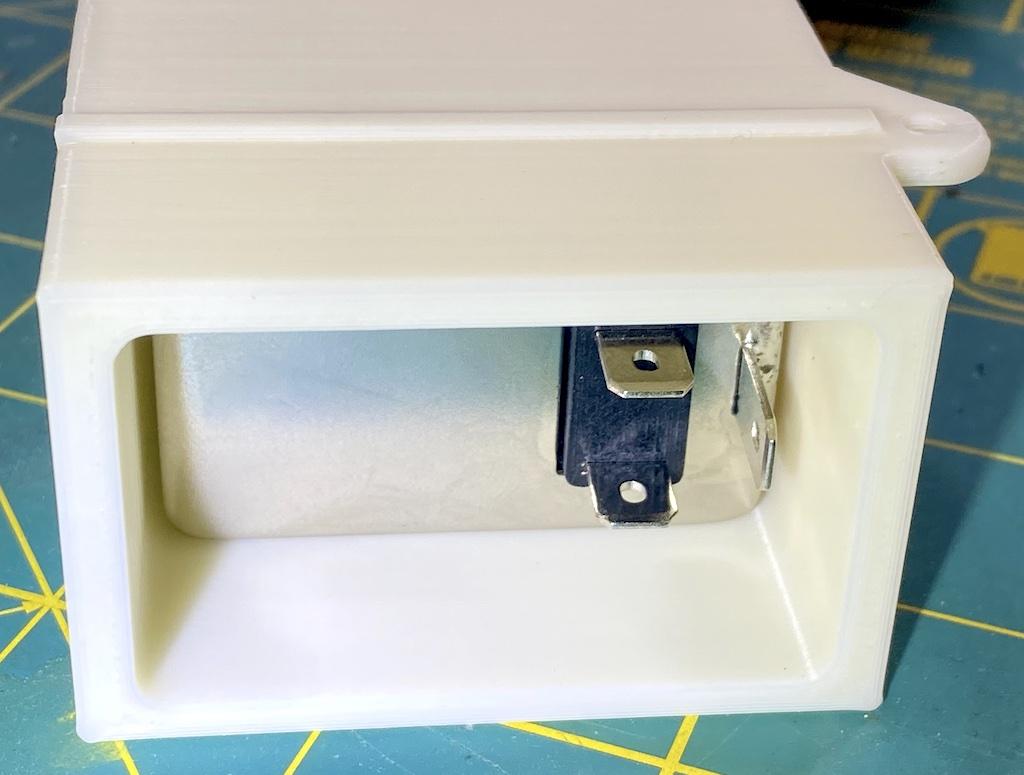
Rear view
Fuses
Printing notes
Slice and print with standard Voron settings (ABS, 40% infill, 0.4mm line width, 0.2mm layer height, 5 top/bottom layers, 4 walls) but there isn't a lot of surface area in contact with the bed, so you may struggle with warping unless your first layer is dialed in perfectly (perhaps with a little extra squish). There is no shame in printing this part with a brim (I've not added any fillets to the front edge for precisely this reason).
The STL should import into your slicer with the correct orientation. If not, ensure that the front (where the inlet is inserted) is face down on the bed.
Design and assembly notes
This design should be a simple drop-in replacement of the stock parts, but it's secured at just two points: the heat-set insert in the side and the screw through the ear on the top.
I've used one fewer screw than the original part, but two screws on orthogonal faces are more than rigid enough in practice.
If you've already inserted both M3 nuts, I'd recommend simply sliding one as far to the left as possible (as you face the back of the printer) and securing it with an M3 x 6mm screw. There will still be room for the other nut, and it beats having to disassemble the frame (or leaving an extra nut rattling around).
The printed housing has a slightly larger panel cutout than called for in the Astrodyne 082S/082SM datasheet. I just guesstimated the amount of offsets to account for part shrinkage and printing tolerances, but my first print of the part worked perfectly: the power-inlet snapped into place with a quite satisfying click, and felt quite secure.
WARNING: Both the 082S (general purpose) and the 082SM (