Search the Community
Showing results for tags 'panels'.
Found 3 results
-


Version 1.0.0
352 downloads
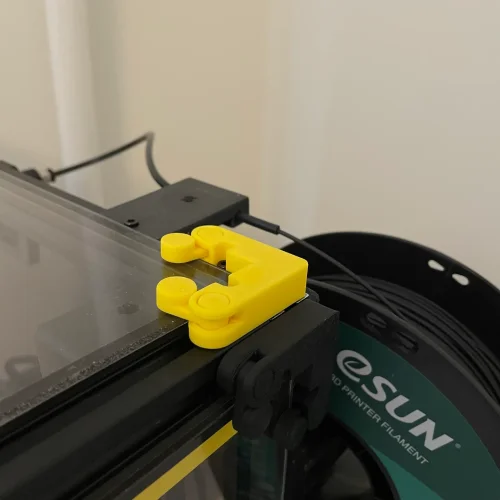
I really liked these panel locks, they look very pretty and have less moving parts than panel clips. My Formbot kit came with unusual acrylic panel thickness of 2.5, so adding a sealing foam of 3mm, my total depth should be 5.5. I've also increased the horizontal tolerance between knobs and main body. I've also uploaded the .step and .f3d files, so you can modify those for your thickness through changing parameters. -

Version 1.0.0
485 downloads
Here's some modified inserts to the V0.1 magnetic panels design by bravefruitcake, I've made a single filler piece with option for single screw mounting, optionally a filler that has built in handles, and a filler that lets a nevermore filter be magnetically mounted with a magnet power connector. Turn it on/off by snapping it on / off. Also a strong magnetic rear panel mount. Magnetic electric connector was from aliexpress 'Magnetic Connector 2 Pole Pogopin Male Female 2A Spring Loaded Pogo Pin Waterproof Pad DC Power Charging Connector' -
Version 2021.09.12
781 downloads
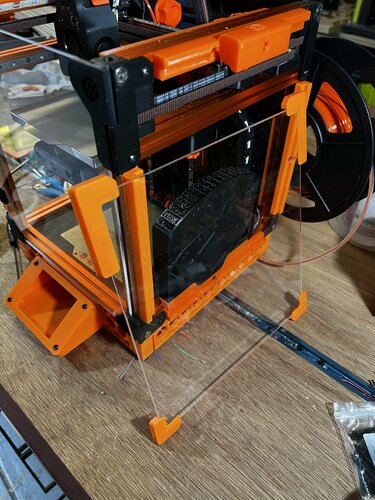
Magnetic Panels This mod allows for the easy removal of the panels on a V2, ideal for switching between ABS and PLA printing. This mod assumes a panel depth of 6mm, either from a 6mm panel or a 3mm panel 3mm foam tape. It will not hold the panels against the frame without this thickness. BOM (for top and side panels) Material Quantity 6x3 Magnets 72 M3x8 SHCS 24 M3 Roll In or Hammerhead T Nuts 24 VHB Tape To reduce the number of magnets required, it is possible to install just two or even one per printed part. This has not been tested and the hold strength unknown. For larger builds or less rigid panels there are also midspan clips which can be used for additional support. BOM (per midspan clip) Material Quantity 6x3 Magnets 4 M3x8 SHCS 1 M3 Roll In or Hammerhead T Nuts 1 VHB Tape Assembly Mount Assembly Pressfit the magnets into the housing. Use the M3x8 SHCS and T Nuts to secure mounts to the frame. It is easiest to install using the regular panel clips to hold the panel in position, this allows the mounts to be positioned with some clearance to the panel allowing smoother attachment of the system following installation. To make full use of this added convenience, fully complete installation of a single clip before repeating the procedure for the remainder on each panel. Cap Assembly Pressfit the magnets into the housing ensuring the poles are aligned between the mount and cap. Apply the triangular section of VHB tape and with the panel in position on the frame lower the magnet side into position before pressing the tape firmly against the panel. The panel can now be pulled straight off the frame for removal, before being replaced with as much ease. Repeat previous steps as required if fitting midspan clips.- 1 review
-
- 5
-

-
- bobbleheed
- v2.4
- (and 1 more)