Search the Community
Showing results for tags 'bluebear'.
Found 4 results
-

Version 2021.02.06
308 downloads
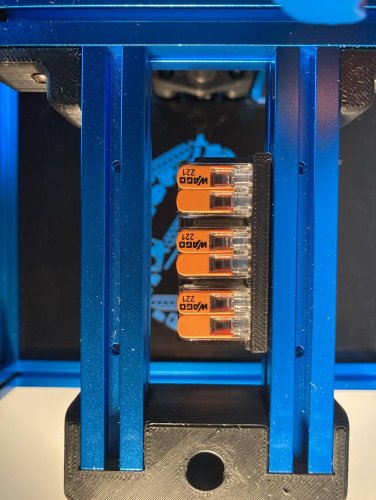
Overview This mod is derived from wago_221_mount and brings in some mounts for the Wago 221 terminals (2 and 3 contacts) to clip and to screw for 1515 extrusions. Wago-Mount for screws I use this mount WAGO_221-413_3x3-mount-screw.stl at the power inlet to distribute the power to pad/ssr and the PSU. There is also a WAGO_221-412_3x2-mount_screw.stl, if you plan using Wago 221-412 (2 contacts). Any m3 screw - BHCS or SHCS - should fit. Snap-In mounts The snap-in mounts can be easily attached and removed from the extrusions. For using that mount print the desired stl (WAGO_221-412_3x2-mount.stl or WAGO_221-412_5x2-mount.stl together with at least two of the mounting clips(either LDO or MakerBeam depending on your extrusion). Don't rotate the clips for printing. They must be printed upright, as shown in the picture. Otherwise the clips might break upon inserting into the extrusion. Use M2 self-tapping screws to attach the clips into the appropriate places of the mount. Screw heads must be flush otherwise the WAGOs won't fit. Both mounts fit into the Z-Extrusions of the V0 -
Version 2020.12.22
32 downloads
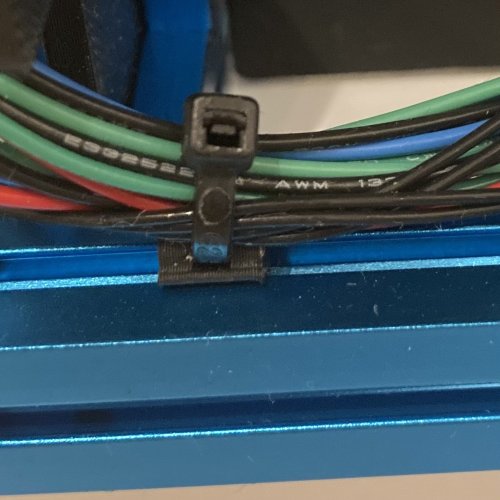
Overview Some clips for 1515 extrusions to attach ziptie mounts. Comes in two flavors for LDO and Makerbeam extrusions. Zipties can be used horizontal and vertical. -
Version 2020.12.09
5 downloads
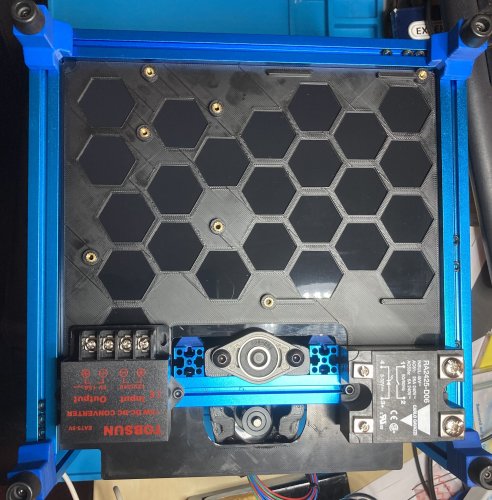
Changes 19.10.2020 Updated version with some more space between SKR Board and PSU and some hooks for zipties Overview This mod brings in a backpack for the V0 Deck Panel. Imagine you have gotten a deck panel containing a nice print. Surely you don't want to "destroy" this nice print with holes and screws for attaching controller and PSU. This mod is a modification of Deck_Panel_inserts_logo and thus is designed for the same hardware: PSU: Meanwell LRS-100-24 MCU: BTT SKR Mini E3 1.2 (tested with 2.0) The backpack can be sticked (e.g. with VHB) against the back of your panel. For mounting the hardware you don't need any standoffs, instead you can use the same heat inserts as for the top head or pocketwatch (M3x5x4). Below the SKR are some hooks for attaching zipties. Fusion 360 and Step file is included to ease your own modifications. -
Version 2020.12.22
20 downloads
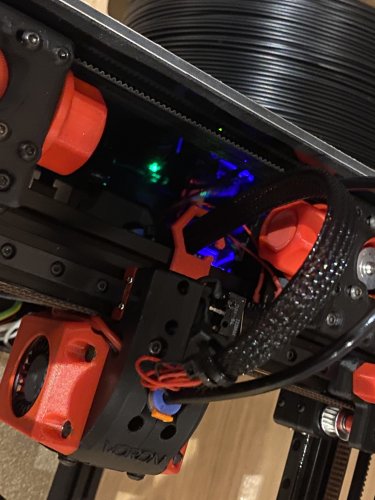
Overview A little "fence" to hold the tubes away from the belts. Clipmount so no further nuts in extrusions are needed. Print one of the clips (either LDO or Makerbeam) together with the BowdenFence.stl Don't rotate the clips, otherwise they may break upon inserting into the extrusion. They need to be orientated like in the picture Attach a the clip into the bowdenfence piece with a short M2 self-tapping screw.