Search the Community
Showing results for tags '1210 ballscrew'.
Found 2 results
-
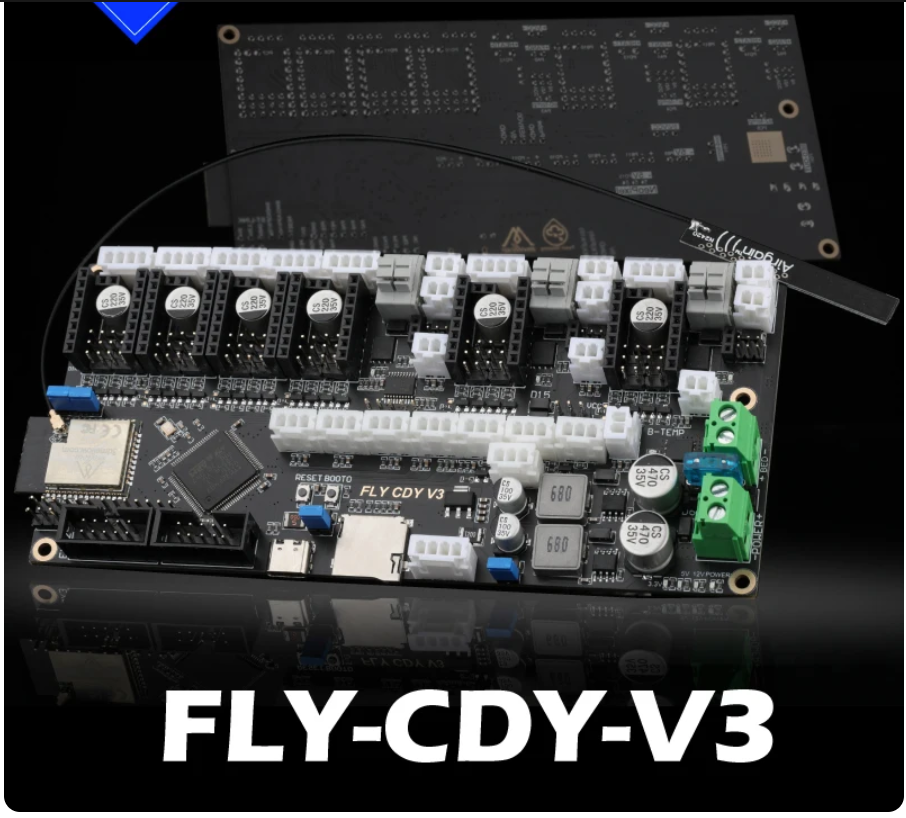
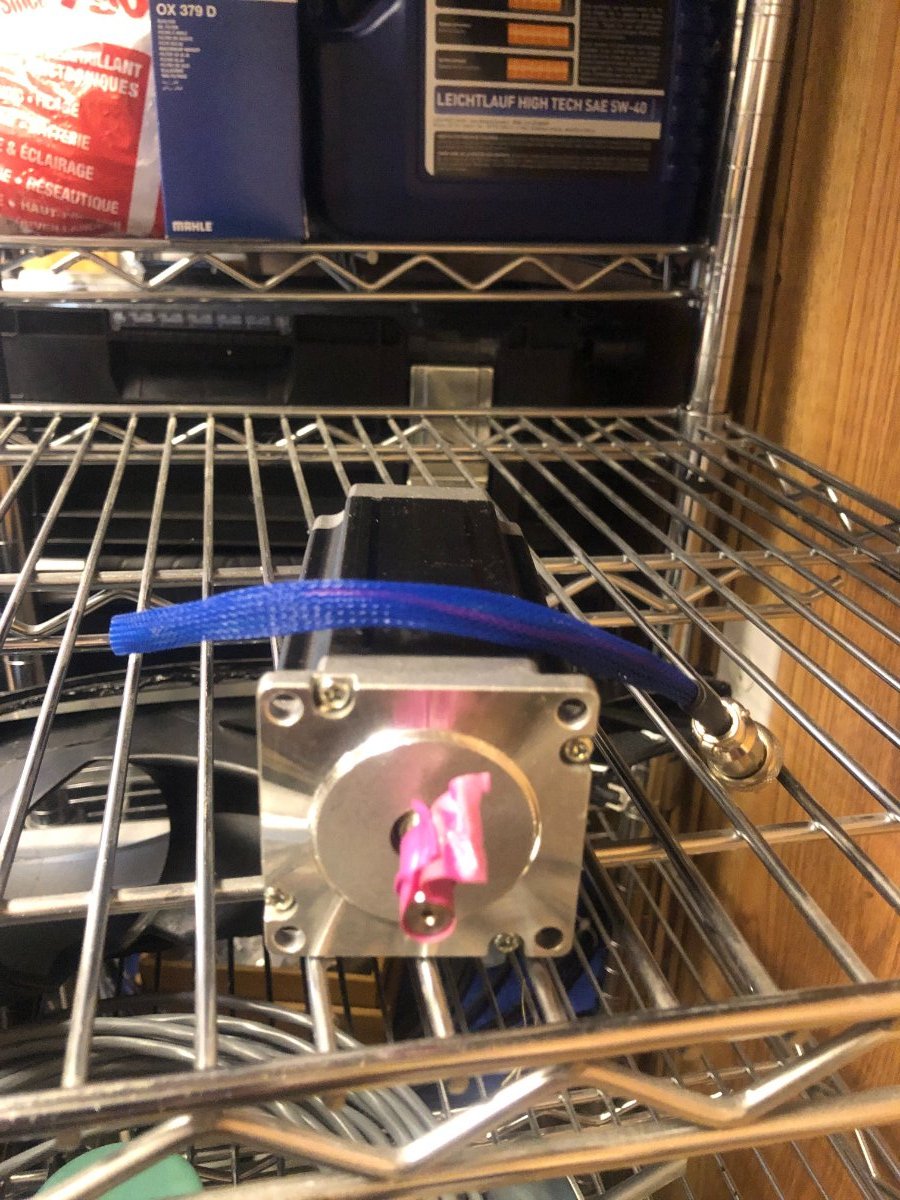
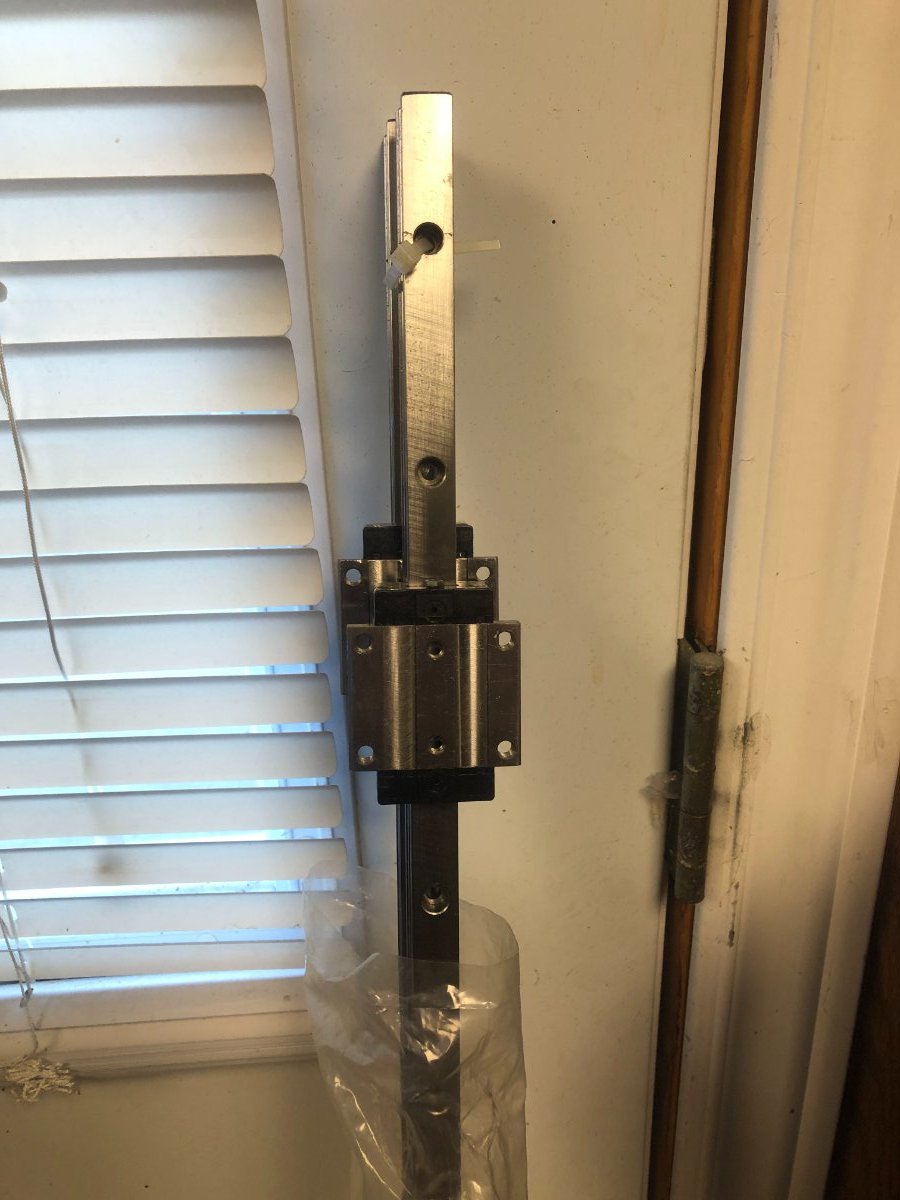
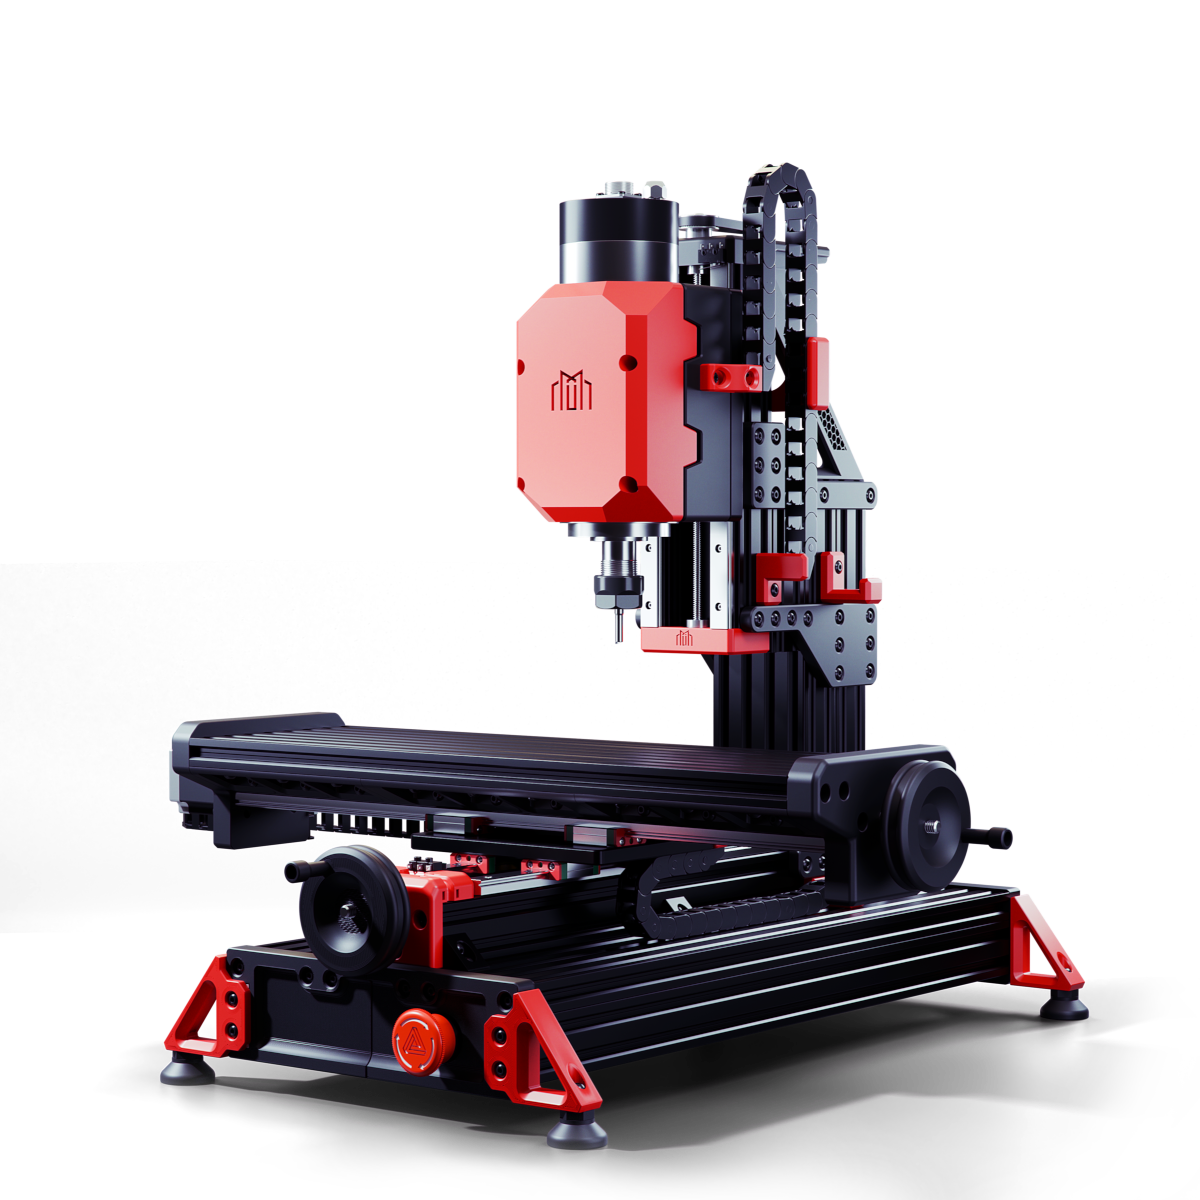
Milo V1.5 CNC Bench Mill Github Link Not a 3D printer but still going to be an interesting build The idea is to eventually make parts to replace the printed parts on the mill and for the Trident and V2. This is going to be a slow build, I'm self-sourcing the parts and will assemble them as parts are purchased and arrive. Years ago I purchased some parts to build a CNC machine but never completed the build. The frame and spindle were the last items to be purchased and built. Since then electronics for CNC have come a long way specifically the stepper drivers and motherboards. I already have the Nema 23 stepper motor but are larger than the suggested spec for the build. I'll be testing them with the Mellow 32bit FLY-CDY V3 Wifi Control Board when it arrives. These are the steppers I'll be testing: I have these Hiwin HGR 15 linear rails which I can cut to length, the blocks don't match the printed parts, but I can either modify the printed parts or order new blocks. The blocks alone will cost the same as purchasing a complete set of rails. The advantage of using Hiwin rails is the pre-load. Appreciate the lesson on the basic use of Fusion 360 that @Penatr8tor was kind enough to give me on Zoom. Parts ordered: Mellow Fly-CDY-V3 Complete Fastener Kit 2 x 4010 24V. Fans

- 394 replies
-
- 8
-

-
- selfsourced
- milo v1.5
- (and 6 more)
-
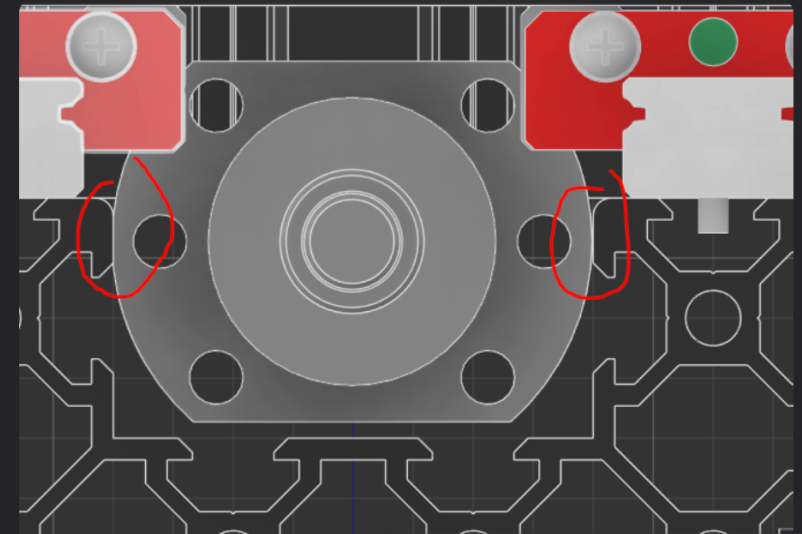
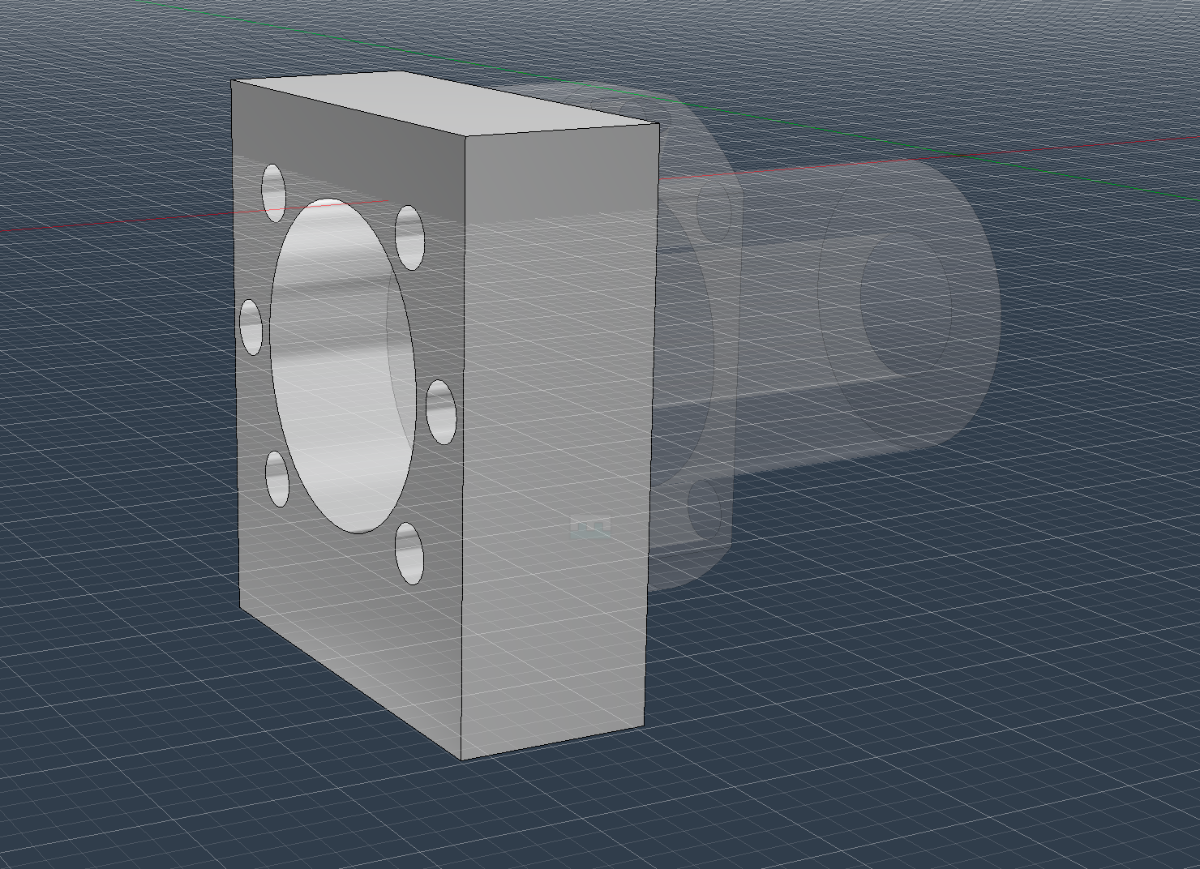
I like to give credit to Hans on Discord for sharing his experience, BOM and step files for this conversion. Some technical stuff first, Milo V1.5 uses TR8-8 leadscrews. What do those numbers mean? The leadscrew is 8mm in diameter and has an 8mm lead, which will travel 8mm on a 360-degree rotation of the stepper motor. Jake England, the designer of the Milo 1.5 and V2, recommends an optional 0802 ballscrew on the Milo V2 for fitment and price. Since you can only spin the stepper so fast, they tend to stall. The 1210 ground ballscrews have a 12mm diameter and a 10mm lead, which is a closer fit to the TR8-8 leadscrews. The issue is the fitment of the ballscrew inside the 2080 C-beam. The ballscrew nut needs to be machined and 1.3mm removed for it to fit. I've machined a ballscrew fixture to hold it in the vice. Here you can see how much is being removed. With the proper end mill, coolant, and correct feed and speed, hardened steel can be machined on the Milo. The steel chips have a dark colour, which means the chip is absorbing the heat generated by the cut and moving it away from the part. The shiny chips are from the aluminum fixture holder. Both ballscrews machined! You can see the fitment on the new Y ballscrew nut holder This will be the Y ballscrew assembly and the X ballscrew assembly
- 19 replies
-
- 1
-
-
- 1210 ballscrew
- ballscrew conversion
- (and 2 more)