-
 2
2
-
 1
1
About This File
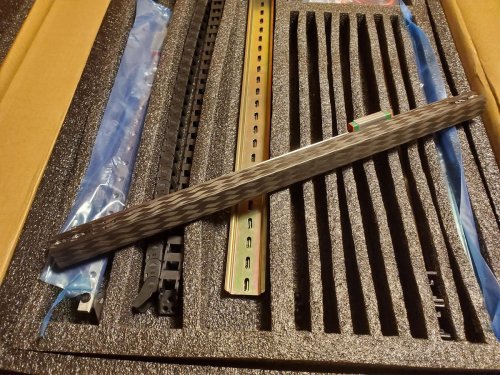
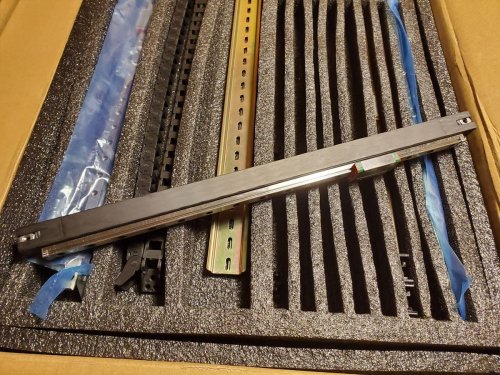
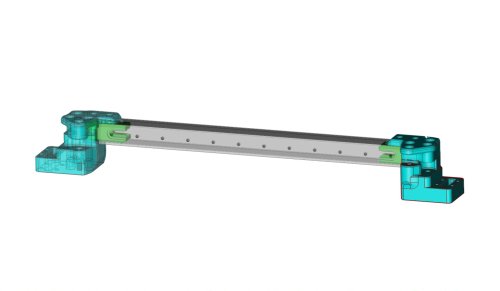
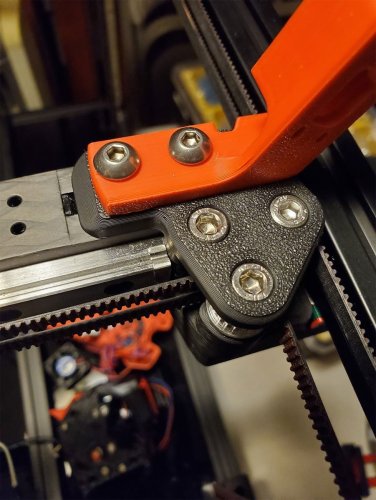
These parts are designed to be used with a FYSETC Carbon Fiber X-Axis Tube, which I bought on sale at AliExpress for my Voron build, before realizing it would be a bit of a pain to assemble due to the design. These parts resolve most of the problems I expected to have, and went together well, when I built the XY joints and the X rail. I used the official models to help with the design and hole placements. Thanks to the Voron team for providing the design files and all their work in creating the Voron series of printers!
Before continuing, please note, use these parts at your own risk. They are by no means perfect and you can, if you wish remix this or use another method (STEP file is included). This worked for me and so I am posting it here, but I am still building my printer.
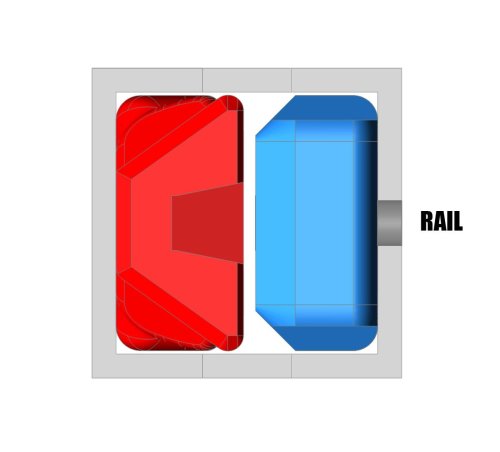
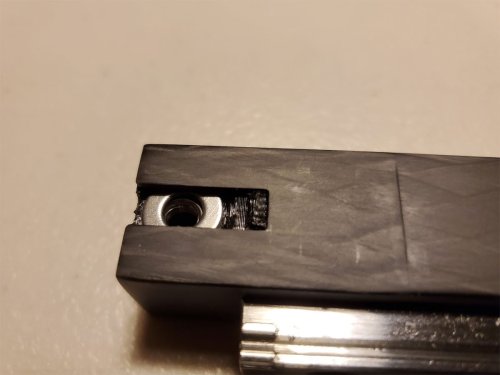
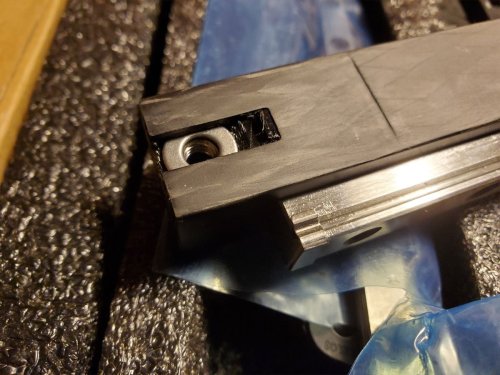
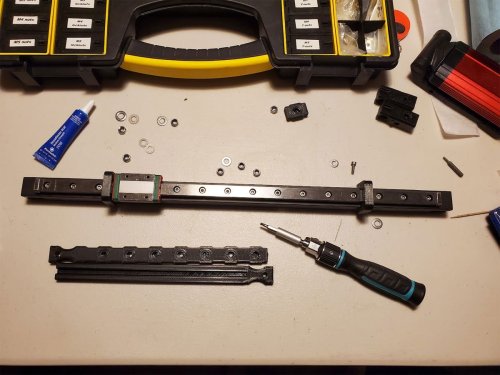
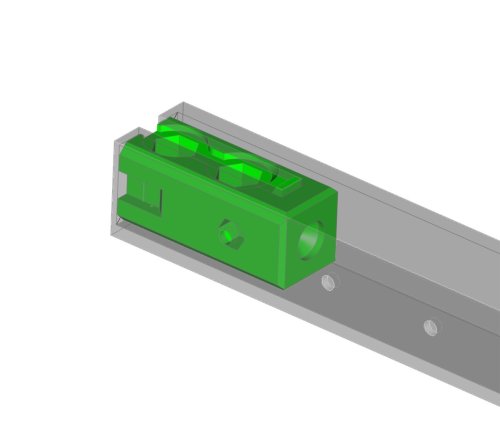
The parts include a model for an “plug” which holds three M5 locknuts and M5 washers, and two tools which are designed to assist with installing the MGN12 linear rail. The plugs stay in the final part.
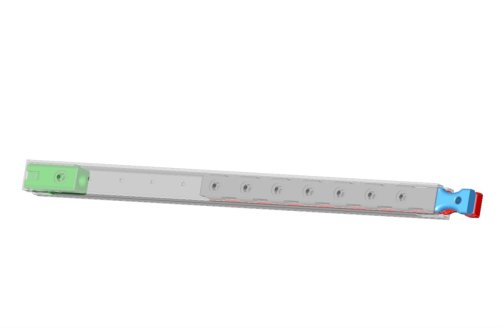
Two plugs are needed and they can be interchanged between left and right sides of the rail. There are stops on the plugs, which I considered removing, however they help to keep them from going in too far during installation. I suggest printing one, and then testing it in the tube. If it is too tight, you can try calibrating the flow and then the horizontal expansion which will help get it to the correct size (the plugs should be 16.87mm in width). I printed them in PETG using a 0.6mm nozzle, 3 walls and 30% gyroid infill, since these should be robust. The plugs have holes designed within the parts, which are there to help fill up the areas around the nuts, since these areas need to be almost solid.
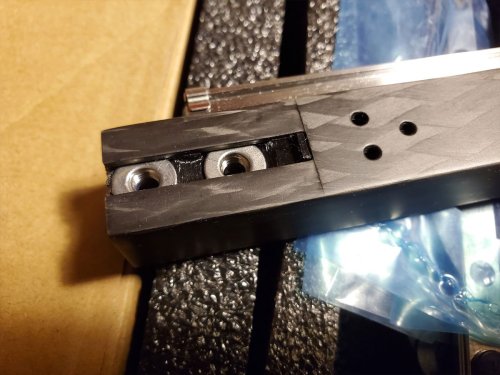
The tools are used by setting M3 locknuts in the pockets of the “A” tool, and then setting M4 washers on top (I used M4 instead of M3 since the M3 washers I have are too small to do much). Make sure the nuts fit snug but not tight, otherwise you will have a problem removing the tools.
I recommend doing a test before using the tool, by tightening down a few of the locknuts installed in the “A” tool, using some M3 screws, checking to see if doing so will cause the nuts to spin out. If they do spin out, DO NOT USE THE TOOL, since during installation there will not be a way to tighten the nuts down if they spin out. If the nuts do spin out in a test, then you can try adjusting the flow and horizontal expansion (if the holes are too large), or increase the strength of the part using more walls, more infill, higher temp, or use a different material. It is also possible that the nuts being used are different than the ones I used when designing this (the M3 locknuts I used were approx 5.42mm flat to flat, and the model is designed with 5.65mm flat to flat pockets).
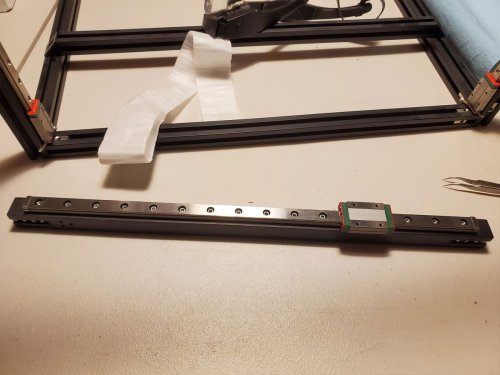
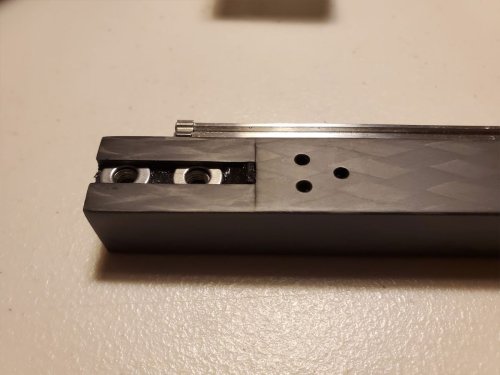
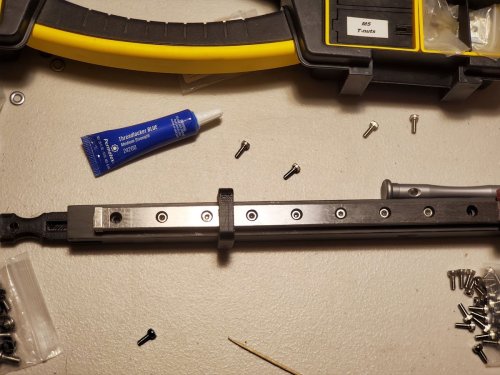
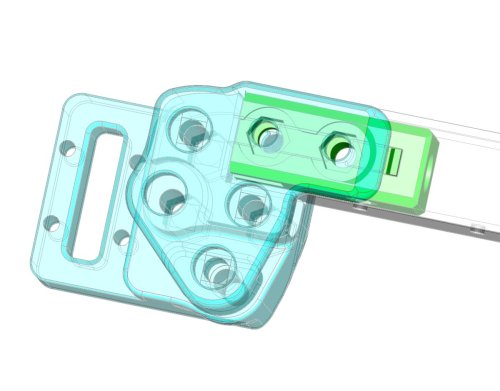
Once tested, the “A” and “B” tools are then placed together, and both are then inserted into the tube and aligned with the holes for the linear rail. Note that the “B” model should have the groove facing the front of the tube where the rail will mount (this groove is there to allow the tool to pass by the screws when removed - see pics). If the tools go in too tightly, do not force them. Remove them, and either sand them down, or recalibrate flow and horizontal expansion for the material being used. Take the time to do this right, and if you don't feel this will work, please do not continue, since getting the nuts removed once installed will be a problem with or without a tool.
Once the tools are in place (and loaded with the locknuts and washers), the rail can be installed using M3x10mm screws (and M3x12mm screws on the holes that do not go through). I only printed one set, however if you want to print two sets, you can install screws on both ends of the rail at the same time, otherwise just do one side and then the other.
To remove the tools, use longer M3x12 screws in the holes that are not through holes, these will help to push the tool away from the nuts. I would start these longer screws with the “B” tool installed almost all the way, but remove the “B” tool before fully tightening the longer screws. If tightening down the M3x12 screws does not loosen the “A” tool enough to remove it, you can use a long (and thin) flat screwdriver, or even a folded over wire coat hanger to help pop it off the remaining nuts. It may also be easier to start with the innermost screws, remove the tools, reload and reposition, and then do the screws near the edges, if removing the tool is challenging.
Please refer to the pics to see how the tools work together, or ask a question in the comments.
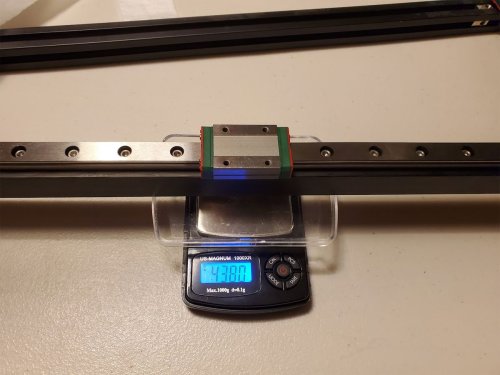
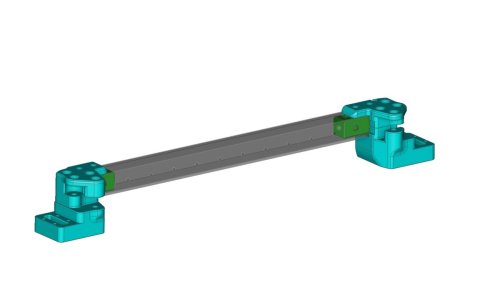
As for whether it's worth it to use the FYSETC CF tube, I'm not sure yet. I forgot to weigh it before assembly, so I don't know how much is being saved, but it does seem pretty robust and I'm sure its lighter than the aluminum extrusion. The pic showing the weight of 438g is just the tube, rail, screws, nuts, washers and plugs as shown in the pics, it does not include any other parts like the printed XY joints. In any case, this is not an endorsement of the FYSETC product, only some parts which may help to actually use it.
The STEP file is included for easy remixing.
You can find more info and pics for this thing at my blog here. I'm also documenting my Voron 2.4 R2 build here (but it's been a slow going process due to some other issues).