

Description
This tutorial assumes that you have a decently tuned printer that will allow you to pause the print and switch to a filament of a different color.
OK So... Step 1...
In your slicer, take note of which layer you want to switch colors. For my print, layer 6 need to be a different color but I had enough wiggle room to stop it a couple layers early.
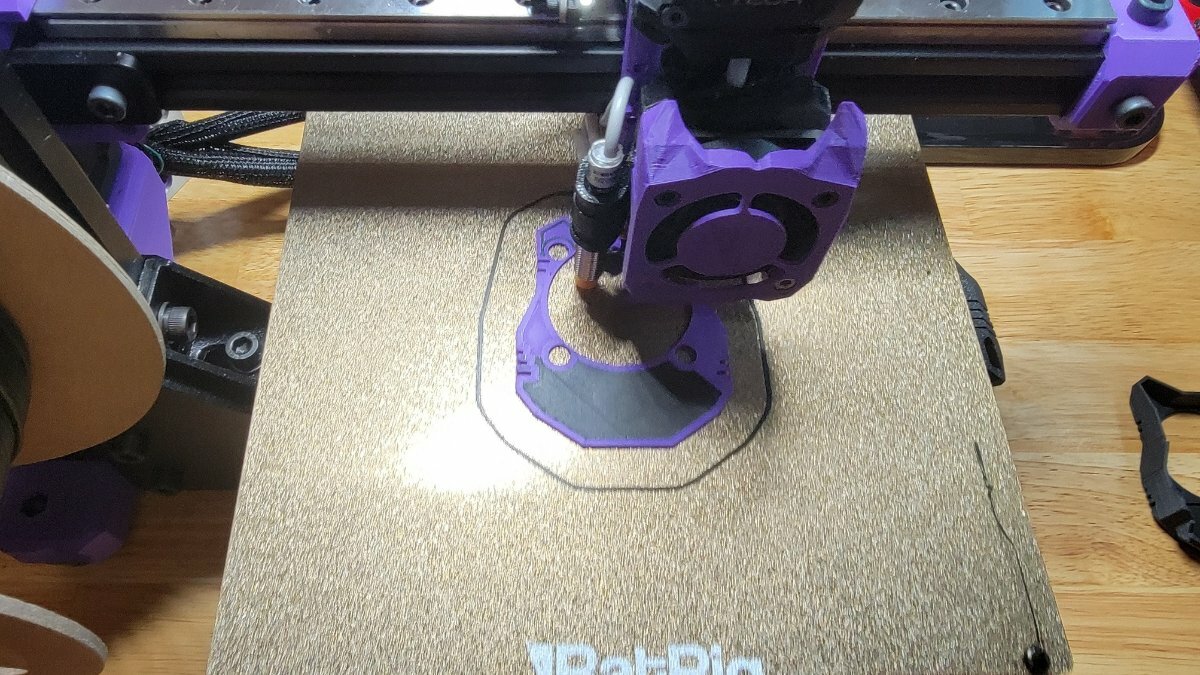
Below is the first few layers of black being applied..jpg.9dd853842e40380e00fc2e009286c949.jpg)
Next we pause the print, unload the black and load the other color. I wasn't going to print but a few layers so I cut a piece of filamnt about 10 feet (3 meters) long. Once the filament has been loaded and you've extruded a bit, resume the print.
Pro Tip: To prevent oozing, don't yank the purged filament, wait until right before the printhead starts moving. There won't be any time to the filament to ooze.
.jpg.890dfa4bfb0a260e630a94e4879f4011.jpg)
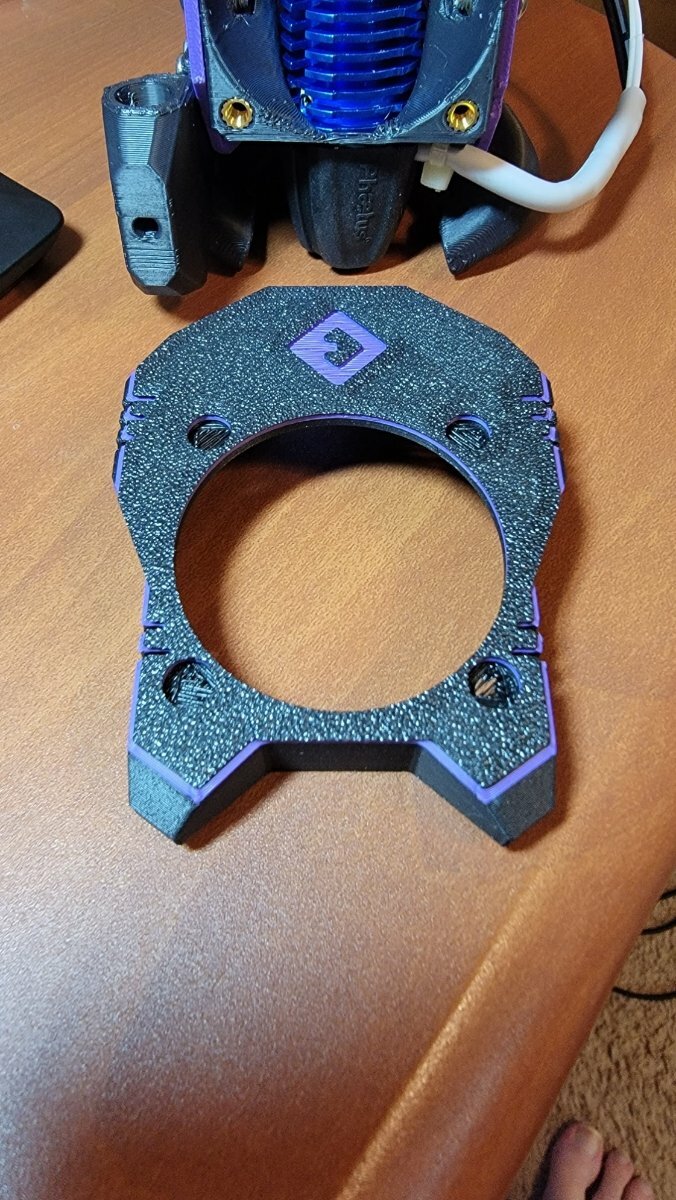
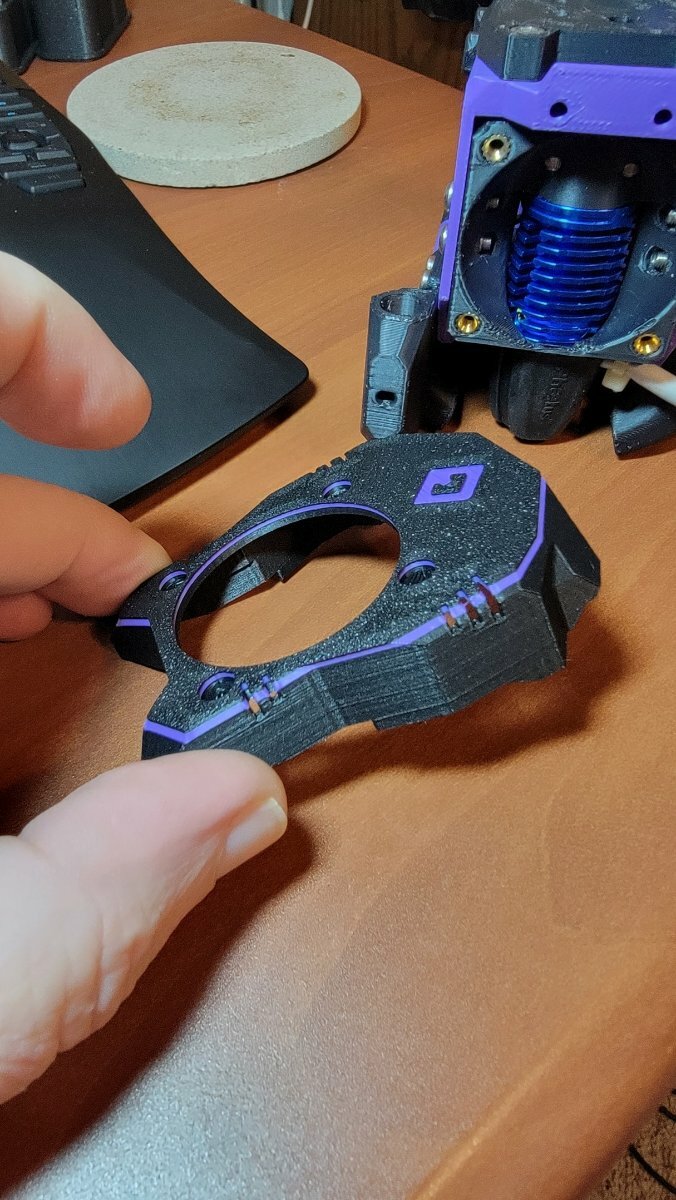
After a few layers, I think I did 4 layers, it's time to pause the print and swap filaments again. theoretically you could go full spectrum if you wanted. Below you can see some of the purple as the remainder of the print is finished up with black.
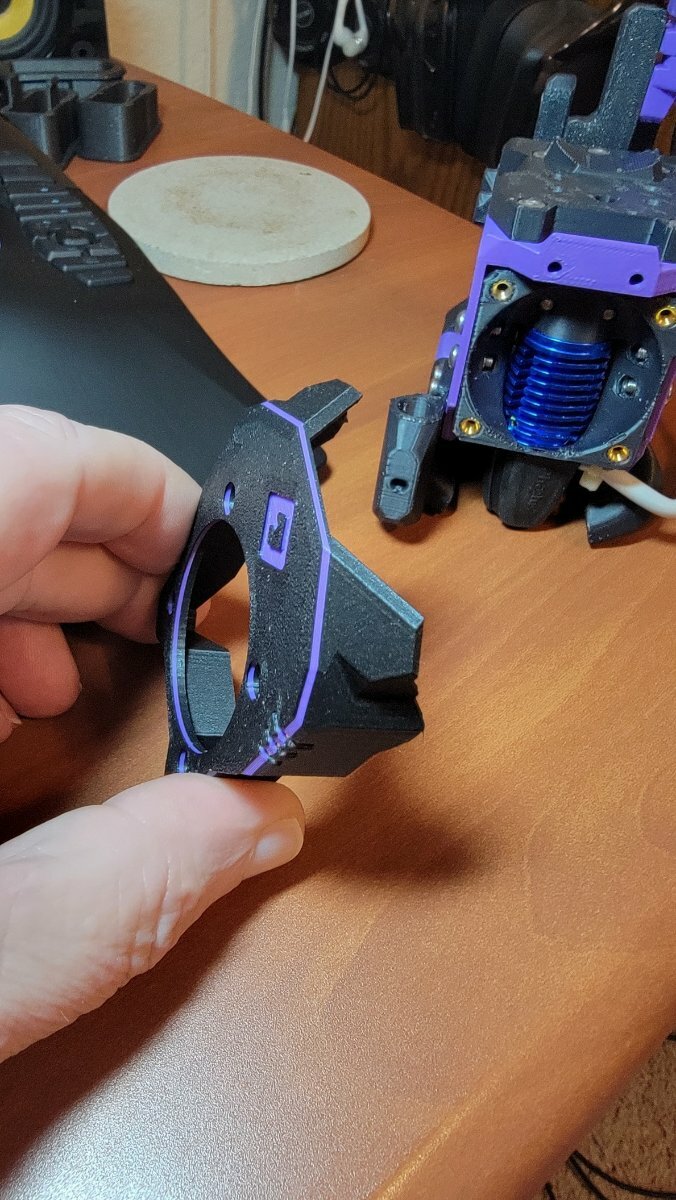
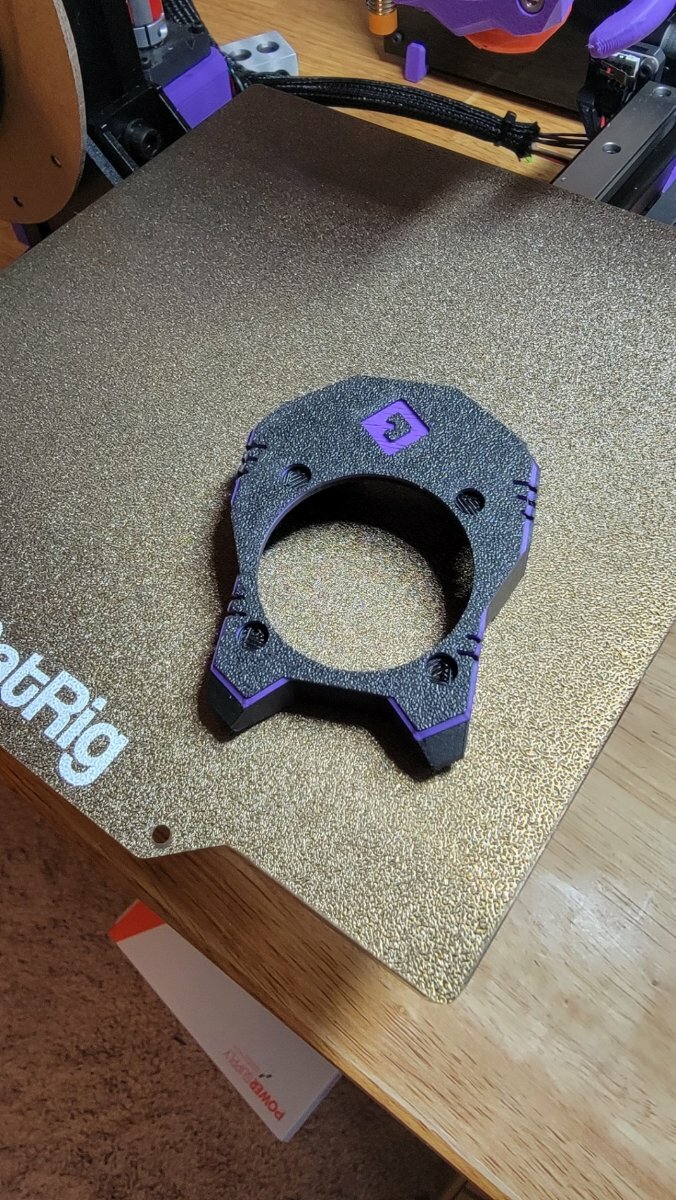
And here's the final product. I love the way it looks. Black with purple background for the logo and the stripe around the part adds a nice touch.
Happy printing!

Recommended Comments
There are no comments to display.
Join the conversation
You can post now and register later. If you have an account, sign in now to post with your account.