Jump to content

Search the Community

Showing results for tags 'milo'.

  • Search By Tags

    Type tags separated by commas.
  • Search By Author

Content Type


Forums

  • TeamFDM
    • Site Updates and Announcements
    • Frequently Asked Questions
    • General Discussion
    • Voron User Mods
    • Filaments
    • Build Diaries
    • Introductions
    • Tutorials
  • Voron Build Support
    • Voron 0
    • Voron Trident
    • Voron 2
    • Voron Legacy
    • Voron Extruders
    • Voron Electronics
    • Slicers and Print Troubleshooting
  • Other FDM Printers / CNC
    • Bambu Labs
    • Prusa
    • Ender 3 / Ender 3 Pro
    • CNC
    • Generic / Other
  • Marketplace
    • The Bazaar
  • Vendors
    • KB-3D
    • Voron Printed Parts Co.
    • Fabreeko
  • Off-Topic
    • Random
    • TeamFDM Member's Creative Collection

Categories

  • Non Printable Files
  • Printable Voron User Mods
  • Manuals and PDF Guides
  • Creative Collection
  • Tools and Calibration
  • Official Voron Releases

Categories

  • User Mod Installs
  • Build Techniques
  • Programming
  • Team FDM Site Tutorials
  • CAD / Fusion 360 Tutorials

Blogs

  • Voron General
  • Why we are the best digital marketing services in Chennai

Find results in...

Find results that contain...


Date Created

  • Start

    End


Last Updated

  • Start

    End


Filter by number of...

Joined

  • Start

    End


Group


About Me


Voron Serial #1


Voron Serial #2


Voron Serial #3


Voron Serial #4


Voron Serial #5


Voron Serial #6


Voron Serial #7

Found 2 results

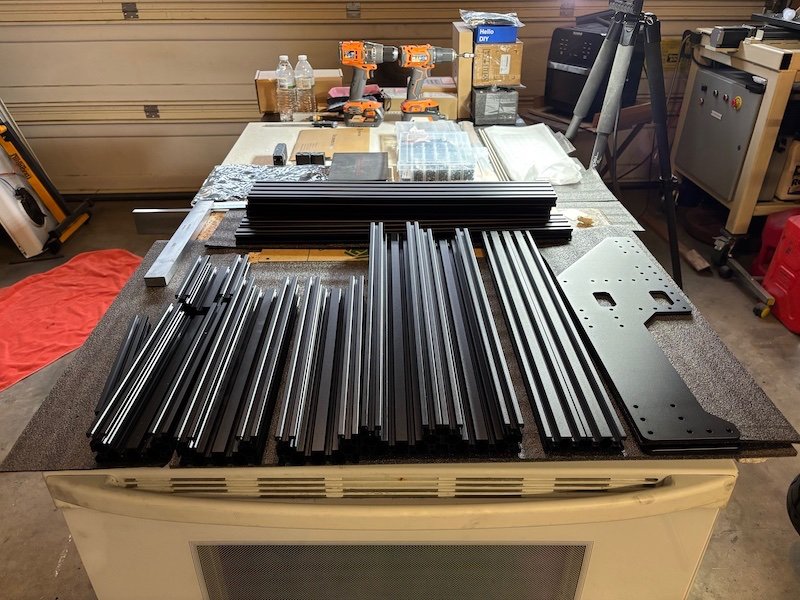
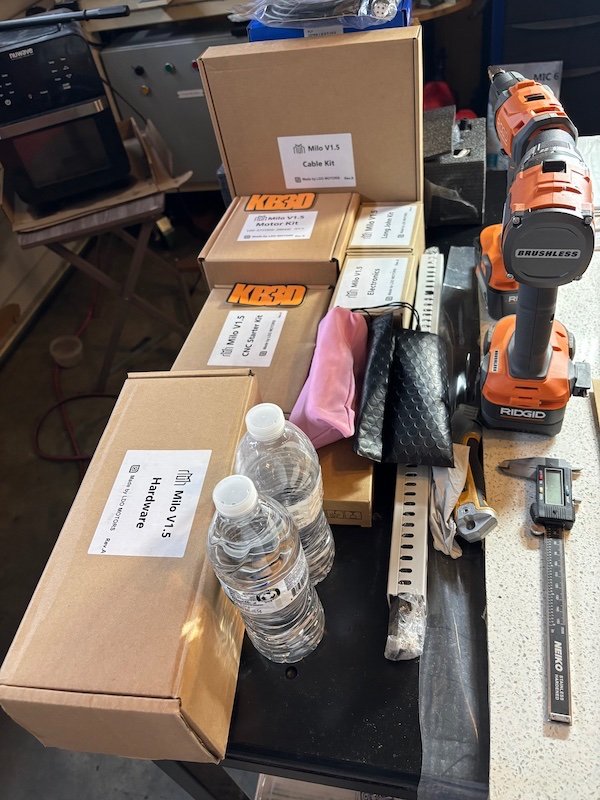
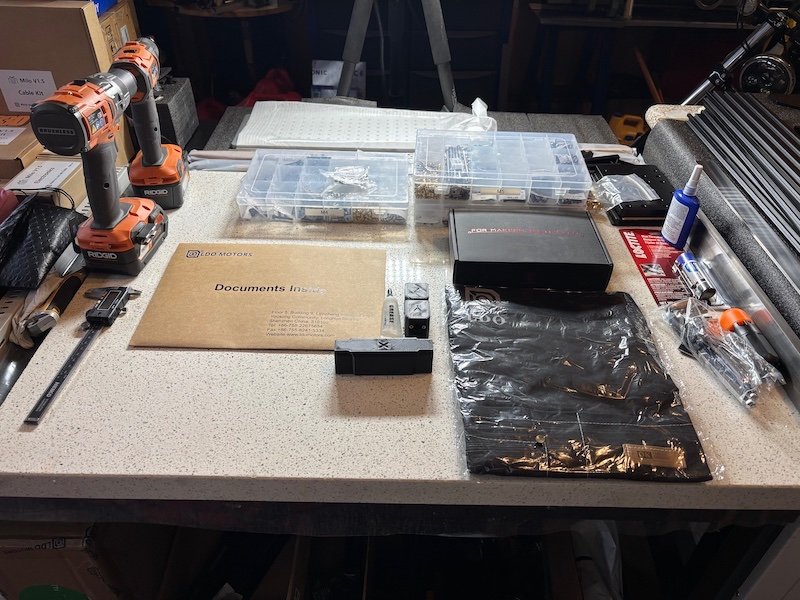
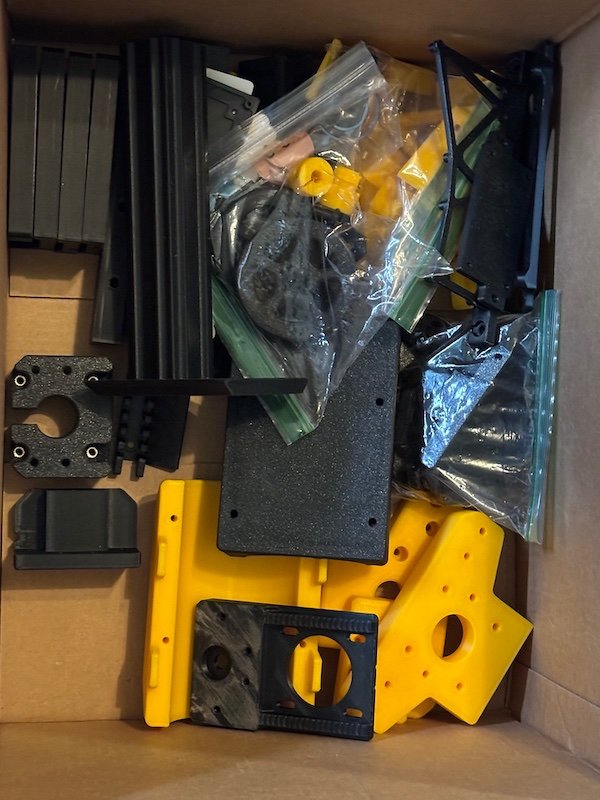
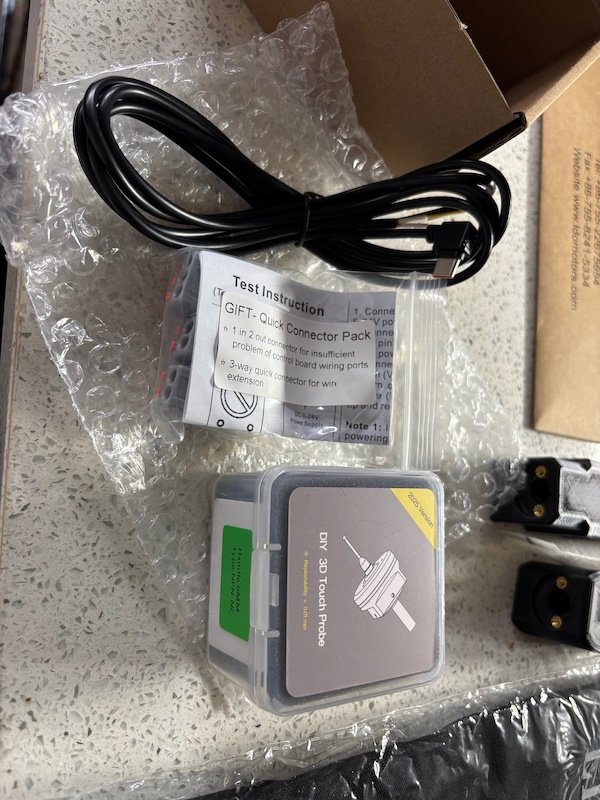
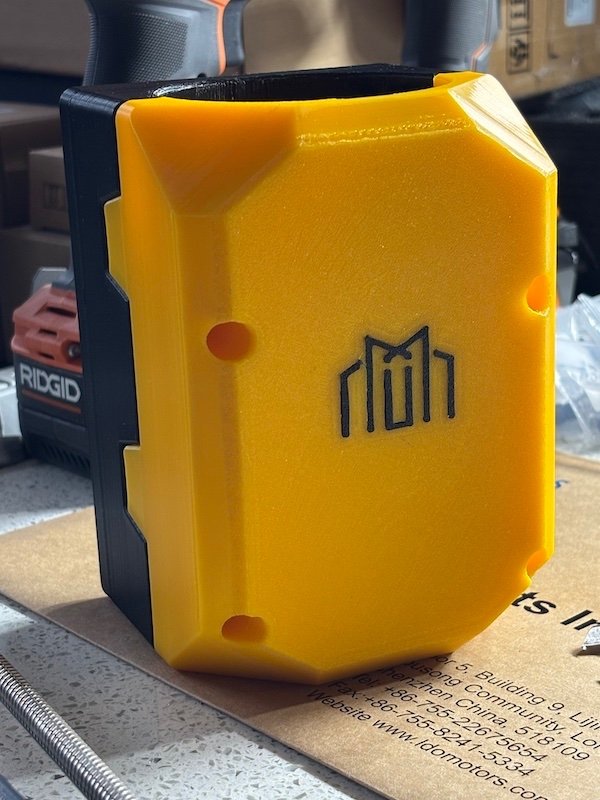
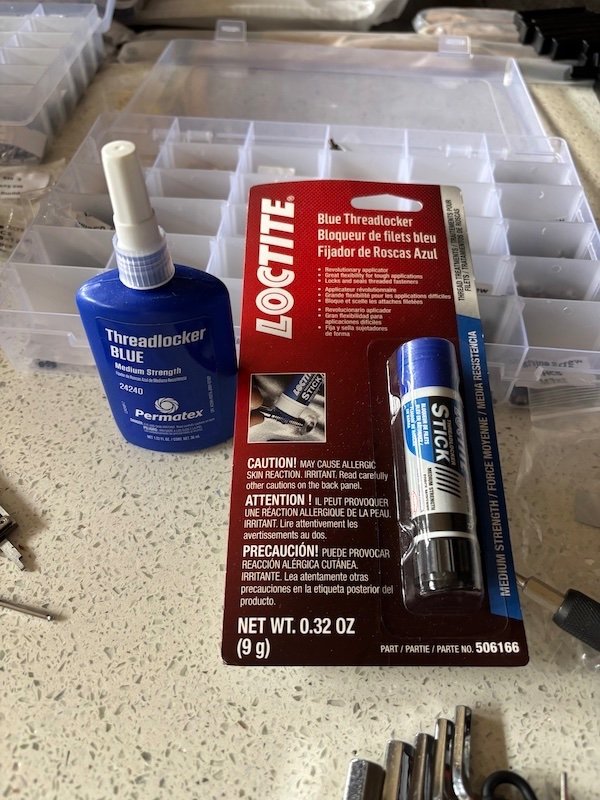
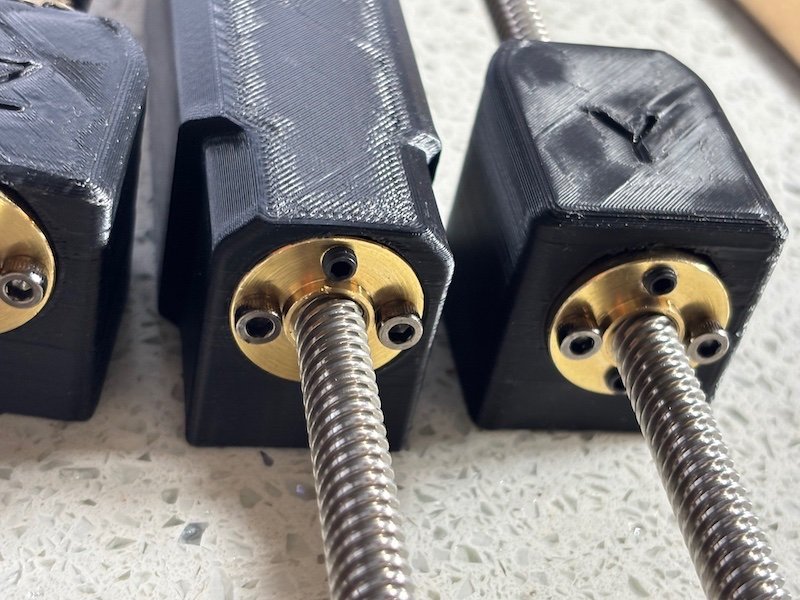
  1. Completed printing all the required parts for the Milo 1.5 and Casa. Accent color is going to be yellow. Been going thru PFarm and other Milo builder postings and watching build videos particularly the live video by Steve on YouTube. Learned a lot before starting so .. Thanks Day 1: Broke open the box and setup all the parts in the table. Oh and you guys says Let there be Locktite!!! Day 2: Started assembling the anti-backlash nuts. The lead screw nuts fit in the printed blocks tight so removing or adjusting them after being tightened all the way is difficult. I tapped all the mounting holes of the three nuts with an M4 and inserted m4 set screws which act as the adjustment screws and stops of the lead screw backlash nuts as well.
  2. The first part was the fixture plate "tall boys".
×
×
  • Create New...