Description
So: in my past tutorial I've explained you how to measure the actual values of your hot end and bed to reliably transfer material profiles across your printers modifying them accordingly...
What if bring you a way to harmonise your profile across your printers?
I know there is people here that sticks to a single combo board/extruder/thermistor... therefore the error between printers will be minimal. However for the rest of mere mortals that use whatever hotend was available, and batches of thermistors sold by weight from the finest china, the errors btween printers can be over 25 degrees. For example while doing the previous tutorial i found out that moving the duet board from RRF to klipper was under reading by 15 degrees...
And the fysect board in my zero was over reading by 9... that basically means that any material that i tune in the zero, if try to print it with the same settings in the duet machine, it will definitely be over melted.
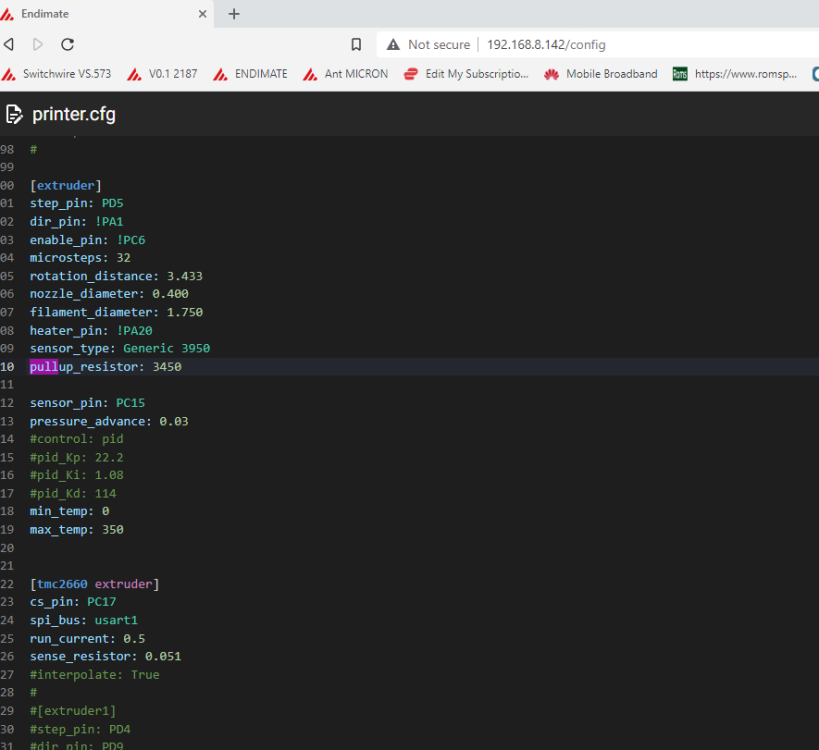
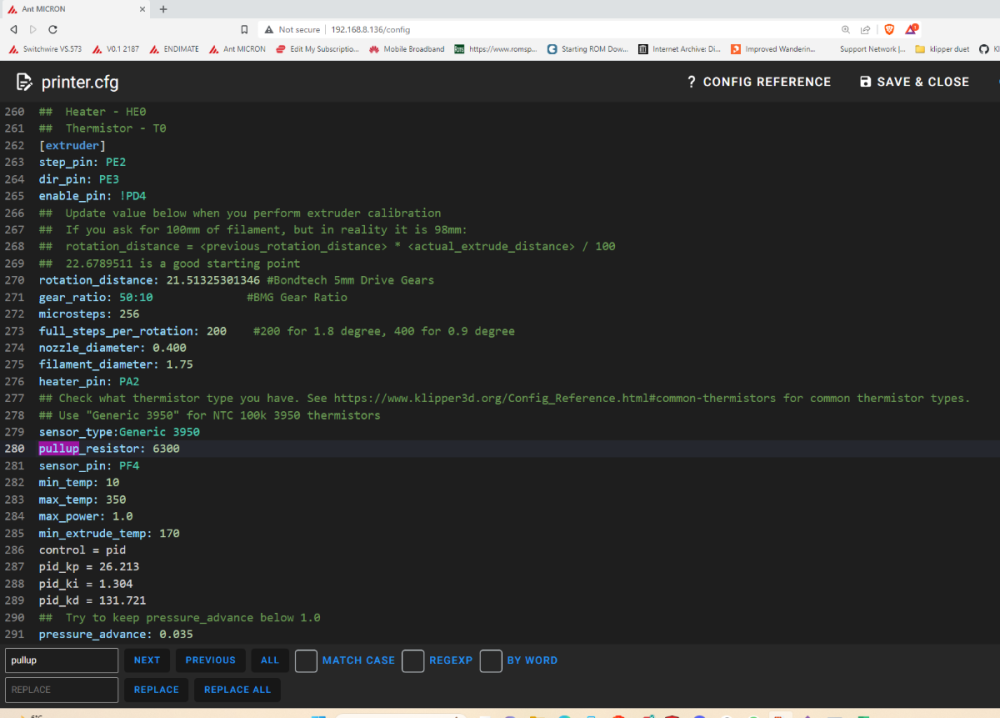
here I present you the pull_up resistor value in klipper (by default 4700ohms).
What is a pullup resistor you will ask?
Is basically a resistor included as a reference in a circuit where the resistance value of the sensor can't be measured so this passive resistor in the circuit, works as refference.
If you modify the value of this resistor in klipper, it will alter the reading on the thermistor allowing you to tune your readings and leaving them spot on no matter the brand of your board or how chinese is your thermistor.
Start as before. Go to your preferred printer and preheat the hot end to your desired temperature. Stick the probe inside, and check the reading onto the nozzle. It will likely be off.
If it is reading over, you will need to decrease your pull_up resistor value (remember the starting point is 4700)
If is reading under, you will need to increase said value.
By how much i hear you ask... well... is a bit of an art, but I warrant you that you'll match it close enough at the 3rd iteration.
I've found that modifying the resistor value by twice the percentage error, is a decent approach.
Example:
Target reading: 250.
actual reading: 235
Pull_up value 4700
250-235=15
If 250 is 100% then 15 is 6%
6%x2= 12%
New resistor value= 4700+(4700x12/100)=5226.
Save config and reboot. Repeat operation. Till the measurement in your thermocouple reader is within 2 degrees of your reading.
Go across your printers and do the same.
Now you will have the exact same reading across all your printers. Example of my duet cartesian vs my micron, and the resulting values.
Now. Note that you will only be able to tune spot on a limited range of temperatures, and if you try to heat at 300 sfter tunning at 250 you will likely be off by 6/8 degrees. However, and I have prooven this with 5 different setups, they all will be off by the same ammount or very similar. In my case I have checked the readings from 200 to 330 and tuning it at 250. All the printers individualy have had an error of no more than 8 degrees but more importantly the error across all of them was under 2 degrees, that makes the profile perfectly transferable.
Notes:
*to be repeated if you change thermistors or thermistors wiring.... ie adding a connector
*let stabilise the temperature for at least 2 minutes in each reading point.


Recommended Comments
Join the conversation
You can post now and register later. If you have an account, sign in now to post with your account.