Search the Community
Showing results for tags 'mellow'.
Found 1 result
-
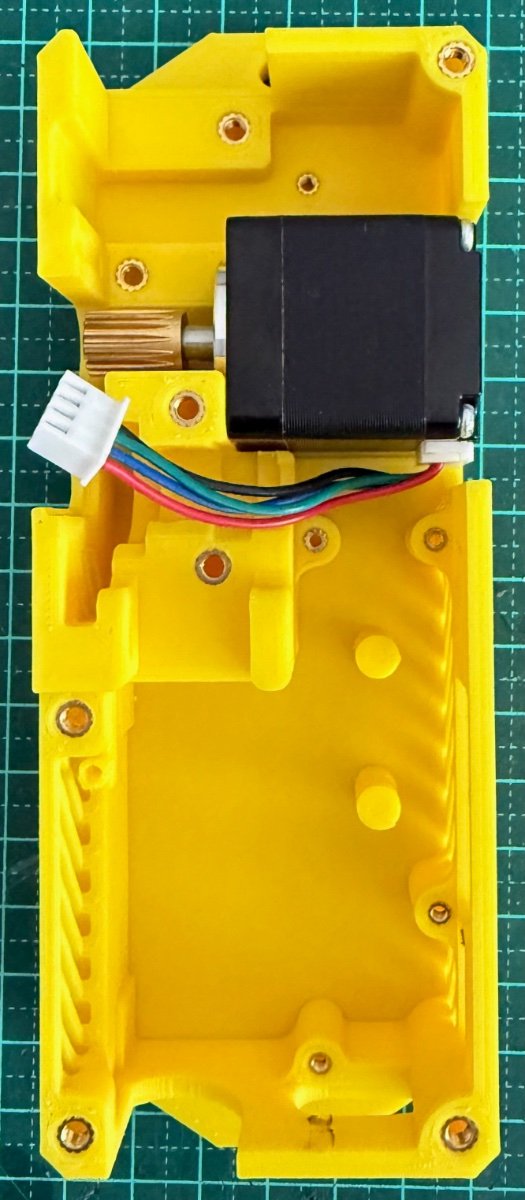
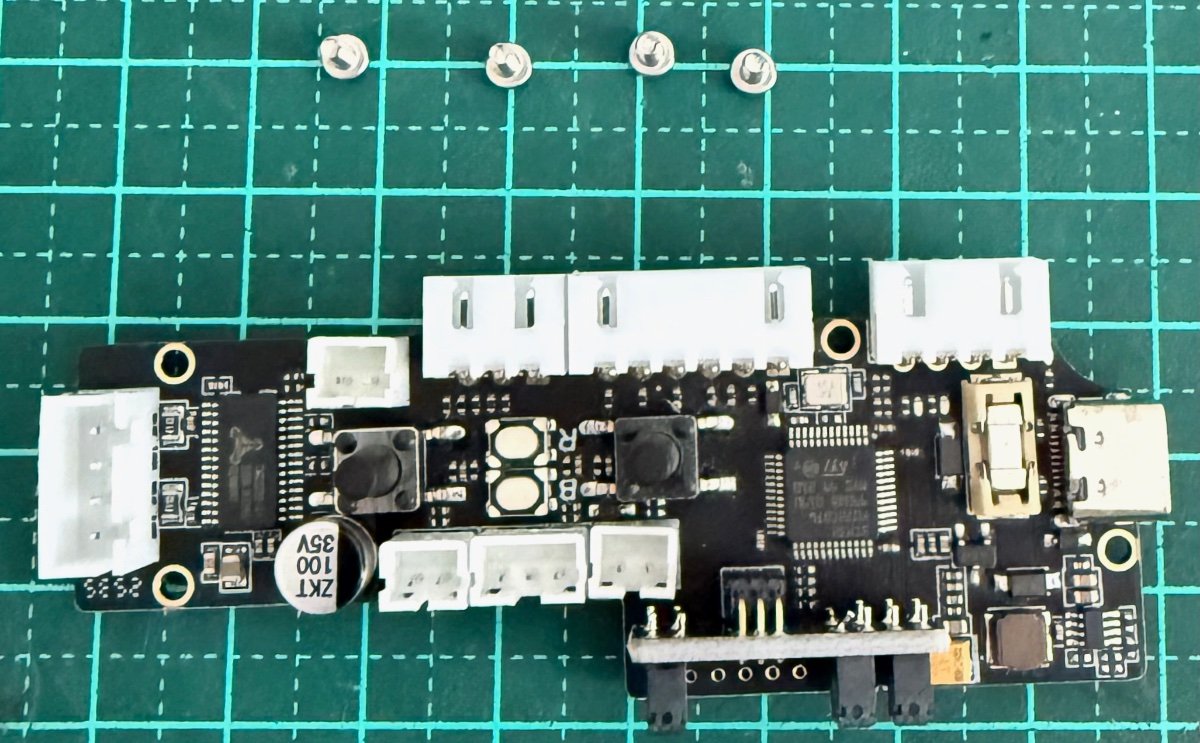
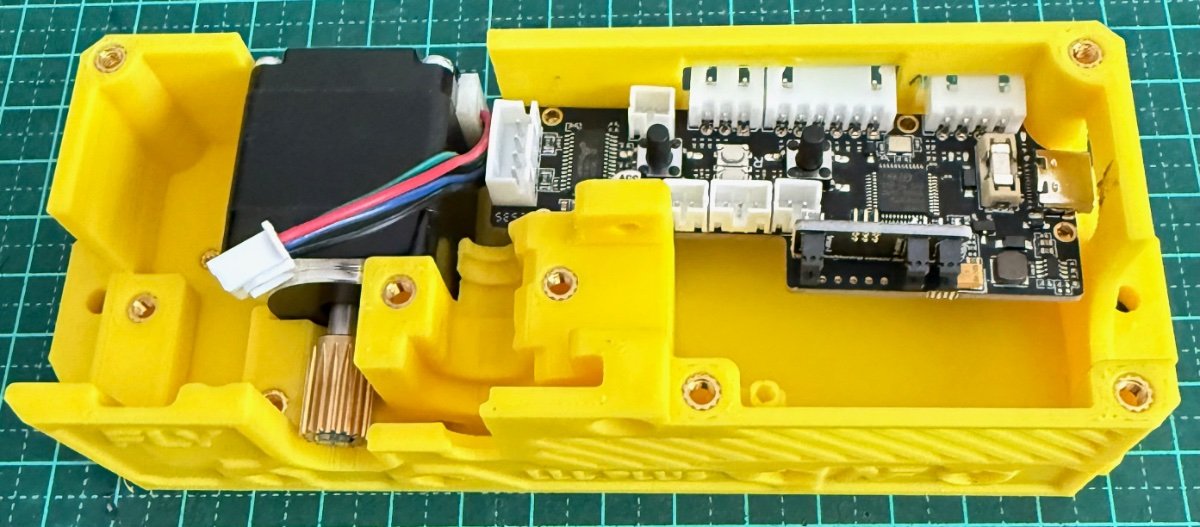
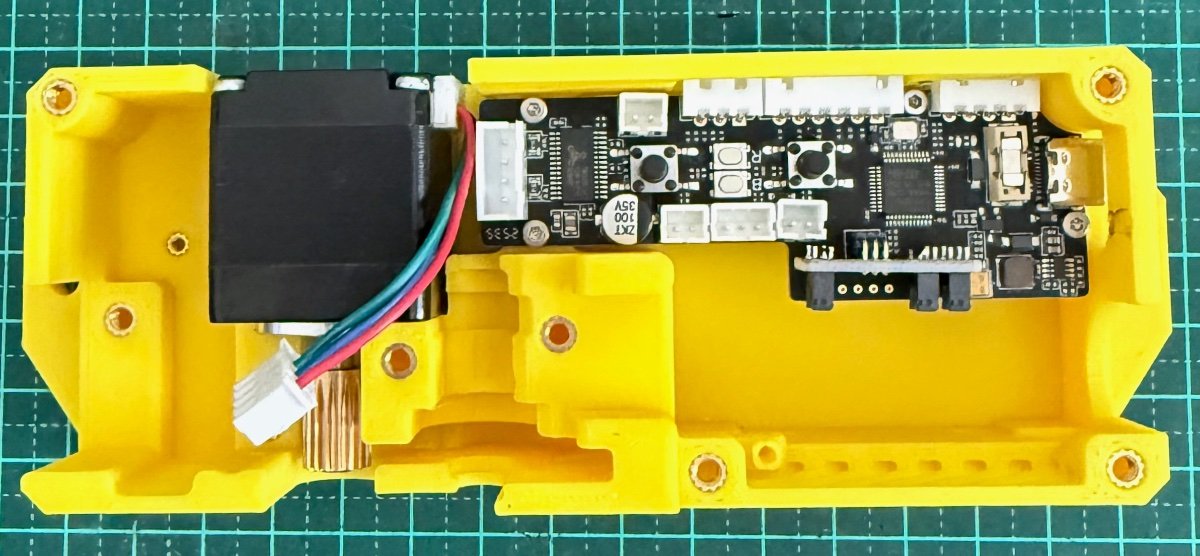
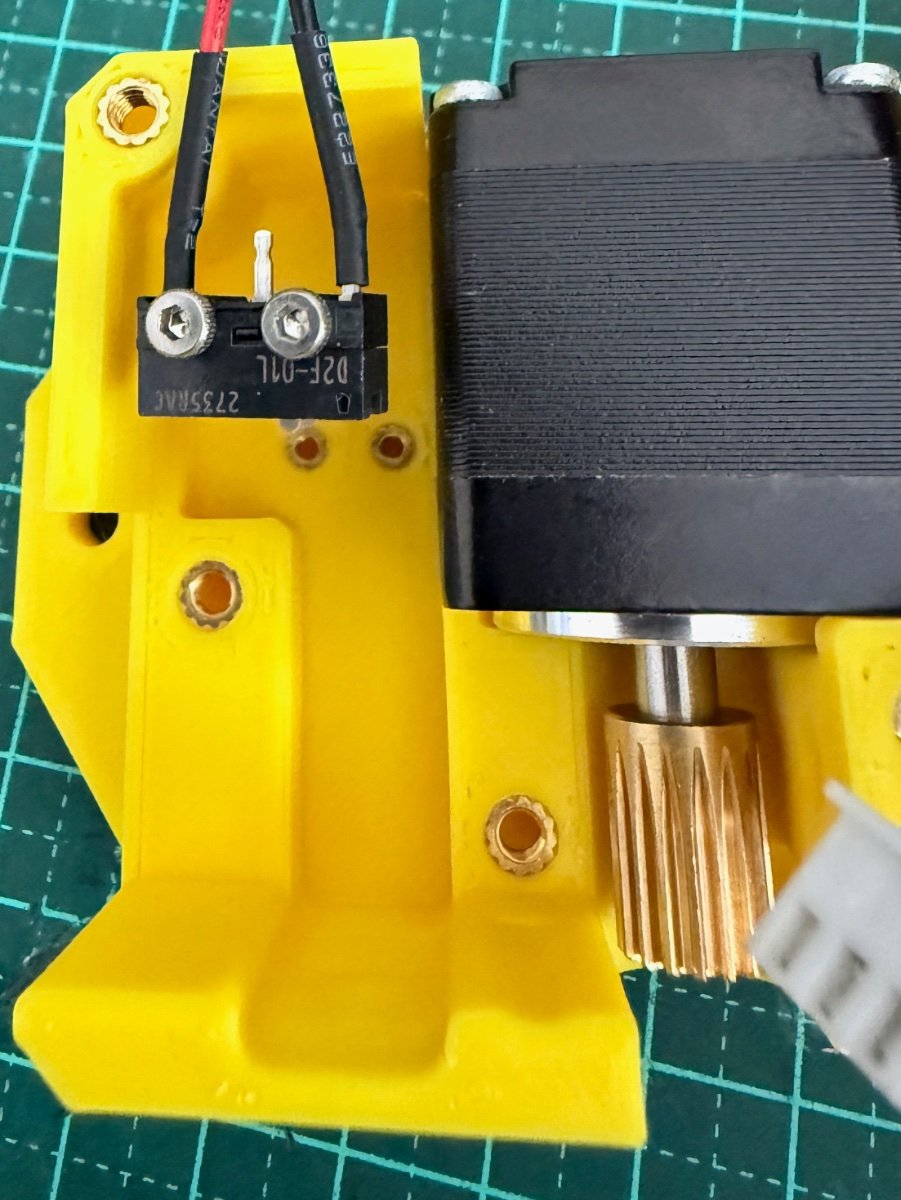
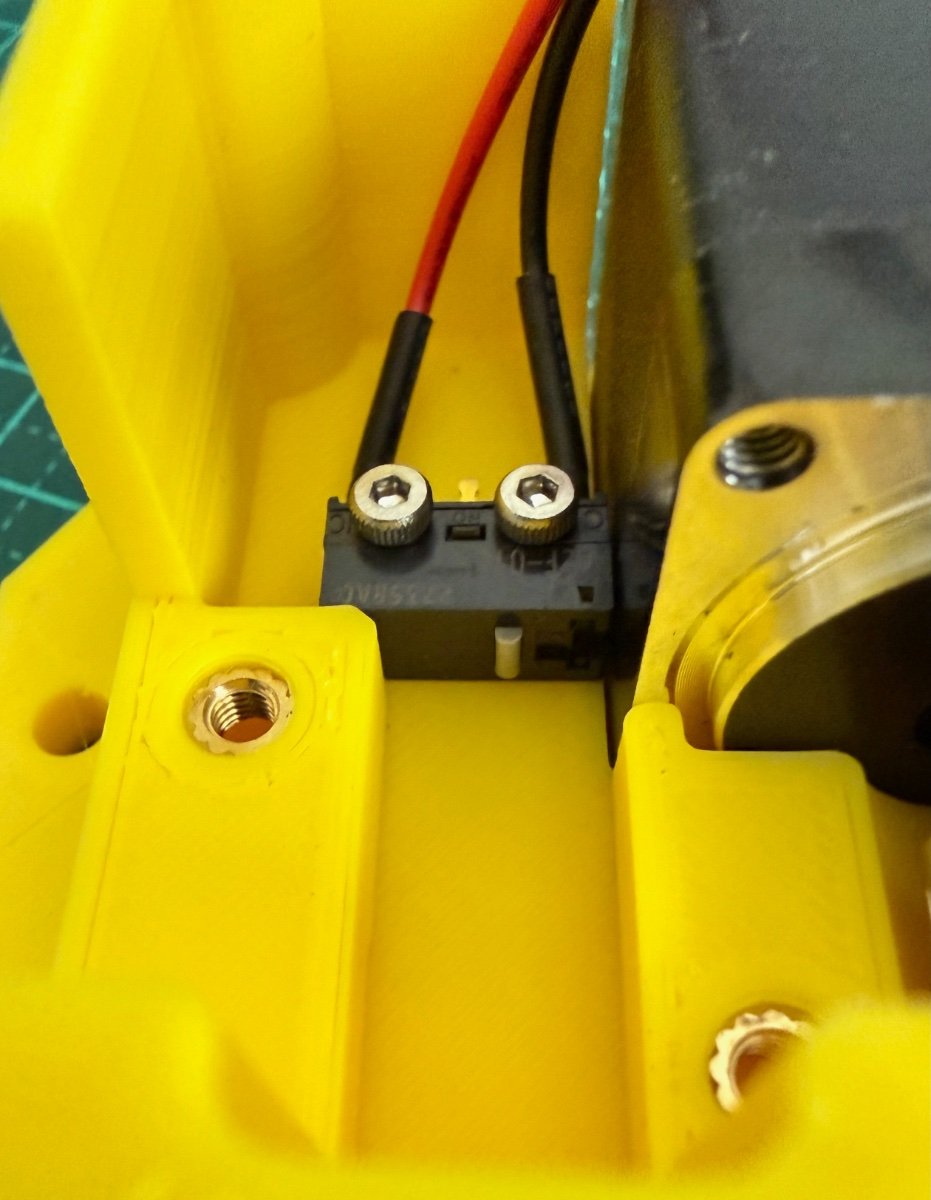
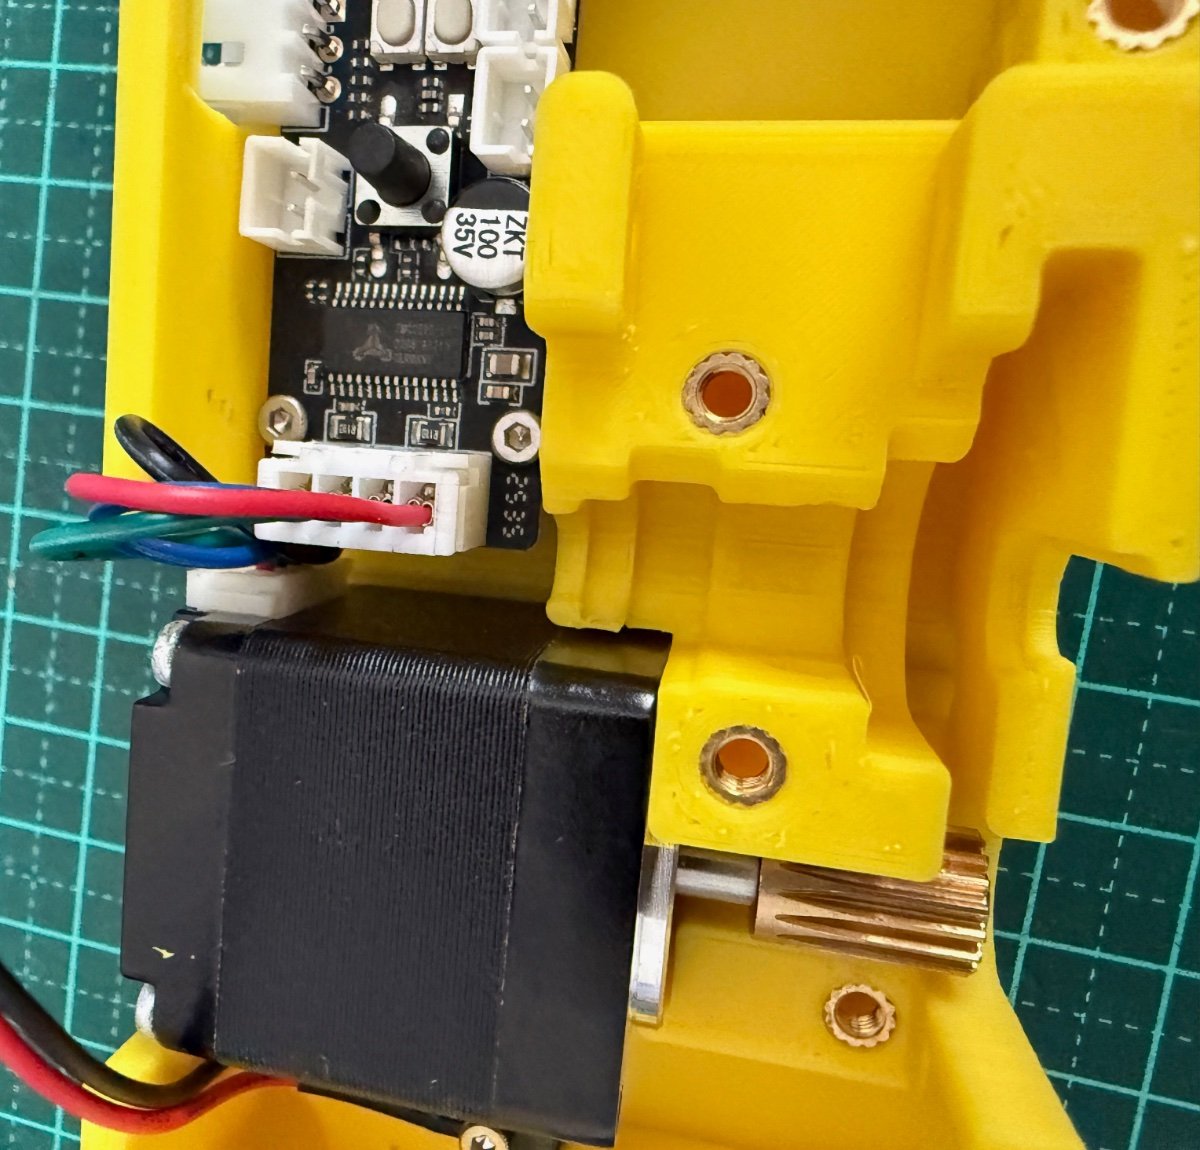
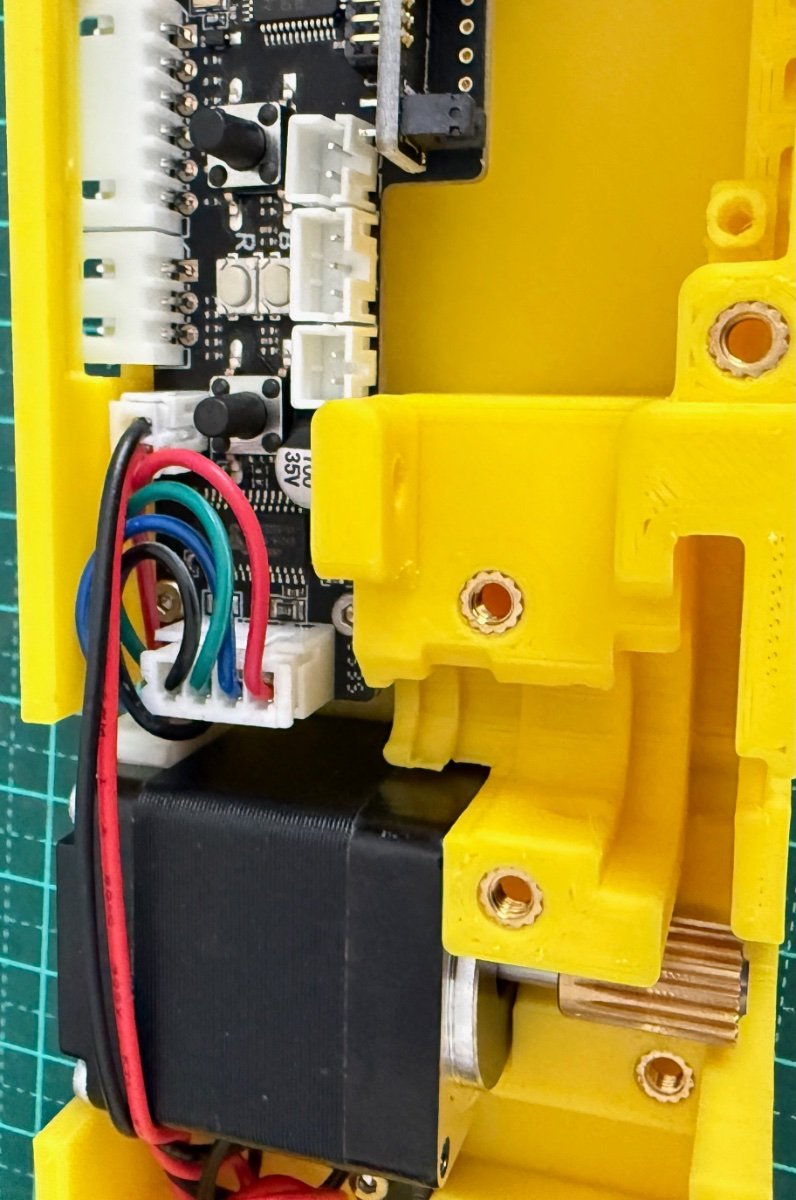
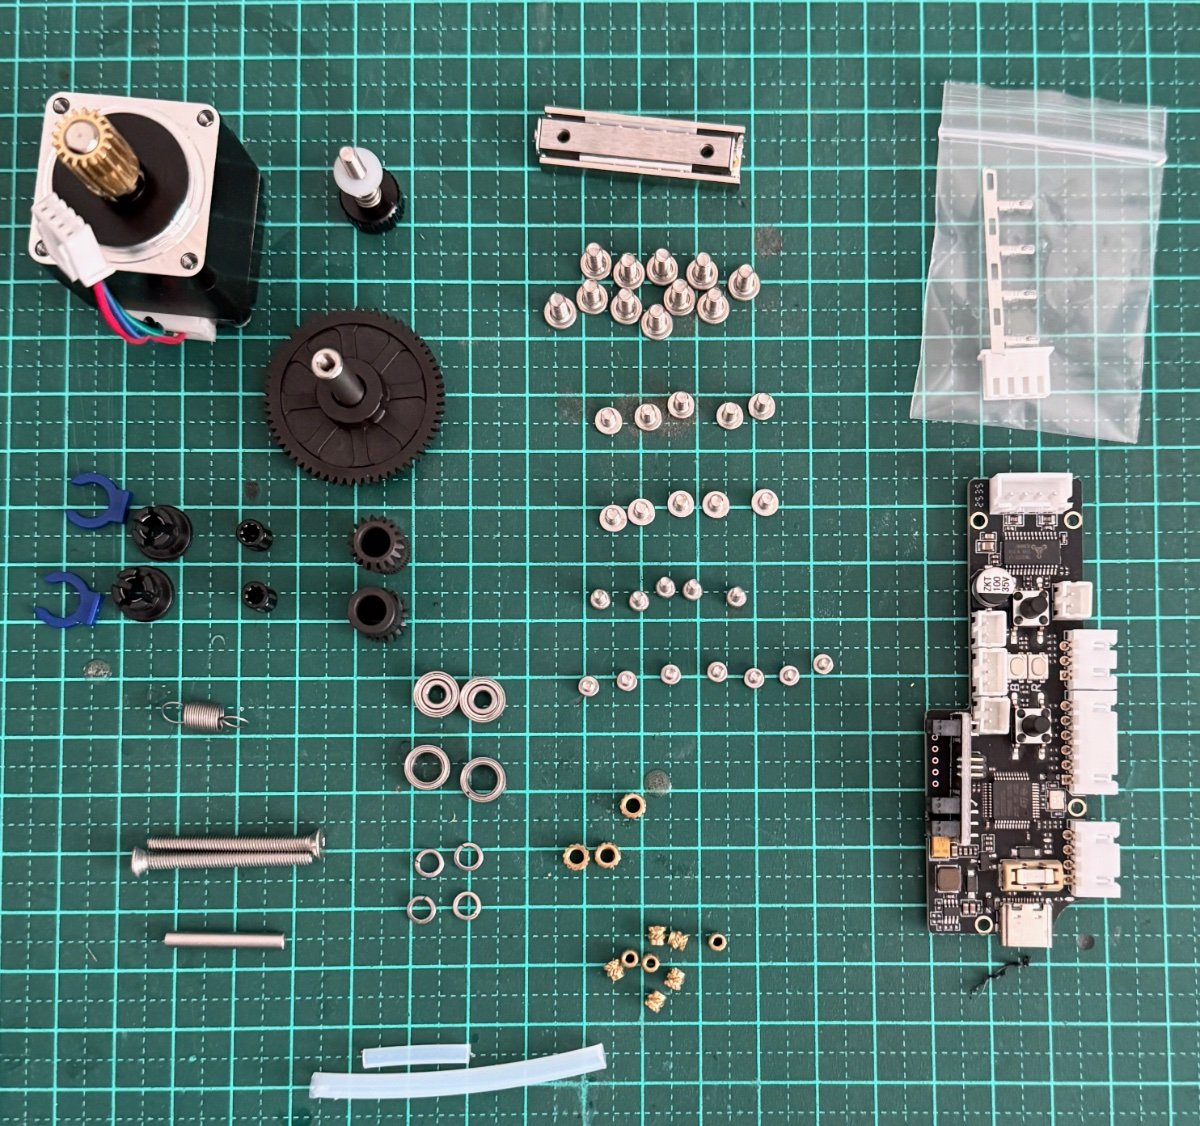
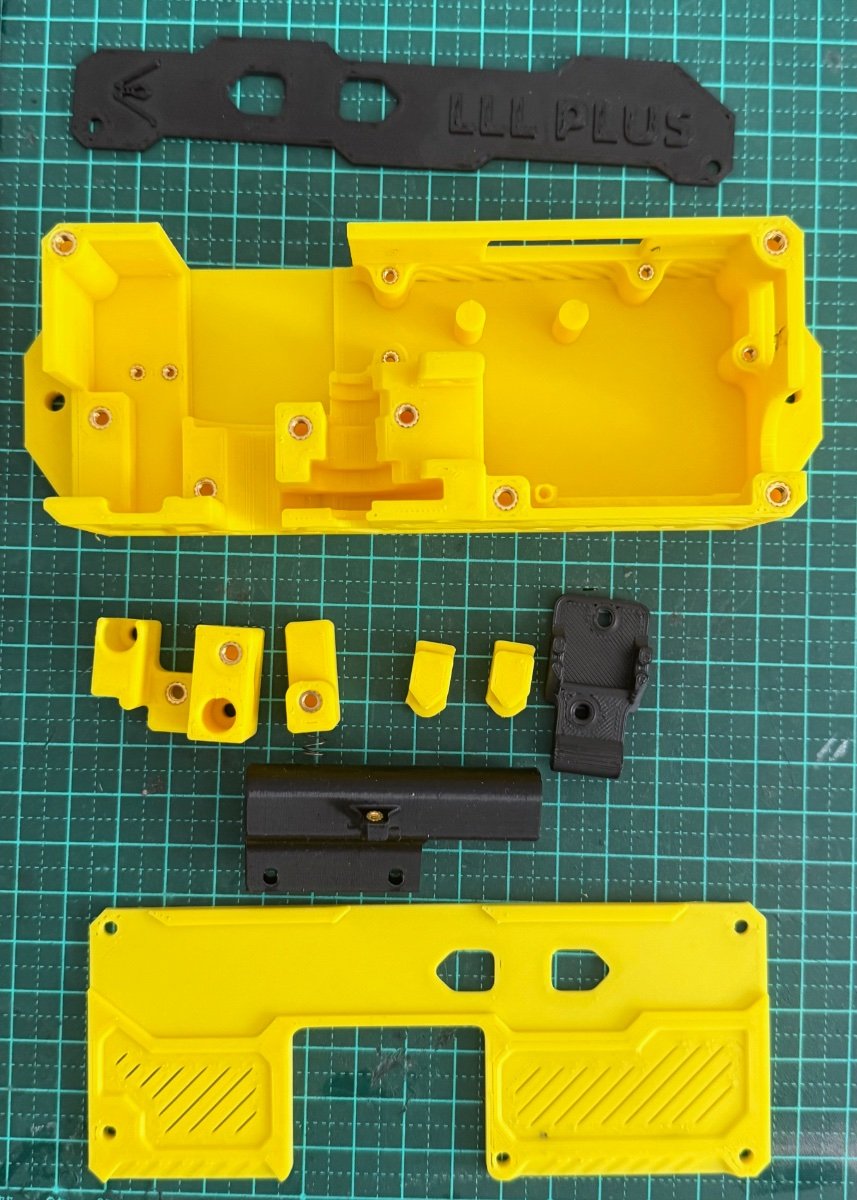
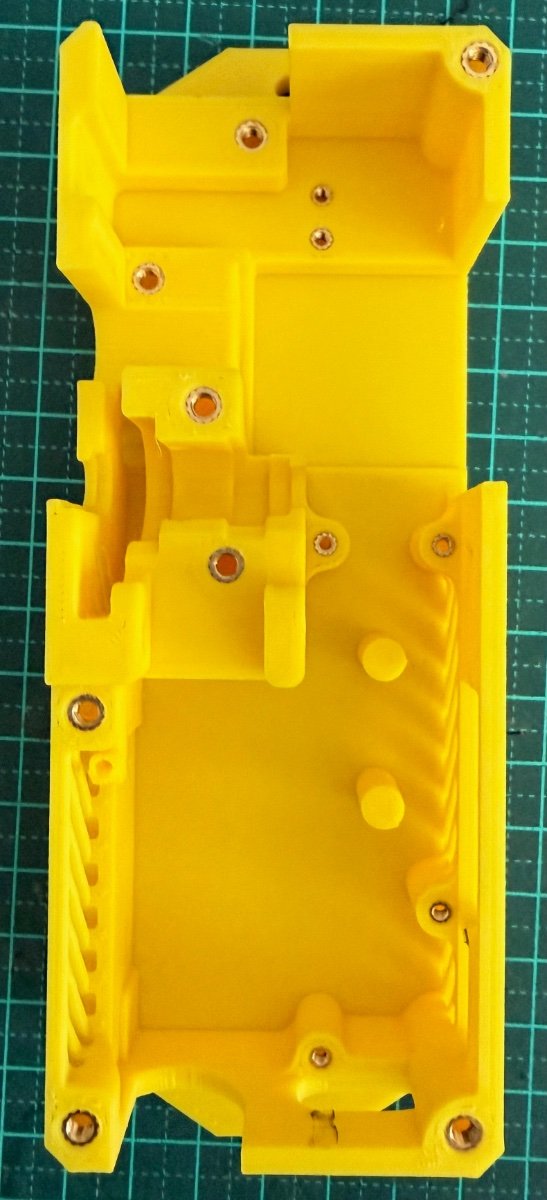
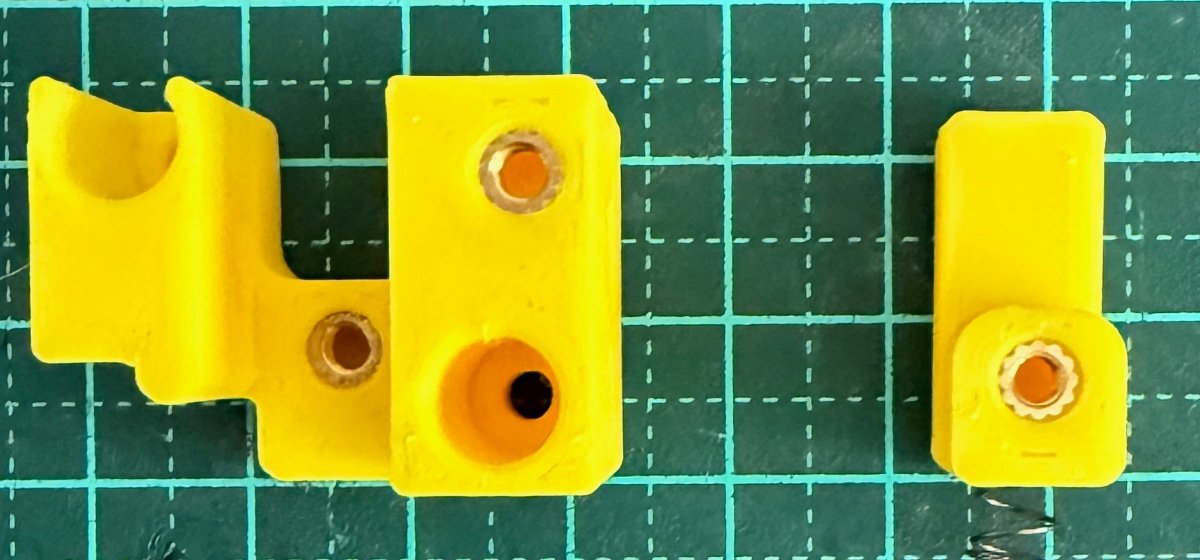
Well had some free time and decided to build the Filament Buffer. The plan is to add one each the to Mercury one, VZBot and the Two Tridents. As both of the Voron 2.4's have a BoxTurtle Unit, they already have a filament buffer fitted. Nothing as complicated as this one though. Ordered the kits from the Mellow Store on Aliexpress. Had some issues as out of the 4 kits ordered, only one was delivered. However Mellow was pretty good and express mailed the remaining three units. The documentation on the build is not the best, comparing to the Voron or BoxTurtle manuals as an example. There is also an instructional video from Mellow. This build diary is my personal take on interpreting the instructions from both those sources. What's in the packet? Plus a wired limit switch which did not make it into the photo. What do you need to print? Just remember to print two of the buttons. HEATSERTS: The documentation does not show all the heatsert to be inserted. So, here is what the parts need to look like after installing both the M3 and the very tiny M2 brass heatserts. (11 x M3 in total and 7 x M2 M2 - Heat Insert On with the build. Assemble the gear to the motor (Remember Locktite for the grub screw) and insert motor in the main part. Secure with two M2.5 x5 screws. Note the orientation of the motor wires. The documentation next calls for installation of the limit switch, whereas the video moves on to the PCB, which I have done. The board will be secured with four M2 x 5 screws Slide the board in at an angle and secure. Next the limit switch. This is secured with two M2 x8 screws. Not the orientation of the microswitch. At this point I connected the motor and limit switch to the board Next: The filament slider and onwards............


.jpeg.a94a27744fe5c5e49c578bb27f93be37.jpeg)