About This File
You can use this frame for the following screen: https://www.amazon.de/dp/B07CPBCZHB?psc=1&ref=ppx_yo2ov_dt_b_product_details
You probably also want angled HDMI and Micro USB connectors like these:
You'll also need the following mount (though you can use any mount you like. You just have to change the mounting points on the lid in the step
files): https://github.com/VoronDesign/VoronUsers/tree/master/printer_mods/revnull/rpi_7in_display_mount
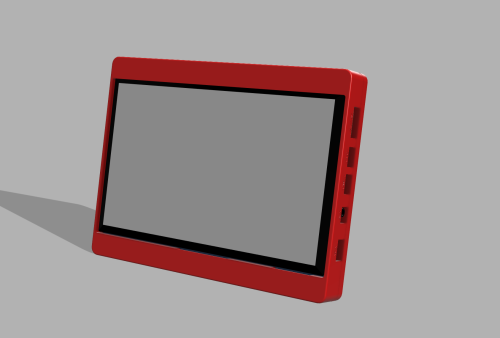
Be carefull when assembling the frame. Do not force the display in, if something binds, as it can crack the glass on the screen! The tolerances around the display are quite tight.
Manual:
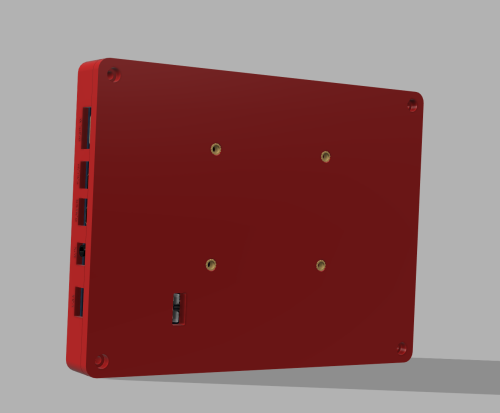
- Melt in the heat set inserts
- Drink enough water the WHO recommends around 3 liters a day
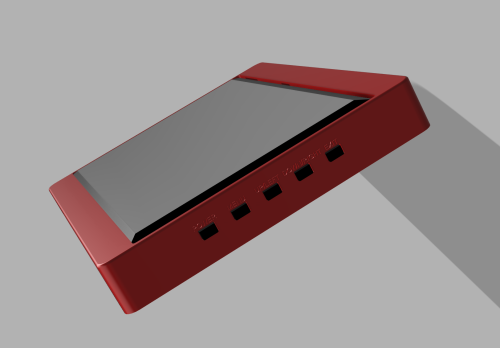
- Place the buttons on there designated recesses
- Place the display in the frame. Be careful, the buttons can fall out. Don't force the display in if something binds up! Gently press on the edges until the display is flush with the frame
- Screw in the M3 screws
- Congratulations you have assembled the frame! Pat yourself on the shoulder around 2-3 times. Don't overdoo it though
BOM:
- 4 M3x6 or M3x8 SHCS screws
- 4 M3x12 SHCS screws
- 8 M3 heat set inserts (the "standard" ones all voron builds use)
- 2 Hands and some time